


.png)


Most of what separates a smooth, professional virtual tour from a disorienting one comes down to two things: the order you shoot in, and how cleanly the finished captures stitch together. Get how to shoot and stitch a virtual tour right, and the rest of the process — publishing, pricing, even pitching new clients — gets considerably easier, because you're consistently producing something worth showing off.
This is a practical, step by step virtual tour photography walkthrough: how to plan your shot order, the camera settings that matter most, and how to take raw captures through to a polished, stitched tour ready to publish. If you haven't sorted your equipment yet, it's worth first getting the right camera and support gear before you start, since this guide assumes you've already got a 360° camera and tripod on hand. And if you want the complete overview of creating a professional virtual tour — from equipment through to publishing — that's covered separately; this article zooms in specifically on the shooting and stitching stages in between.
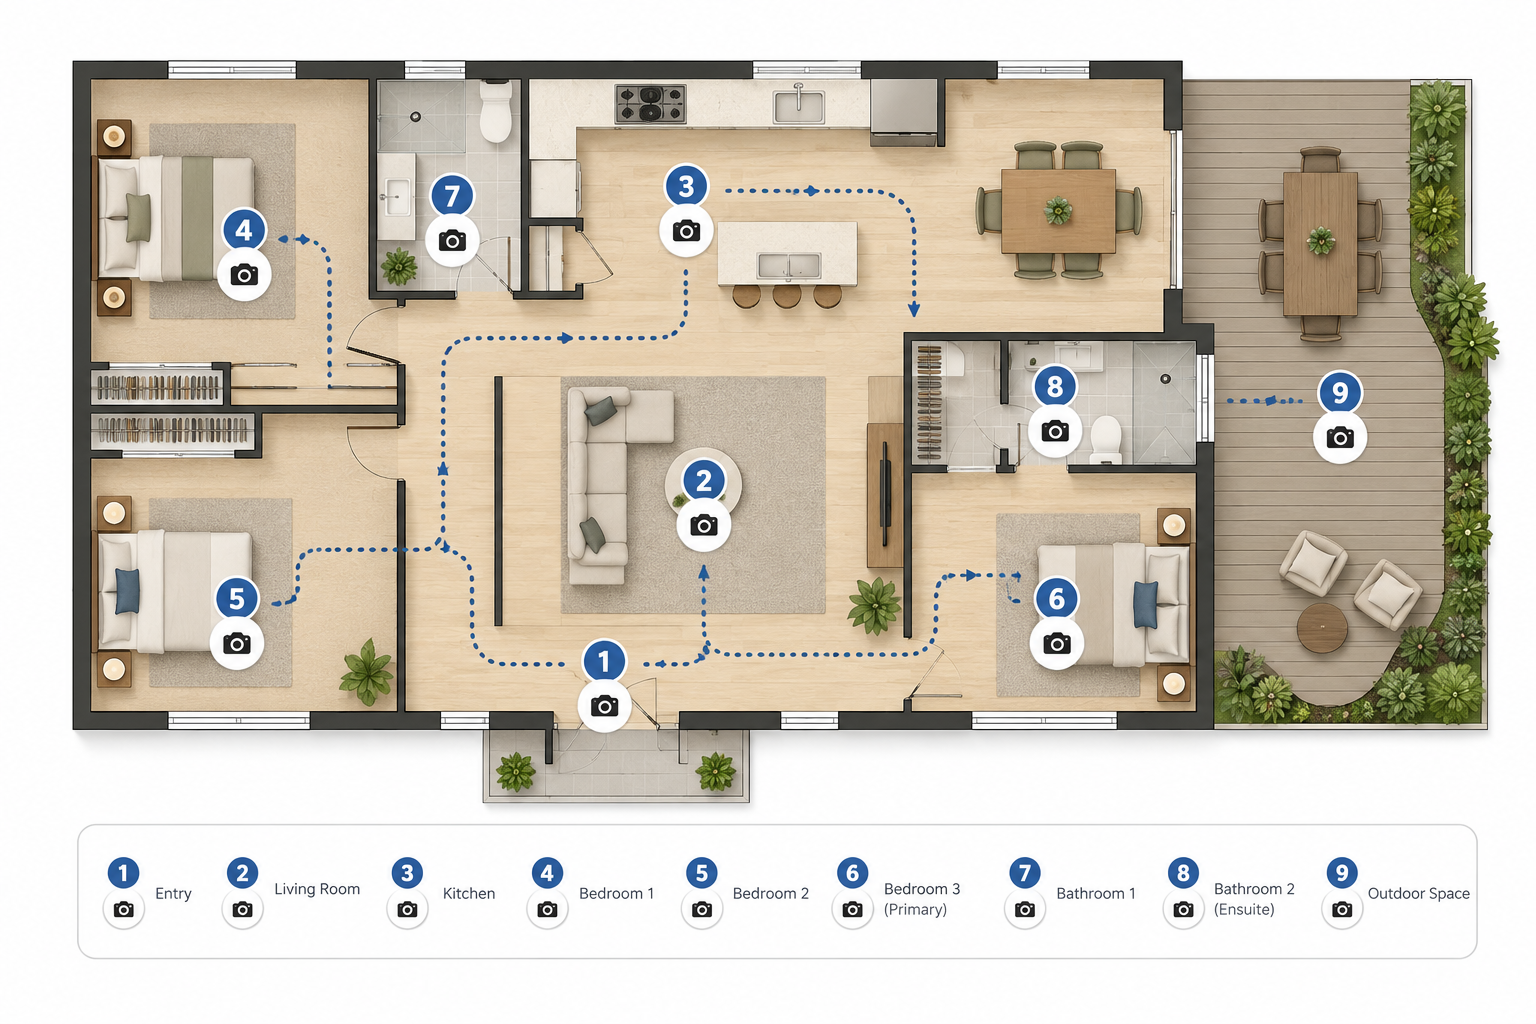
The single most useful habit in this entire process is deciding your shot order before you ever pick up the camera. Walk the property first, empty-handed, the way a buyer naturally would — typically entry, living and dining areas, kitchen, each bedroom, bathrooms, and finally outdoor space. Note this order down, because sticking to it means the finished tour's navigation feels intuitive rather than jumping randomly between rooms.
While you're walking through, also flag anything that needs attention before the camera comes out: unmade beds, cluttered benchtops, personal items, bins, or cords in walkways. A 360° camera captures the entire room, so small issues that a standard photo would simply crop out become far more visible in a virtual tour.
It's worth writing your shot order down as an actual checklist rather than trusting memory, especially on larger properties where it's easy to lose track of which room you've already covered once you're a dozen captures in. A simple numbered list — "1. Entry, 2. Living, 3. Dining, 4. Kitchen" and so on — takes thirty seconds to jot down and saves you from the far more time-consuming problem of realizing back at your desk that a room got missed entirely. If the property has an unusual layout — a converted garage, a granny flat, or a subdivided upstairs level — decide in advance where that space fits in the overall flow, since an oddly placed room is one of the more common reasons a finished tour feels confusing to navigate.
Once the property is styled and your shot order is set, a handful of camera settings make a disproportionate difference to the finished result. Shoot from a consistent height in every room — roughly seated eye level, around 1.5 metres — so the tour doesn't feel like it's shifting perspective from room to room.
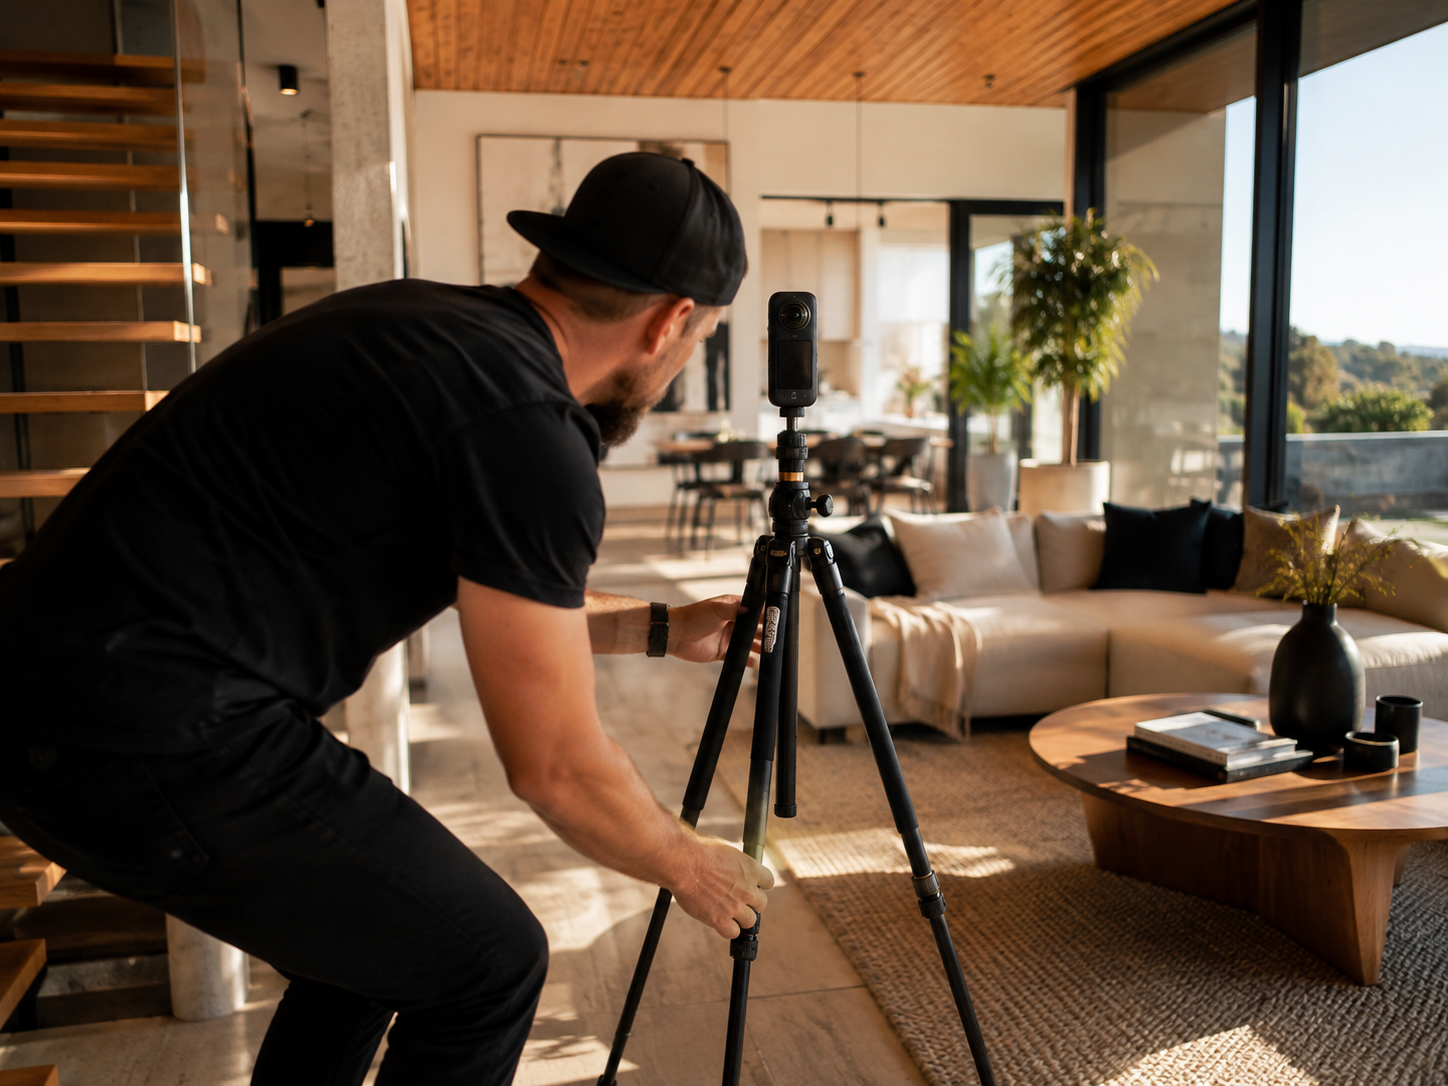
Turn on every light in the space you're shooting, even during the day, since indoor lighting fixtures add warmth and evenness that pure daylight alone often can't reach into corners and hallways. If your camera supports HDR or exposure bracketing, use it in any room with a strong contrast between a bright window and a dimmer interior — this is one of the most common places an otherwise good tour falls apart, with either a blown-out window or a black interior. Position the tripod centrally in each room, or slightly off to one side to avoid capturing your own reflection in mirrors, glass doors, or glossy surfaces.
Work through the property in your planned order, and capture a few extra shots in hallways, doorways, and stairwells. These become the connection points between rooms in the finished tour, and having more of them produces smoother, more natural-feeling navigation.
It also helps to pause briefly after each capture to check the camera's preview or companion app before moving on, rather than shooting the entire property and reviewing everything at once back at your desk. Catching a tilted tripod, a forgotten light, or an accidental reflection immediately means a quick reshoot on the spot rather than a return visit to the property later — which is a far more expensive fix once you've packed up and left.
Stitching is where your individual room captures become one continuous, navigable tour, and it's the step most likely to introduce visible flaws if rushed. Most cameras or their companion software handle the technical stitching automatically, but the results still need a careful review pass.
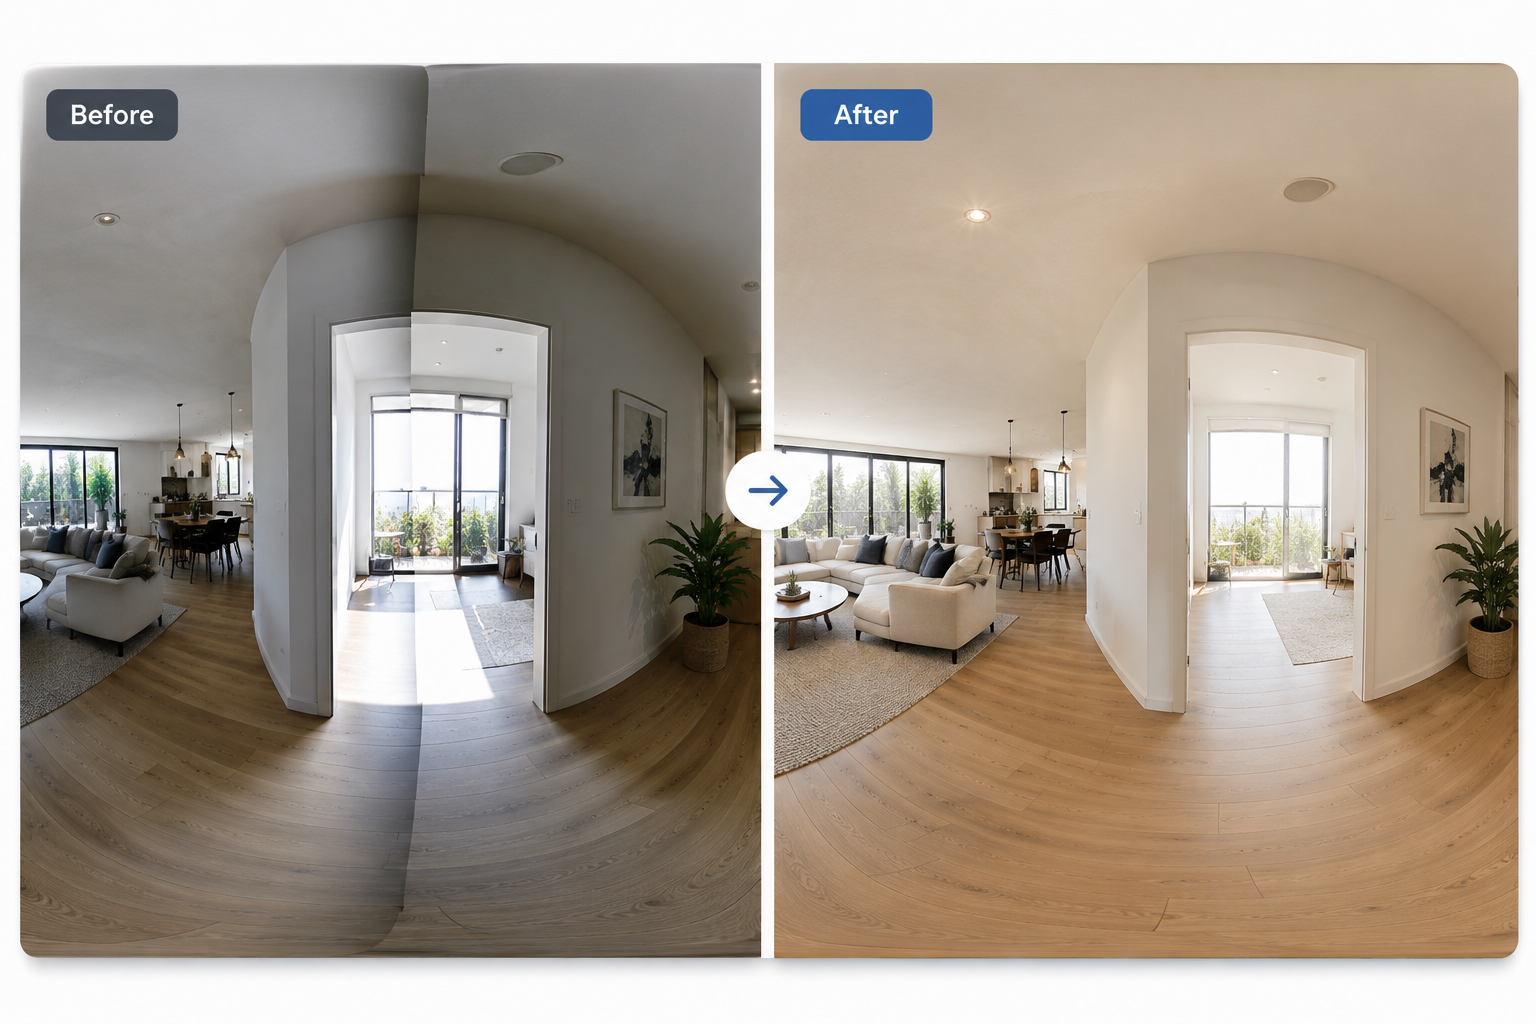
Check every room for visible seams, particularly along straight lines like door frames, cabinetry edges, and skirting boards — misalignment there is one of the clearest signs of a rushed job. Straighten any tilted horizons room by room rather than assuming the camera's auto-leveling caught everything, and balance exposure between rooms so the tour doesn't feel jarring as a viewer moves from a bright living room into a dimmer bedroom.
Give particular attention to any room with a mirror, glass door, or highly reflective surface, since these are the most common places a stitching seam becomes obvious or a piece of equipment accidentally appears in frame. If something does show up that shouldn't — a tripod leg, a reflection, a stray shadow — most stitching software includes basic clone or patch tools for small fixes, though a clean original capture will always look more natural than one relying on digital correction after the fact.
Not all stitching software handles real estate interiors equally well, which is why this virtual tour stitching software tutorial focuses on what to look for rather than a single specific product. Prioritize software that produces minimal visible seams without heavy manual correction, supports hotspot-based navigation between rooms, offers a dollhouse or floor-plan view if you want to include one, and — importantly for this cluster — exports or embeds cleanly for a realestate.com.au listing.
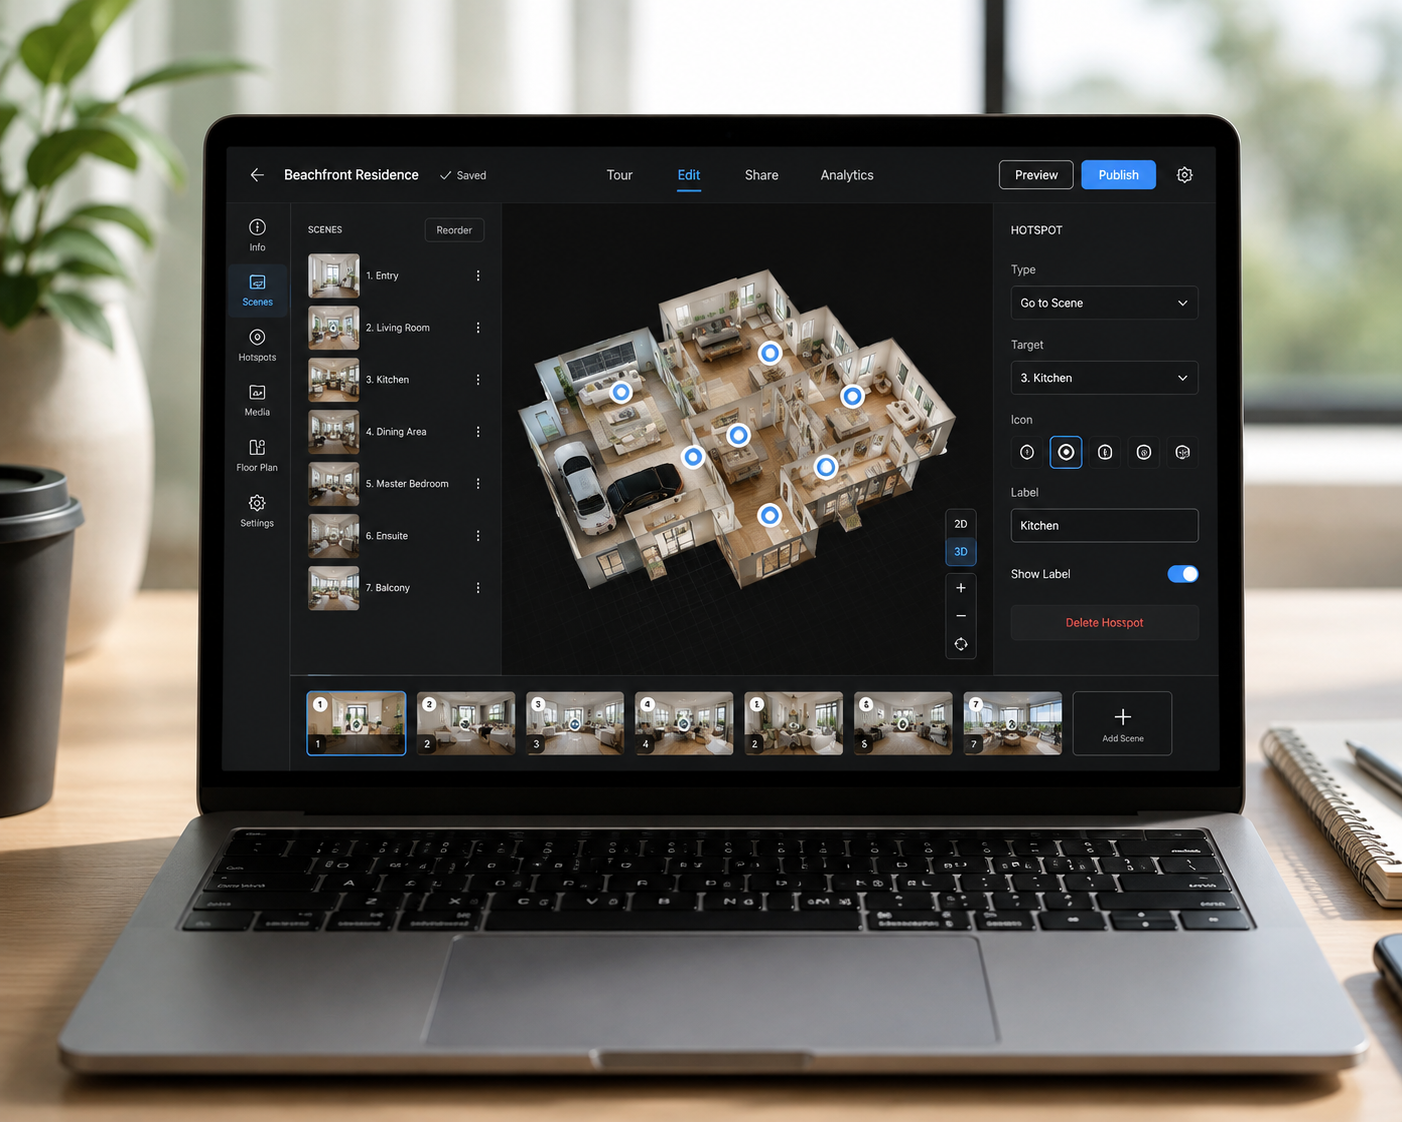
A typical workflow looks like: import your raw captures, let the software auto-stitch each one, manually review and correct any visible seams or exposure mismatches, arrange the navigation flow to match your planned shot order, set the tour's starting point to the property's best first impression (usually the entry or main living space), and export a shareable link or embed code. Doing a final walkthrough of the finished tour yourself, exactly as a buyer would click through it, catches issues a room-by-room review can miss — a navigation dead-end, an oddly placed hotspot, or a room that got left in the wrong order.
Most stitching platforms also let you label individual rooms, add a floor-plan or dollhouse overlay, and adjust the "start point" a viewer lands on when the tour first opens. These small touches are worth the extra few minutes — a labeled floor plan in particular helps buyers orient themselves in a larger or unusually laid-out home, and getting the opening view right means the very first thing a viewer sees is the property's strongest feature, not an awkward angle of a hallway.
A handful of mistakes account for most amateur-looking tours. Inconsistent camera height between rooms makes a tour feel visually jarring even when each individual room looks fine on its own. Skipping the on-site review — leaving the property before confirming the stitched result looks right — means discovering a problem only after you're back at your desk, sometimes too late to fix without a return visit. And rushing through dim rooms without adjusting for exposure produces the single most common complaint buyers have about virtual tours: rooms that are simply too dark to evaluate properly.
None of these require more expensive equipment to solve. They come down to a consistent process: plan your shot order, shoot with consistent height and exposure awareness, and review the stitched result before you leave. The photographers who produce consistently strong tours aren't necessarily using better cameras than everyone else — they've simply turned this checklist into a habit they run through on every single job, without exception.
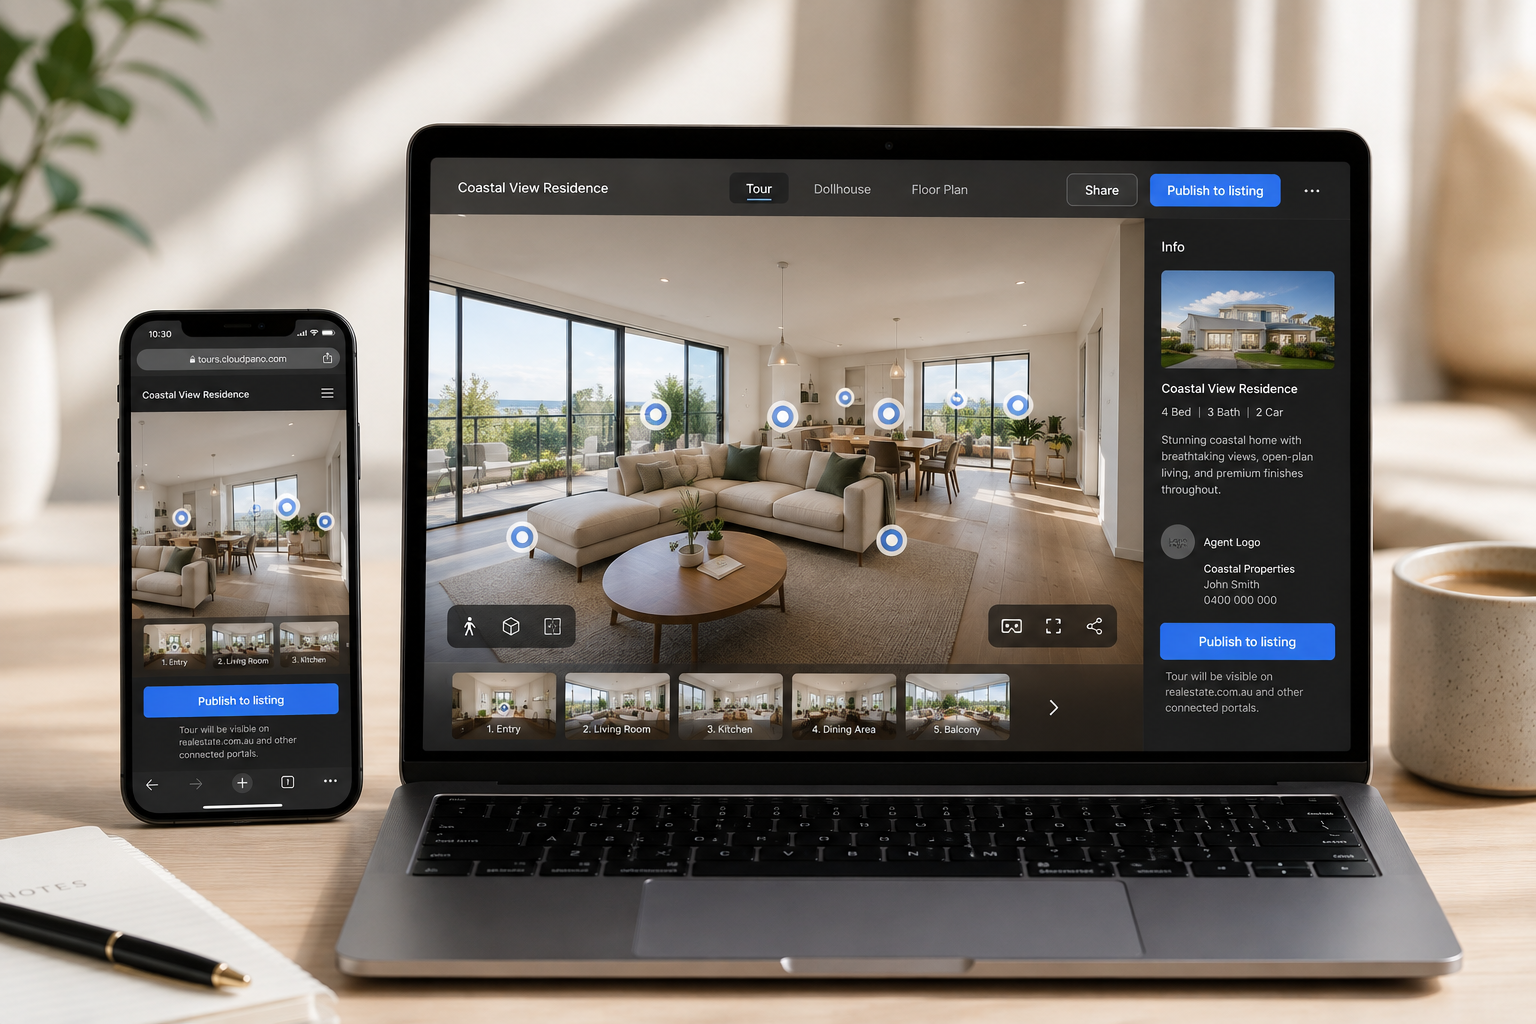
Learning how to create a 360 virtual tour that looks genuinely professional isn't about mastering complicated technology — it's a repeatable sequence: plan your shot order, shoot with consistent height and careful attention to exposure, stitch carefully with software built for real estate, and review the finished result the way a buyer actually would before you consider the job done. Once you've run through this process a few times, it becomes fast enough to fit comfortably into a single afternoon per listing.
From here, the next step is publishing the finished tour to your realestate.com.au listing, so the work you've put into shooting and stitching actually reaches the buyers searching for it.
If you'd rather streamline the stitching and publishing side of this process, CloudPano is built specifically to take a set of real estate captures through to a polished, realestate.com.au-ready tour.


Compact, ready to go anywhere
Interchangeable lens that’s upgradeable
Dual 1-inch sensors for improved clarity and low light performance
Dynamic range and 6K 360° capture
360° photo resolution at 21MP

8K 360° video recording for ultra-detailed visuals.
4K single-lens mode for traditional wide-angle shots.
Invisible selfie stick effect for drone-like perspectives.
2.5-inch touchscreen with Gorilla Glass protection.
Waterproof up to 33ft for underwater shooting.

360° photo resolution in 23MP
Slim design at 24 mm thick
Built-in image stabilization for smooth video capture.
Internal 19GB storage for photo and video storage.
Wireless connectivity for remote control and sharing.

60MP 360° still images for high-resolution photography.
5.7K 360° video recording at 30fps.
2.25-inch touchscreen for intuitive control.
USB Type-C port for fast charging and data transfer.
MicroSD card slot for expandable storage.
.png)

.png)

Try it free. No credit card required. Instant set-up.





.svg)


.svg)