


.png)


A buyer scrolling through listings at midnight can't walk through a house — but a well-made virtual tour gets them close enough to decide whether it's worth a Saturday morning inspection. That's why learning how to create virtual tours for realestate.com.au listings has become one of the most valuable skills a real estate photographer, agent, or marketing-savvy seller can pick up. Done well, a virtual tour turns a static gallery of photos into an experience — and it's a repeatable process once you understand the handful of steps that separate a professional result from a shaky, disorienting one.
This guide walks through that process end to end: the equipment worth buying, how to plan and shoot a property, how to stitch and edit the finished tour, and what actually makes a virtual tour read as "professional" rather than amateur. Think of it as the master reference for this entire virtual tour real estate listing guide series — every other article in this cluster goes deeper on one specific piece of what's covered here.
Real estate marketing has always been about closing the gap between "photo" and "experience." A virtual tour closes that gap further than any static image gallery can. Prospective buyers and renters can explore room flow, sightlines, and spatial relationships that photos alone tend to flatten or misrepresent — which matters enormously on a platform where a listing is competing for attention against dozens of similar homes in the same suburb.
For agents, offering a professional virtual tour also signals a level of service that separates a full-service listing from a bare-bones one. For photographers and freelancers building a business around this skill, it's a service agents are increasingly expected to offer, not just a nice-to-have upsell. And for property owners selling directly, it's one of the few marketing investments that measurably increases the time a buyer spends engaging with a listing.
It's also worth being upfront about what a virtual tour isn't: it doesn't replace a strong still-photo gallery, and it isn't a substitute for an in-person inspection. What it does is filter the audience arriving at that inspection — buyers who walk through a virtual tour first and still book a viewing tend to be genuinely interested rather than just curious, which is a meaningful efficiency gain for busy agents managing multiple open homes on the same weekend.
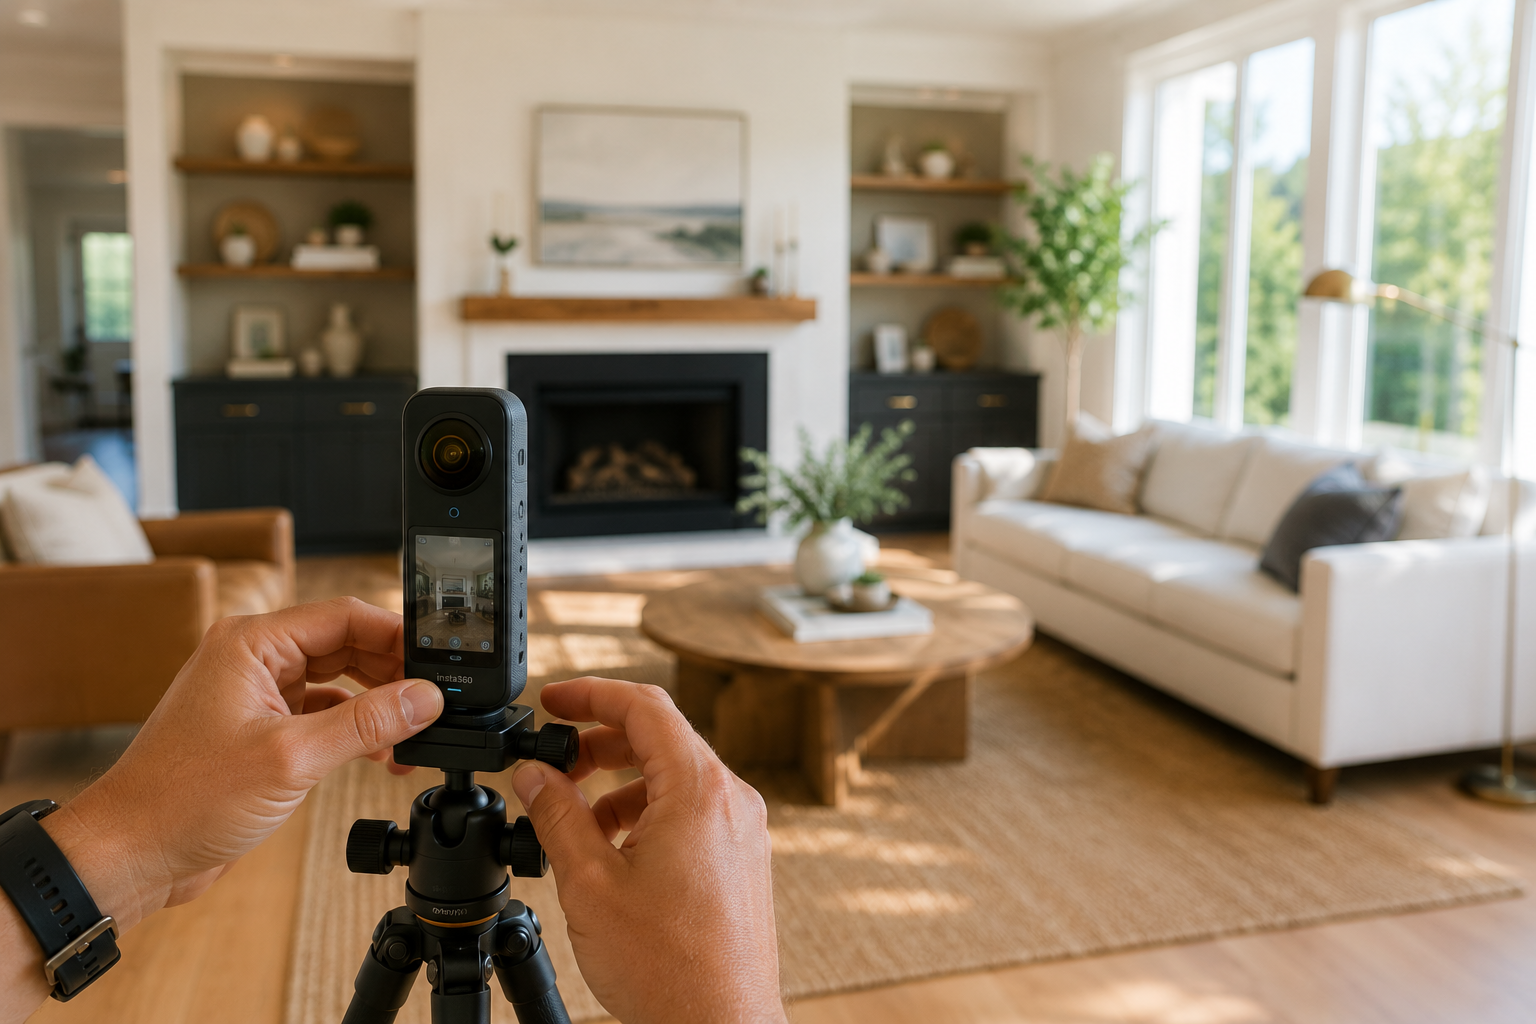
You don't need a warehouse of gear to get a professional result, but a few pieces of equipment make the difference between a tour that looks polished and one that looks obviously amateur.
At minimum, you'll want a dedicated 360° camera (rather than relying on a smartphone panorama app) for consistent exposure and stitching quality, a sturdy tripod rated for the camera's weight, and a way to keep the camera level across every shot — inconsistent horizons are one of the fastest ways to make a tour feel unprofessional. Lighting matters too: natural light is usually your best friend, but a small portable light or reflector helps even out dim hallways, bathrooms, and walk-in robes that would otherwise photograph dark and uninviting.
If you want the specific models, price points, and setups worth considering, the equipment breakdown in this cluster goes deep on the best 360° cameras and equipment for the job — this pillar is about the overall workflow, not gear specs.
The single biggest driver of a professional-looking virtual tour is preparation, not camera skill. Before you arrive, agree with the agent or owner on a shot list that mirrors how a buyer would naturally walk the property — front door, entry, living areas, kitchen, bedrooms, bathrooms, and outdoor space, roughly in that order.
On the day, the property needs to be styled the way it would be for still photography: beds made, benchtops cleared, personal items and clutter put away, curtains and blinds opened to maximise natural light, and lights turned on in every room you'll shoot, even during the day. A 360° camera captures everything in the frame, including things a standard photo would simply crop out, so a messy corner or an open cupboard is far more visible in a virtual tour than in a still photo.
Once the property is prepared, the shoot itself is fairly mechanical, but a few habits make a real difference. Shoot from a consistent height (roughly eye level, around 1.5 metres) in every room so the finished tour doesn't feel like it's jumping between perspectives. Position the tripod in the center of each room, or slightly off-center to avoid capturing yourself or your equipment in reflective surfaces like mirrors and windows.
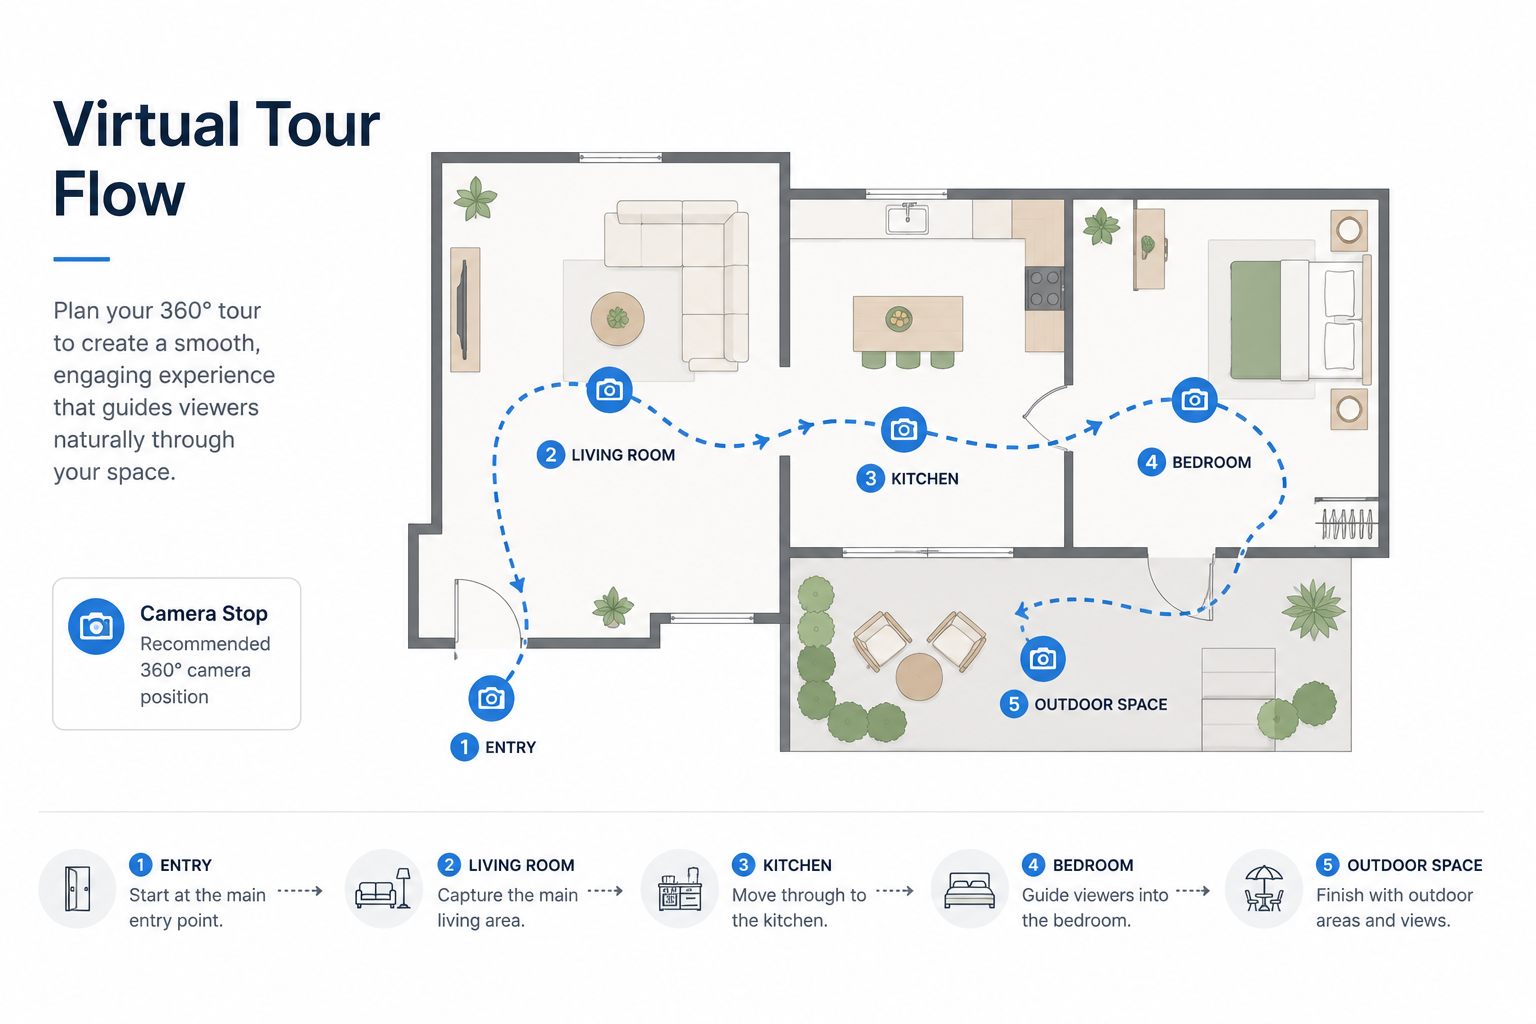
Work through the property in the same logical order as your shot list, and capture a few extra "connector" shots in hallways and doorways — these become the transition points buyers click through, and having more of them makes the finished tour feel smoother and more navigable. If a room has a particularly strong feature — a view, a fireplace, a statement kitchen island — consider a couple of extra angles you can use for standout still images alongside the tour itself.
This is where the individual 360° captures become a single, navigable virtual tour, and it's also where quality can quietly slip if the software does a poor job of stitching, or if the built-in editing tools are limited.
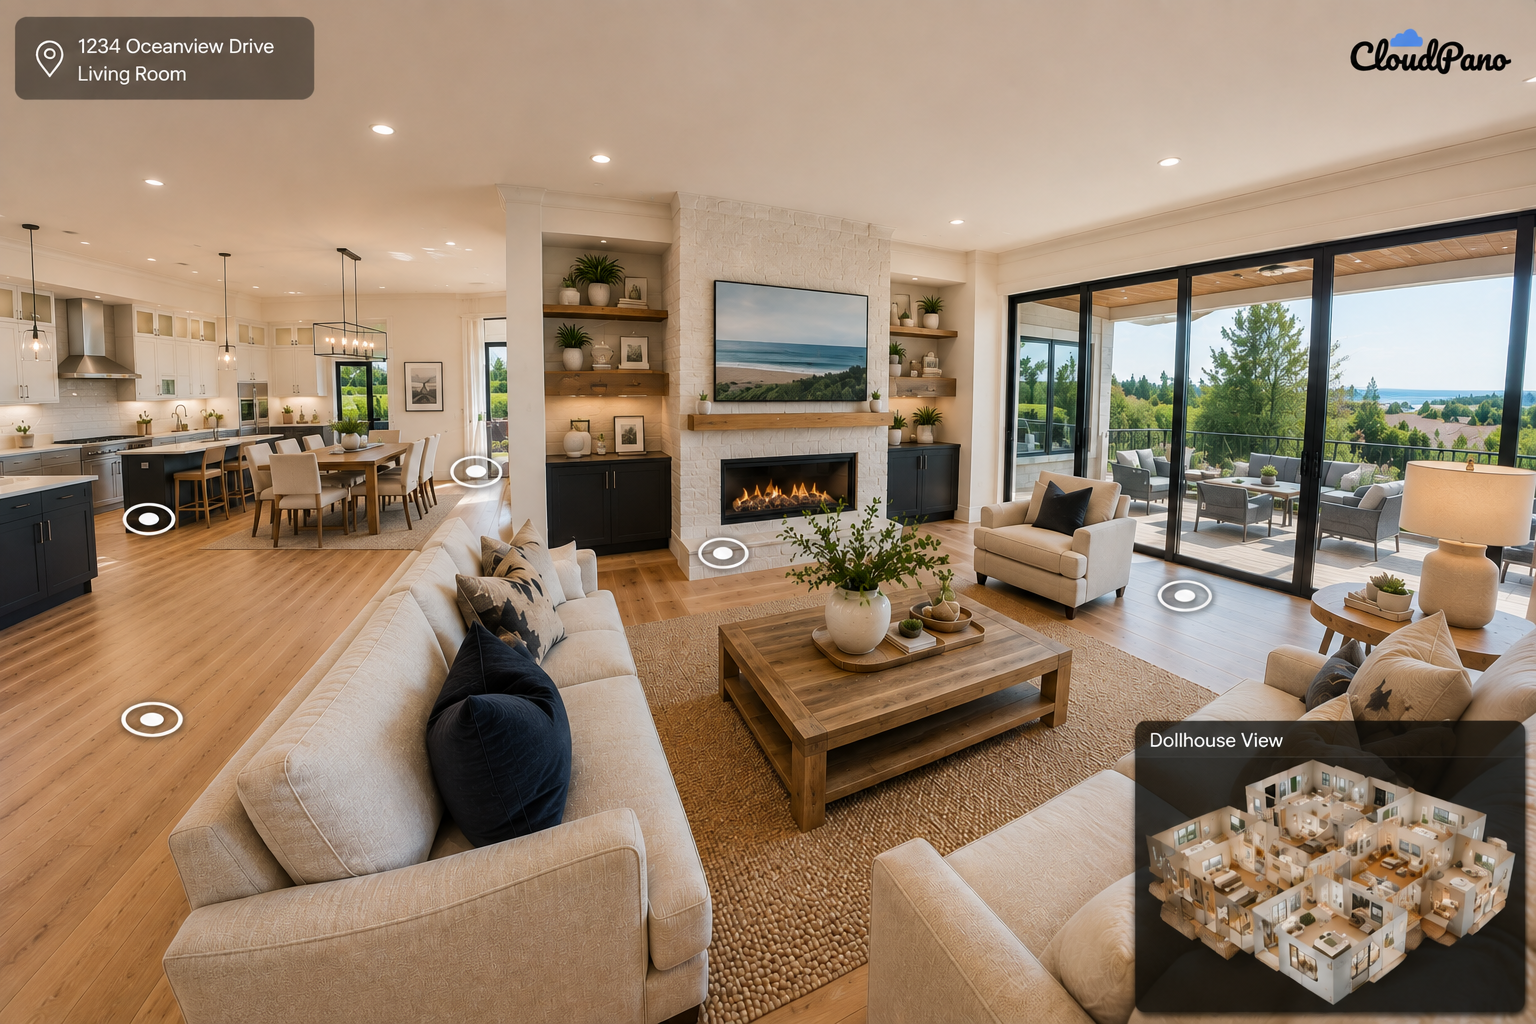
Look for software that produces clean, seamless stitching with minimal visible distortion at the seams, supports the hotspot or "dollhouse" style navigation buyers now expect, and — critically for this cluster's purpose — exports or embeds in a way that's compatible with realestate.com.au listings. Editing at this stage typically includes straightening any tilted horizons, evening out exposure between rooms, adding floor labels or a dollhouse view if supported, and setting the starting point of the tour to the property's most attractive first impression, usually the entry or living area.
This cluster includes a full software comparison if you want help choosing between the leading platforms, along with a dedicated guide to publishing the finished tour to realestate.com.au once it's ready.
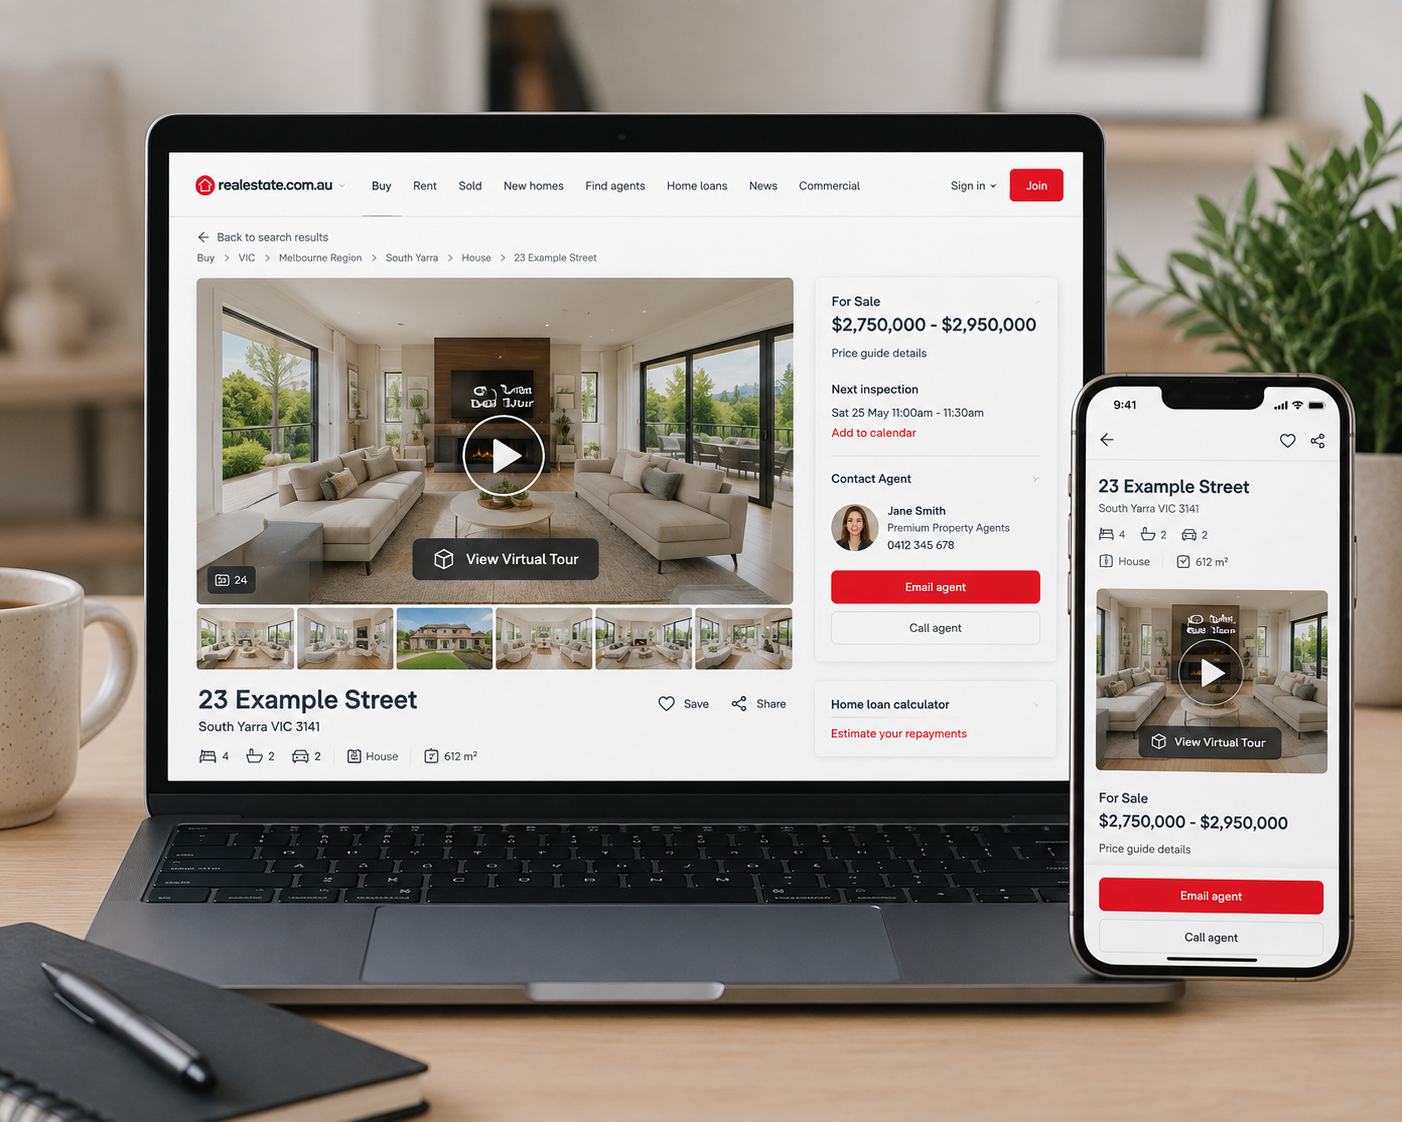
A beautifully shot virtual tour that never makes it onto the listing is a wasted afternoon. Once your tour is finished, the next step is publishing it directly to your realestate.com.au listing in the format and file type the platform expects, alongside your standard photo gallery rather than in place of it.
Because listing platforms periodically update their accepted formats and embedding methods, the specifics of that process are covered in detail elsewhere in this cluster — but the short version is: export a shareable link or embed code from your virtual tour software, and add it to the listing's media section following the platform's current guidance.
Buyers can tell the difference between a rushed tour and a professional real estate virtual tour in Australia within the first few seconds, even if they couldn't articulate exactly why. A handful of details consistently signal quality: consistent lighting and exposure from room to room, level horizons throughout, smooth transitions between capture points, a logical navigation flow that mirrors how someone would actually walk the home, and a tidy, well-styled property in every frame.
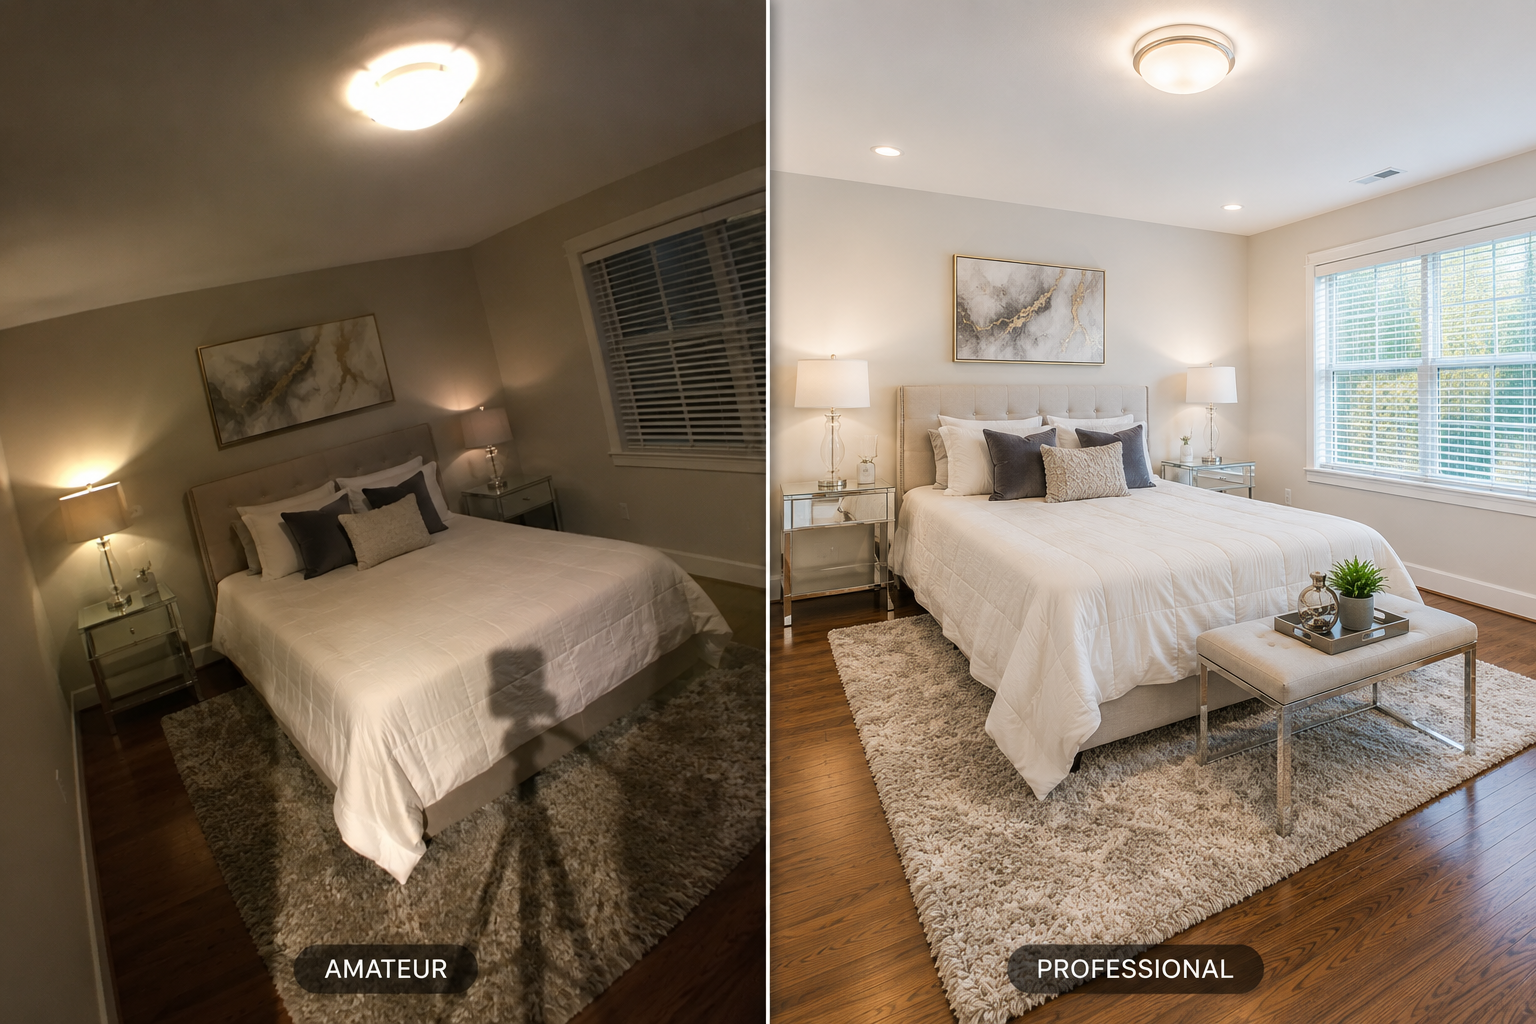
Amateur tours, by contrast, tend to show visible stitching seams, harsh or inconsistent lighting, camera equipment or shadows in shot, and a navigation order that feels random rather than intentional. None of these require expensive equipment to fix — they're almost entirely about preparation, consistency, and a bit of practice.
The real value of this virtual tour real estate listing guide is turning what might feel like a one-off creative project into a repeatable, efficient process you can run on every listing. Once you have a standard shot list, a consistent equipment setup, and a software workflow you trust, a typical residential property can go from empty tripod bag to a published, professional virtual tour in a single afternoon.
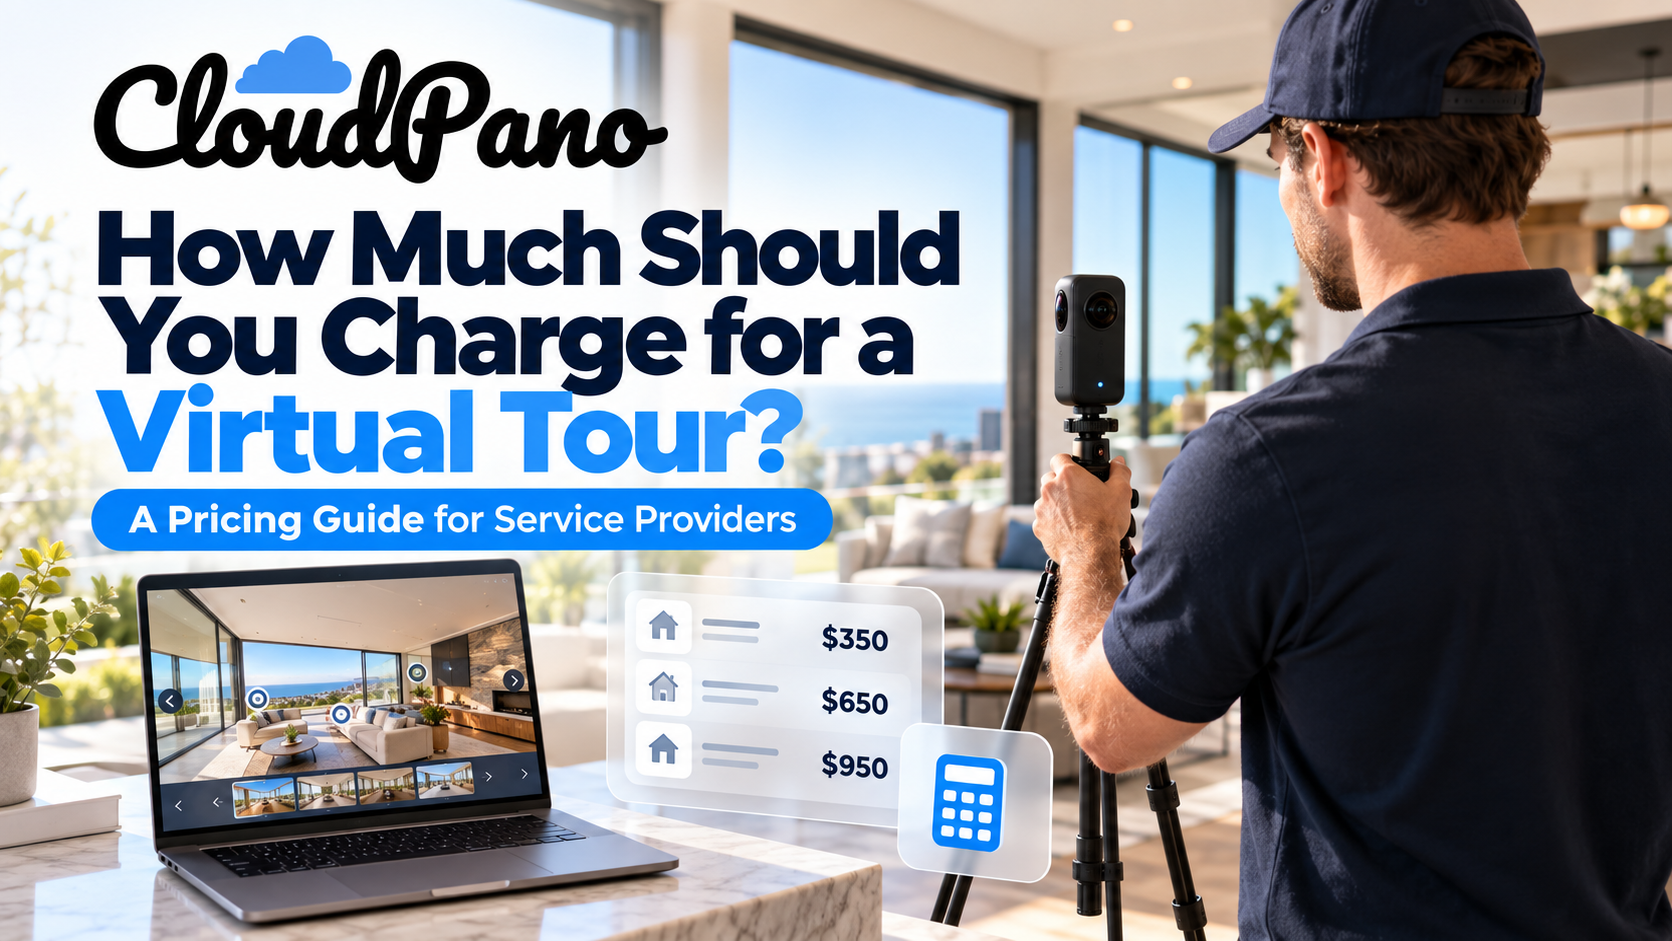
That efficiency matters if you're offering this as a service: the faster and more consistently you can produce a high-quality tour, the more listings you can take on, and the more reliably agents can promise turnaround times to their sellers. It also makes it far easier to price your work sensibly, since a predictable production time is the foundation of any predictable pricing model — something this cluster covers in more depth in the articles on pricing and building a virtual tour business.
Creating a professional virtual tour for a realestate.com.au listing isn't about owning the most expensive camera — it's about a consistent process: prepare the property properly, shoot with consistent height and lighting, choose software that stitches cleanly and publishes where buyers will see it, and pay attention to the small details that separate polished work from rushed work. From here, the rest of this cluster goes deeper into each of those steps, from choosing equipment to pricing your services if you're building a business around this skill.


Compact, ready to go anywhere
Interchangeable lens that’s upgradeable
Dual 1-inch sensors for improved clarity and low light performance
Dynamic range and 6K 360° capture
360° photo resolution at 21MP

8K 360° video recording for ultra-detailed visuals.
4K single-lens mode for traditional wide-angle shots.
Invisible selfie stick effect for drone-like perspectives.
2.5-inch touchscreen with Gorilla Glass protection.
Waterproof up to 33ft for underwater shooting.

360° photo resolution in 23MP
Slim design at 24 mm thick
Built-in image stabilization for smooth video capture.
Internal 19GB storage for photo and video storage.
Wireless connectivity for remote control and sharing.

60MP 360° still images for high-resolution photography.
5.7K 360° video recording at 30fps.
2.25-inch touchscreen for intuitive control.
USB Type-C port for fast charging and data transfer.
MicroSD card slot for expandable storage.
.png)

.png)

Try it free. No credit card required. Instant set-up.





.svg)


.svg)