


.png)


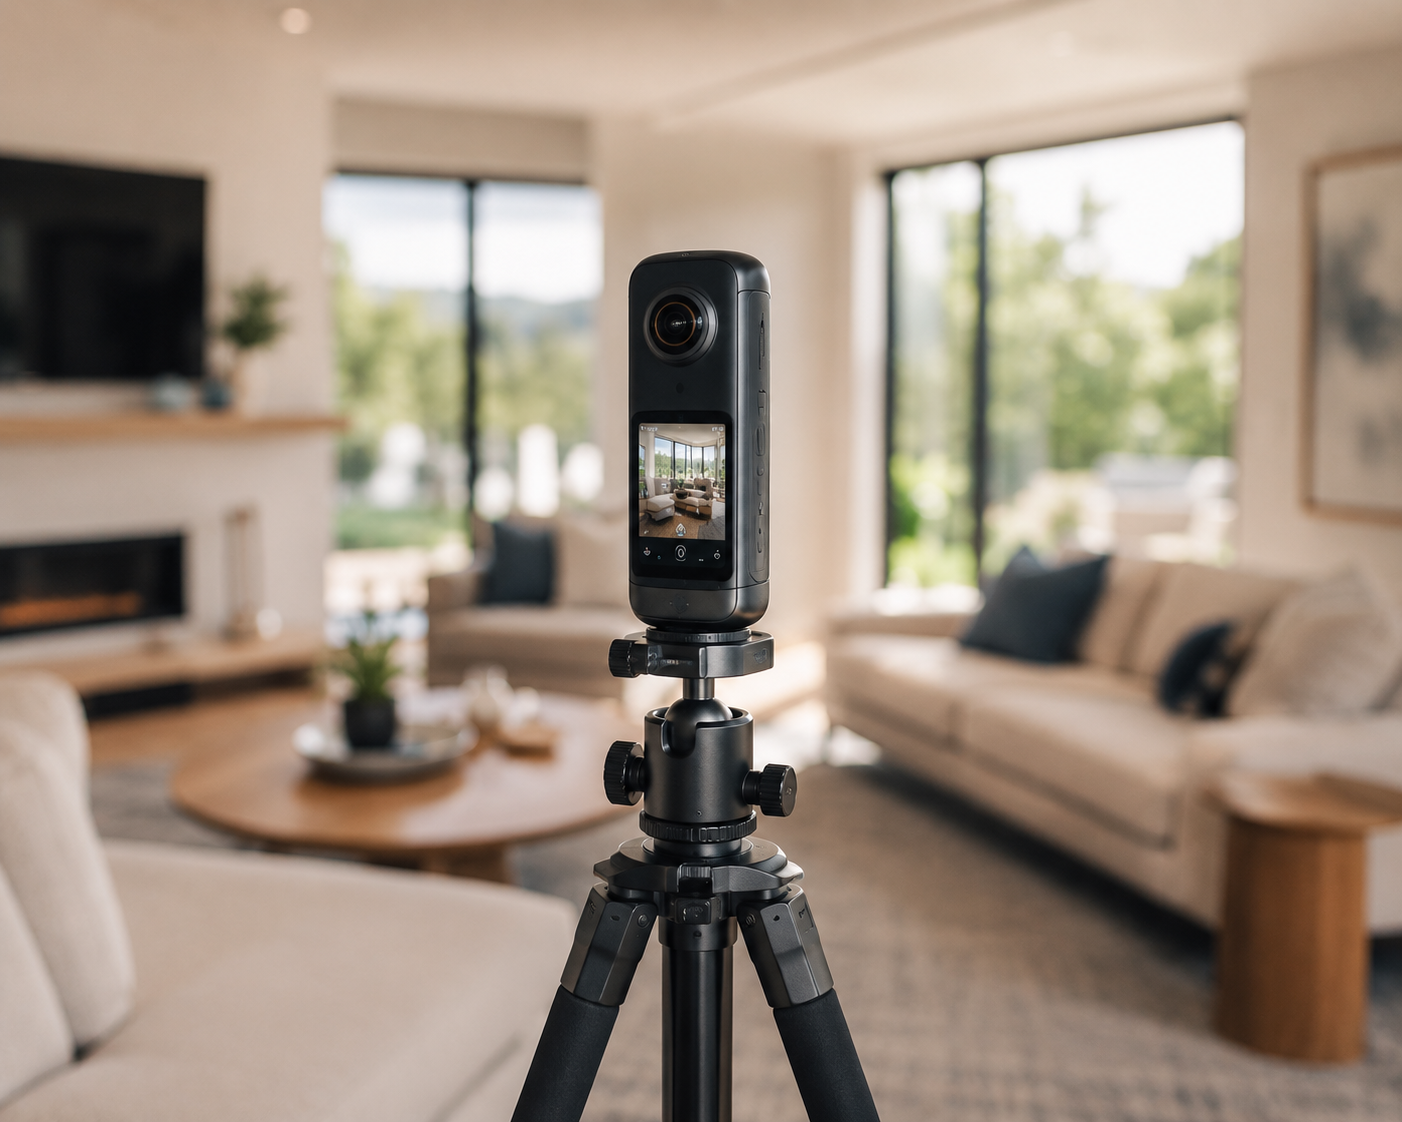
Buy the wrong camera and every tour you shoot afterward inherits its flaws — soft corners, muddy low light, stitching seams that never quite disappear. Get the best 360 camera for real estate virtual tours for your situation, and the rest of the workflow gets noticeably easier. This guide breaks down exactly what to look for, what to actually buy at each budget level, and the supporting gear that turns a decent camera into a genuinely professional kit.
None of this is about chasing the most expensive equipment on the market. It's about matching virtual tour equipment for real estate photography to how you actually work — a solo photographer shooting a handful of listings a week has very different needs from an agency running several shoots a day.
A 360° camera captures everything in the frame — there's no cropping out a cluttered corner or an awkward shadow after the fact the way you can with a standard photo. That makes camera quality, lens quality, and sensor performance in low light disproportionately important compared to standard real estate photography, where a skilled editor can rescue a mediocre shot.
It also affects your business economics directly. A camera that struggles in the dim hallways and walk-in robes common in Australian homes means more time spent fixing exposure in post-production, which eats into the margin on every job. If you want the full picture of how equipment fits into the broader process, the full step-by-step process for creating a professional virtual tour covers planning, shooting, and publishing end to end — this article focuses specifically on the gear.
Not every 360° camera on the market is built with real estate in mind — plenty are designed for action sports or social content and fall short on the specific things a listing tour demands.
Look for a genuinely high-resolution sensor (soft, low-resolution stitching is one of the fastest ways a tour reads as amateur), strong dynamic range so bright windows and dim interiors don't blow out or black out in the same frame, reliable exposure bracketing or HDR capture, and stitching software that produces clean, minimally visible seams without heavy manual correction. Battery life and file transfer speed matter too — a camera that needs recharging or a laptop tether mid-shoot slows down a job that should take under an hour.
Thinking in tiers makes the decision easier than trying to find one single "best" option, since the right choice really depends on your volume and how seriously you're treating this as a business.
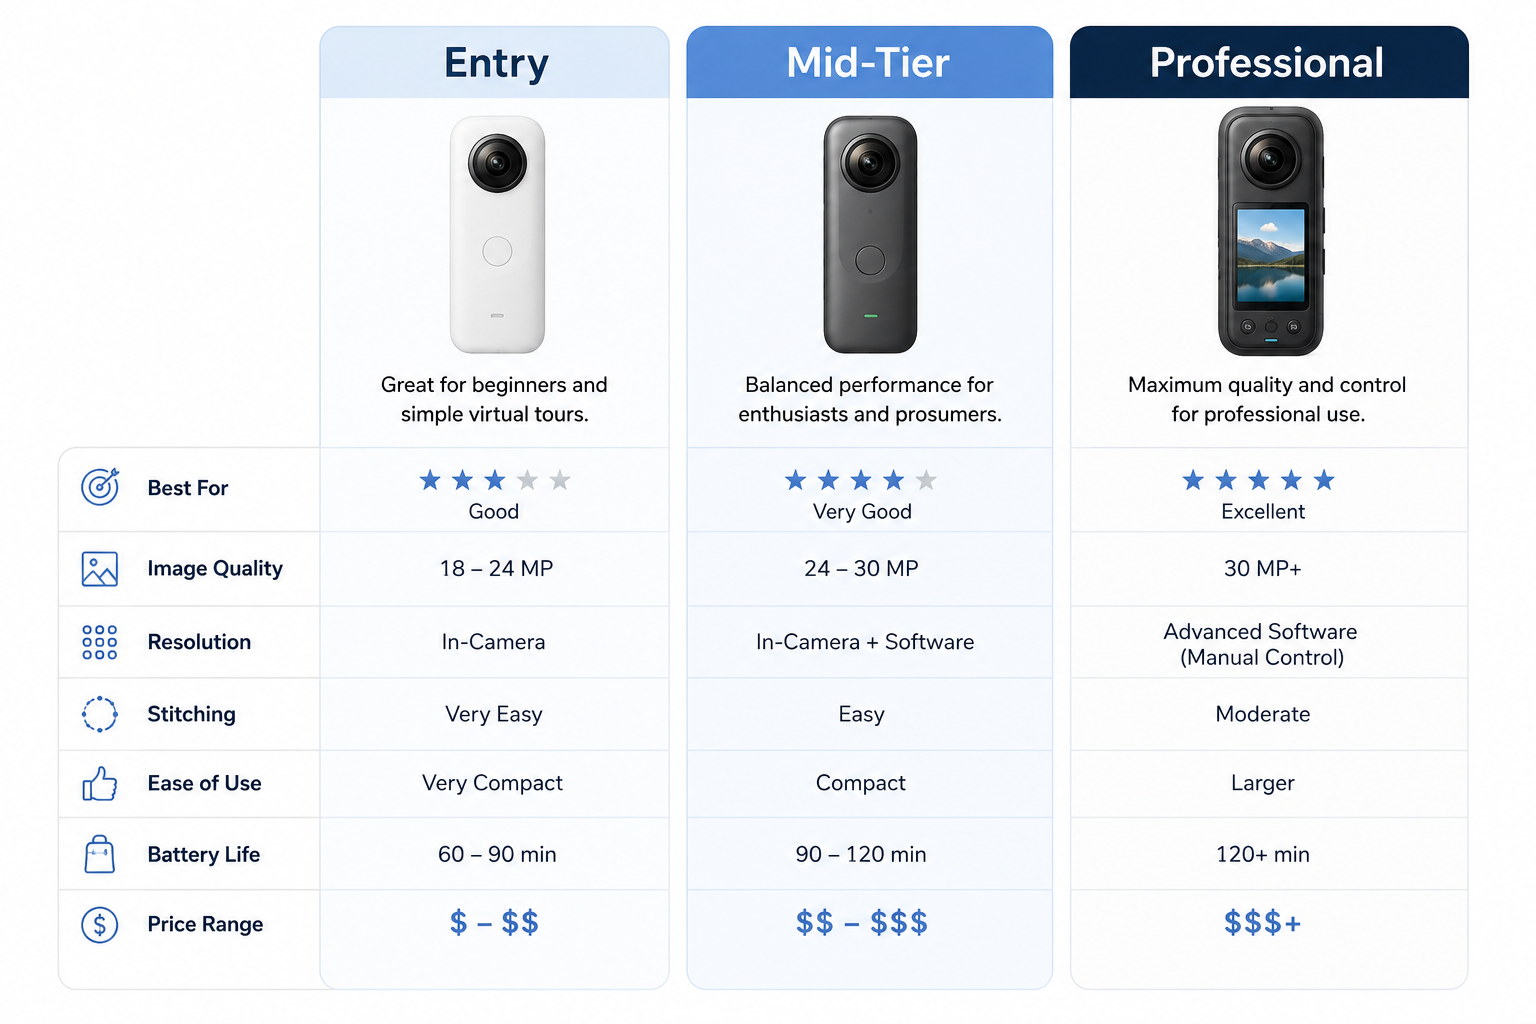
At the entry level, look for cameras built primarily for real estate and virtual tour use rather than general-purpose action cameras — these typically offer solid HDR handling and stitching software tuned for interiors, at a price that makes sense if you're testing the waters with a handful of listings a month. At the mid-tier, expect noticeably better low-light performance, faster in-camera processing, and companion apps built specifically around real estate workflows — this is where most working photographers building a 360 camera real estate Australia business tend to land, since the jump in image quality is meaningful without professional-cinema pricing. At the professional tier, you're paying for the sharpest possible resolution, the most accurate stitching, and features like automated HDR bracketing across many exposures per shot — worth it once you're shooting daily and quality differences show up in client-facing comparisons.
The camera gets most of the attention, but the supporting gear is just as responsible for a professional result. A sturdy tripod rated comfortably above your camera's weight prevents the subtle wobble that shows up as blur in a finished tour, and one with a bubble level (or a camera app with a digital level) saves enormous editing time by keeping horizons straight from the start.
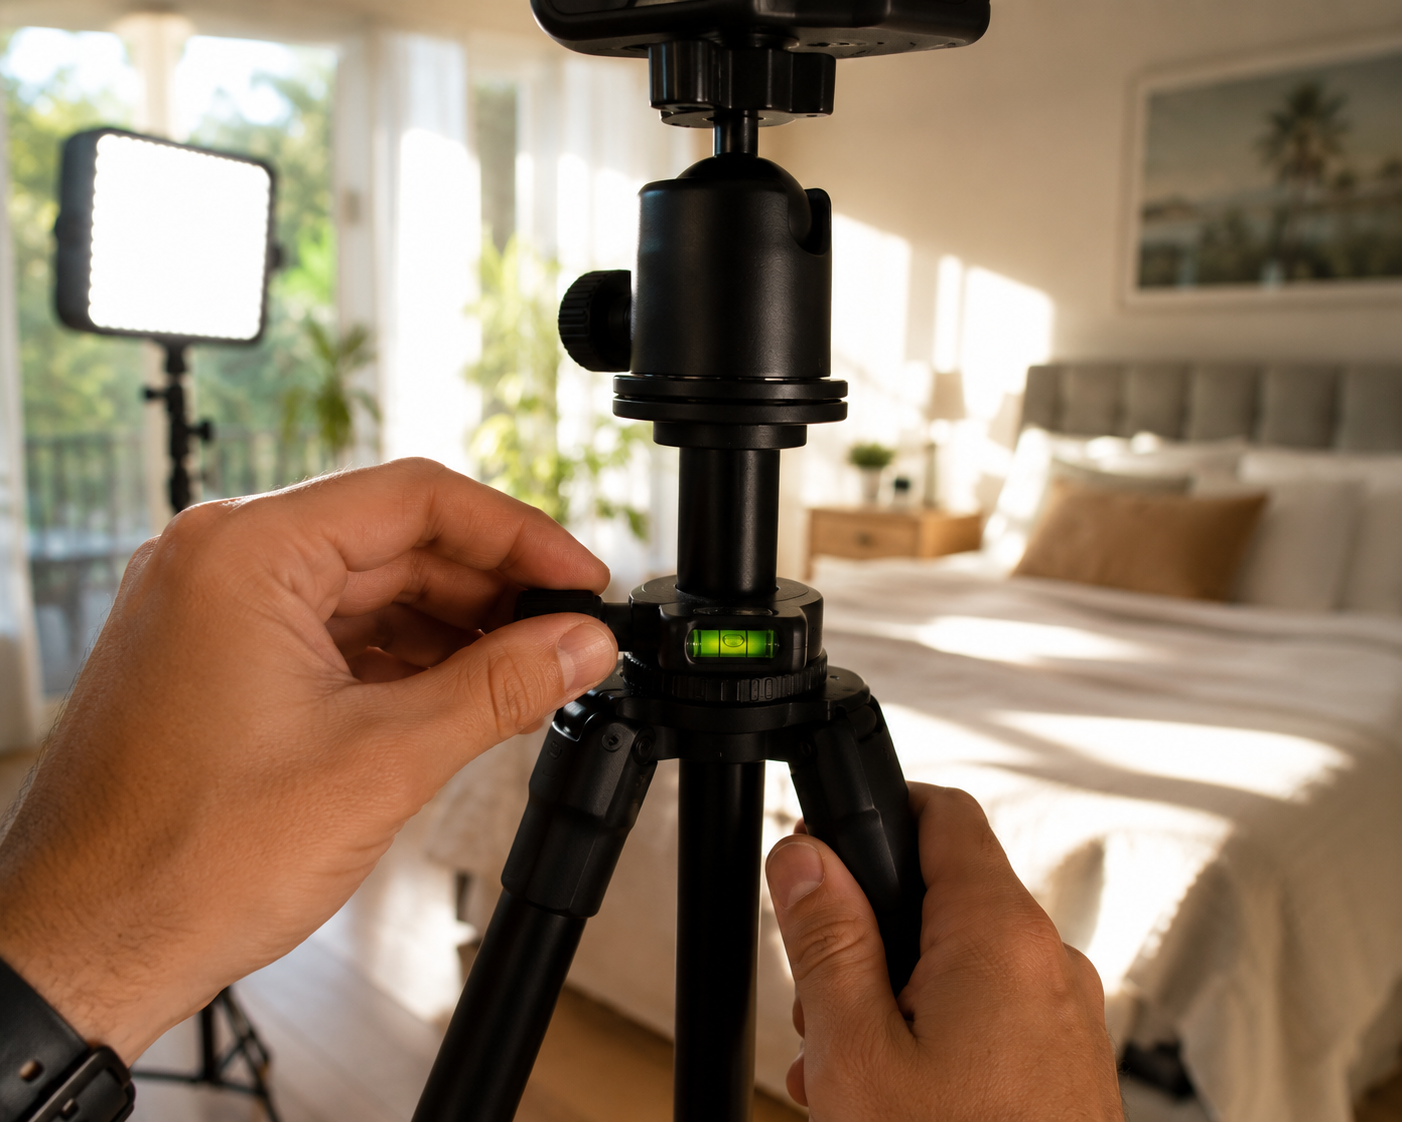
Lighting is the next biggest lever. Most rooms can be shot with natural light alone if you time the shoot well and open every blind and curtain, but a compact, battery-powered LED panel or two is worth carrying for dim bathrooms, walk-in robes, garages, and basements that would otherwise photograph dark. A remote shutter release or a camera's own app-based trigger also matters more than it sounds — physically pressing a button on the camera itself, even briefly, can nudge it out of position or introduce your own reflection into a mirrored or glass surface.
A sensible starting real estate virtual tour gear list looks something like: a real-estate-appropriate 360° camera, a tripod rated for its weight with a built-in level, one or two portable LED lights, a remote or app-based shutter trigger, spare batteries and a memory card, and a padded case to protect everything between listings.
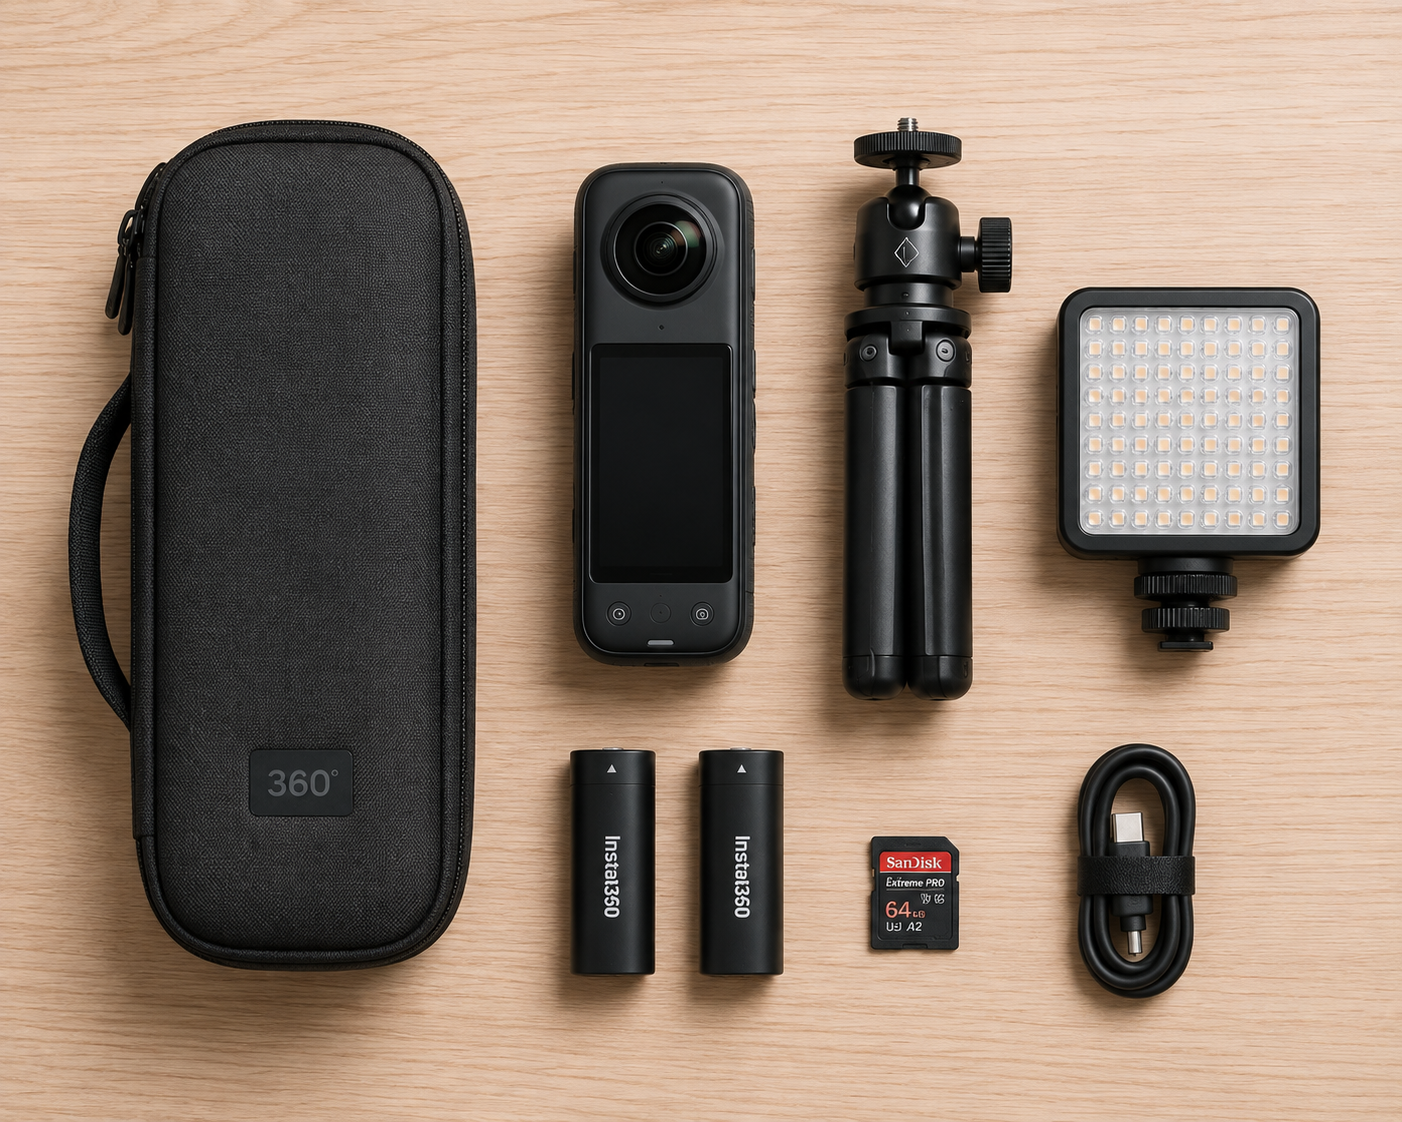
As volume grows, most photographers add a second camera body as backup (a dead battery or corrupted card mid-shoot is far worse than a slightly older backup camera), a laptop or tablet for on-site stitching checks before leaving the property, and eventually a dedicated vehicle setup so the kit stays organized and protected between jobs. If budget is the main constraint right now rather than volume, it's worth knowing you can start meaningfully lighter than this list suggests — a budget-friendly setup under $500 is entirely realistic for your first several listings, and even shooting a virtual tour with just your smartphone is a legitimate way to start if you're not ready to invest in a dedicated camera yet.
Specs on a product page only tell you so much, and the gap between a camera's marketing claims and its real-world performance in a dim Australian hallway can be significant. Before committing to a purchase, it's worth running a simple test shoot in your own home or a friend's place, deliberately including a mix of bright and dim rooms, a room with a large window facing direct sun, and at least one space with mixed lighting (a kitchen with both downlights and a window, for example).
Look closely at how the stitching handles vertical lines like door frames and cabinetry — visible bowing or misalignment there is a strong signal of weaker processing. Check exposure consistency across the whole tour rather than judging single frames in isolation, since a camera that nails one room but blows out the next will leave you doing heavy manual correction on every job. If a retailer or the manufacturer offers a return window, use it — a short trial period is far cheaper than discovering a camera's limitations three listings into a paying job.
It's also worth reading recent user reviews specifically from real estate photographers rather than general tech reviewers, since the two groups care about very different things: a reviewer testing action-camera footage on a bike ride isn't evaluating the same qualities that matter for a still, well-lit interior tour.
Hardware only gets you halfway. The software you pair it with handles stitching quality, hotspot navigation, floor-plan or dollhouse views, and — critically for this cluster — how easily the finished tour publishes to a realestate.com.au listing. Most real-estate-focused cameras pair with their own companion app, but many photographers prefer a dedicated third-party platform for more control over branding, embedding, and client delivery.
A few accessories round things out nicely without being essential: a small step stool for consistent camera height across rooms with different ceiling heights, lens-cleaning cloths (fingerprints and dust show up brutally in wide-angle capture), and a simple checklist card kept in the camera bag so nothing gets forgotten on-site.
The most common mistake isn't buying a bad camera — it's buying a good camera and then undermining it with a wobbly tripod, inconsistent lighting, or a workflow that skips the on-site quality check before leaving the property. Equally common: over-investing in a professional-tier camera before you have consistent client volume to justify it, when a mid-tier setup would have delivered client-ready results at a fraction of the cost.
The other frequent misstep is treating gear as a one-time purchase rather than a kit that evolves. Start with what your current volume genuinely justifies, and upgrade specific pieces — the camera body, the lighting, a backup unit — as the business grows, rather than trying to buy the "perfect" setup on day one.
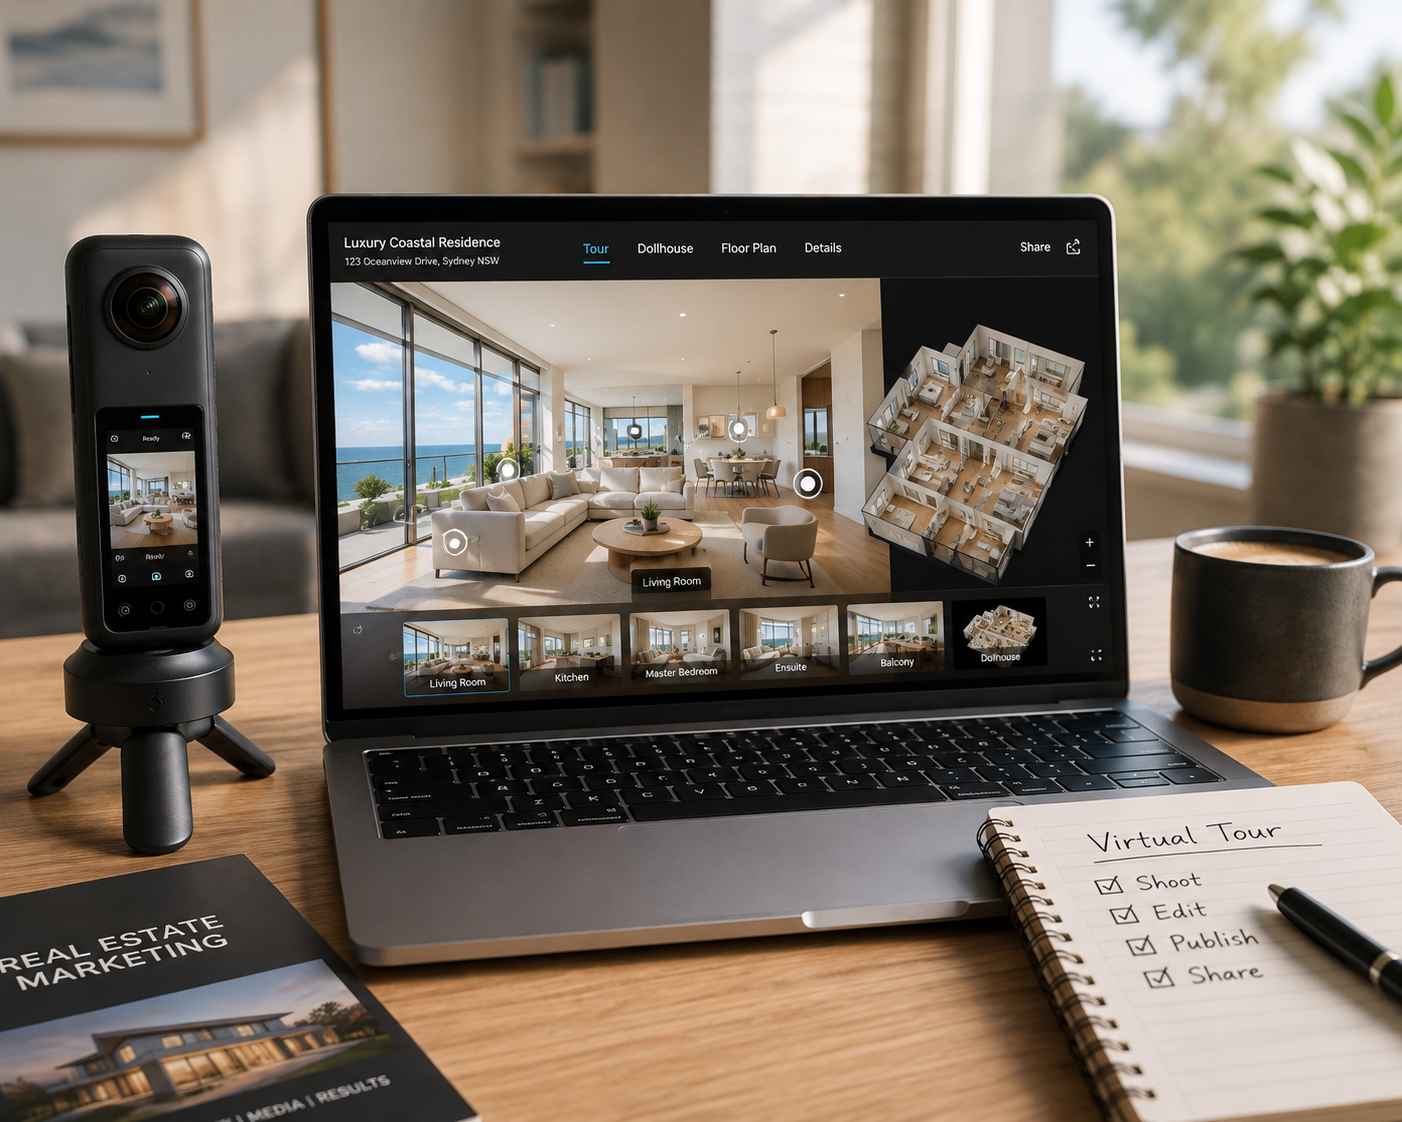
The best 360 camera for real estate virtual tours is the one that matches your actual shooting volume, budget, and the lighting conditions you'll most often encounter — not necessarily the most expensive model on the market. Pair it with a solid tripod, a couple of portable lights, and a dependable stitching workflow, and you have everything you need to produce consistently professional tours.
If you're ready to pair the right gear with software built specifically for real estate listings, CloudPano handles the stitching, hosting, and publishing side of the workflow so your equipment investment goes further.


Compact, ready to go anywhere
Interchangeable lens that’s upgradeable
Dual 1-inch sensors for improved clarity and low light performance
Dynamic range and 6K 360° capture
360° photo resolution at 21MP

8K 360° video recording for ultra-detailed visuals.
4K single-lens mode for traditional wide-angle shots.
Invisible selfie stick effect for drone-like perspectives.
2.5-inch touchscreen with Gorilla Glass protection.
Waterproof up to 33ft for underwater shooting.

360° photo resolution in 23MP
Slim design at 24 mm thick
Built-in image stabilization for smooth video capture.
Internal 19GB storage for photo and video storage.
Wireless connectivity for remote control and sharing.

60MP 360° still images for high-resolution photography.
5.7K 360° video recording at 30fps.
2.25-inch touchscreen for intuitive control.
USB Type-C port for fast charging and data transfer.
MicroSD card slot for expandable storage.
.png)

.png)

Try it free. No credit card required. Instant set-up.





.svg)


.svg)