


.png)



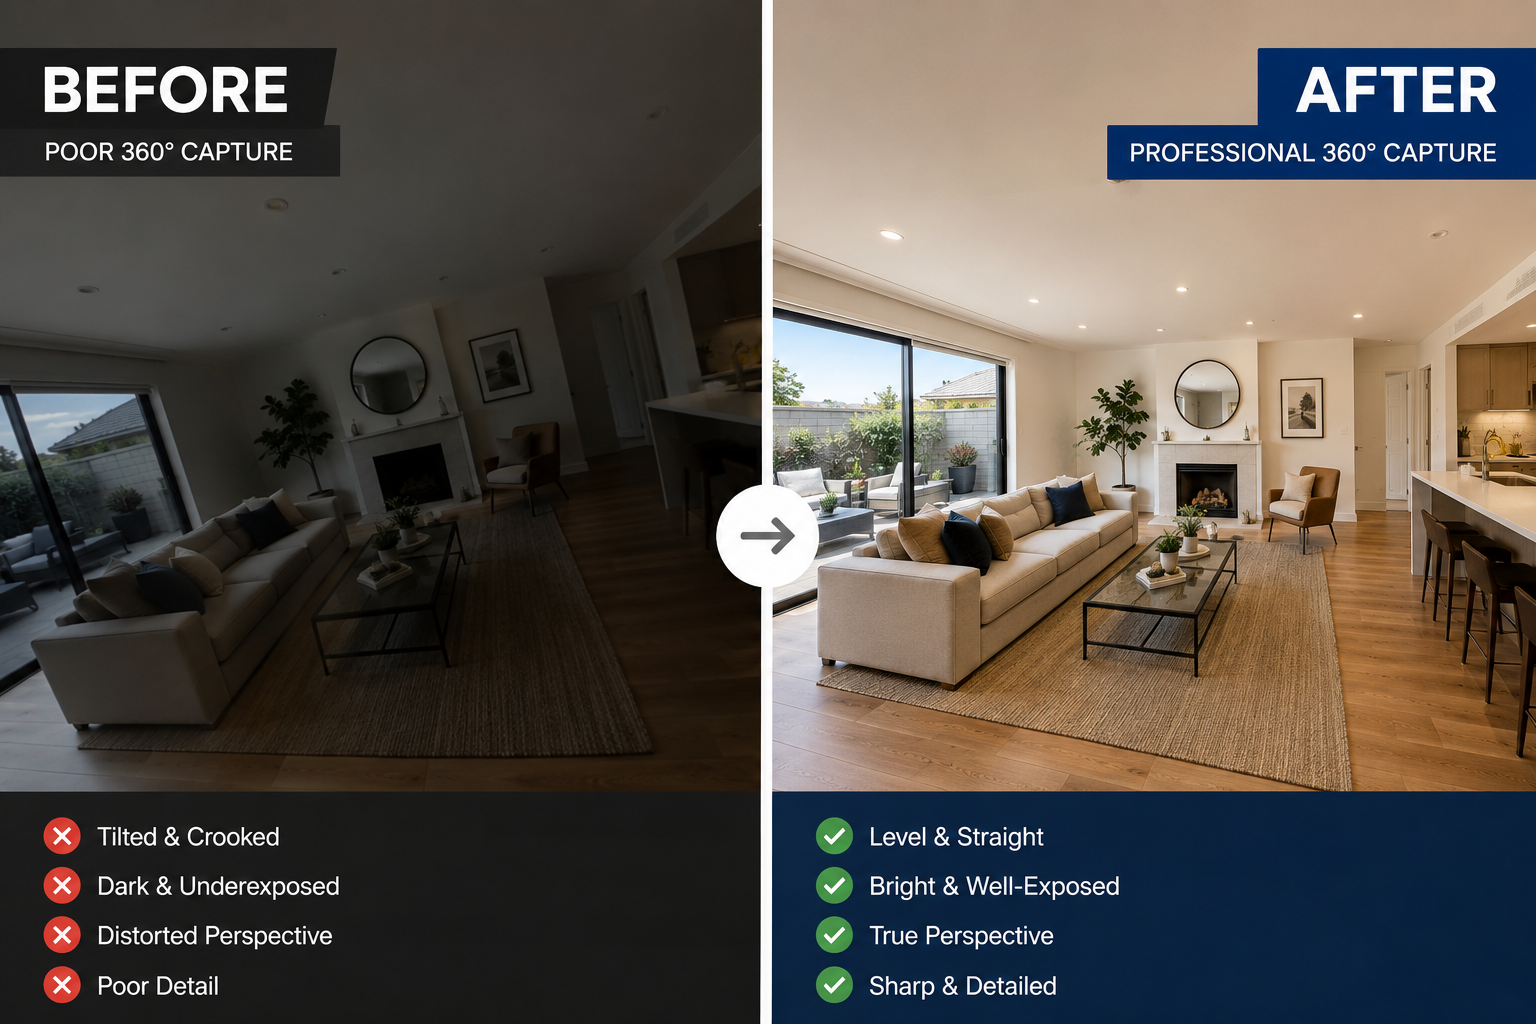
Buyers can spot a rushed virtual tour within seconds, even if they couldn't name exactly what feels off about it. Most of the time, it comes down to one of a small handful of common virtual tour mistakes real estate photographers make — almost all of them fixable without buying new equipment. Here are the seven that show up most often, and exactly what to do instead.
This is a practical list of virtual tour photography errors to avoid, drawn from the same fundamentals covered in the complete guide to creating a professional virtual tour — think of it as the troubleshooting companion to that broader process.
Shooting from a different height in every room is one of the fastest ways to make a tour feel visually jarring, even if each individual room looks fine in isolation. When the camera jumps from waist height in one room to well above eye level in the next, viewers subconsciously register the inconsistency as something being "off," even if they can't articulate why.
The fix: pick one consistent height — roughly seated eye level, around 1.5 metres — and stick to it in every room of a given shoot, adjusting the tripod each time rather than eyeballing it. A tripod with a built-in level or a camera app that displays one makes this fast enough to become an automatic habit rather than an extra step you're tempted to skip when you're running behind schedule. If you want the fully detailed version of this process, the full shooting and stitching workflow covers camera height alongside every other setting worth getting right before you start capturing a room.
Leaving a property before confirming your captures actually turned out well is a common shortcut that backfires. A stitching error, a tilted horizon, or a piece of equipment caught in a mirror is far easier to fix by reshooting on the spot than by discovering it later at your desk — sometimes after the property has already been re-styled or the listing has gone live.
The fix: build a quick review pass into every shoot, checking each room's capture on the camera's screen or companion app before moving to the next one. This adds only a minute or two per room, but it's the difference between a five-minute reshoot while you're already on-site with your gear set up, versus scheduling an entirely separate return visit once you've discovered the problem back at your desk — an outcome that's frustrating for you and unprofessional in front of the agent or homeowner who arranged the access.
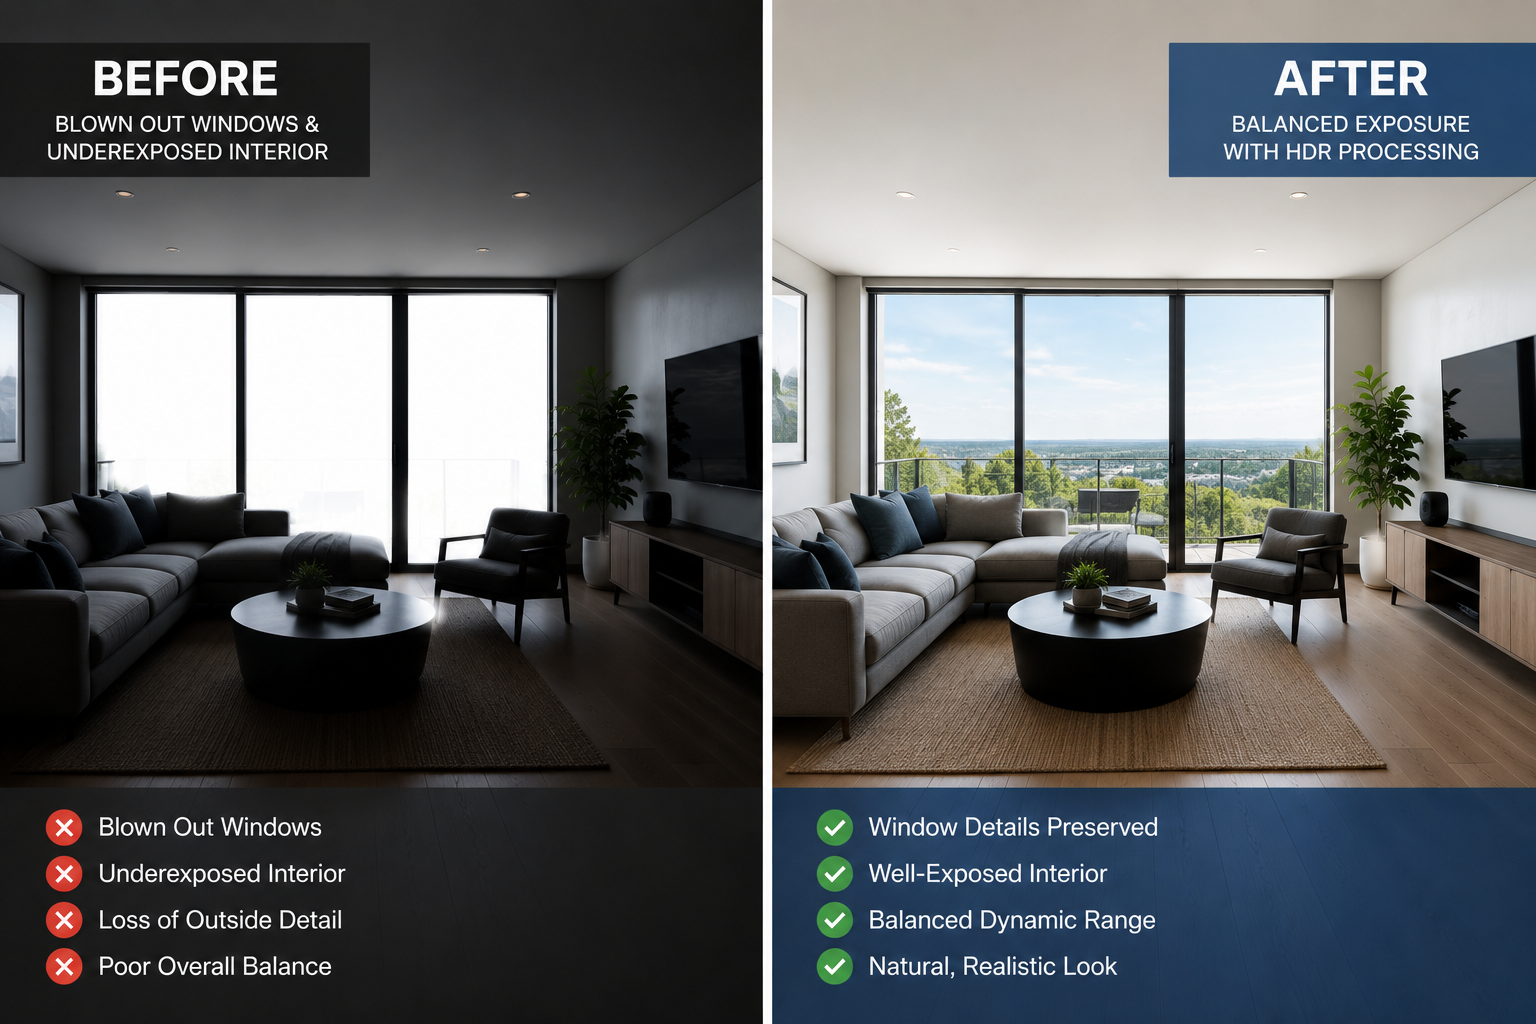
This is probably the single most common complaint buyers have about virtual tours: rooms that are simply too dark to properly evaluate, or a bright window that's blown out to solid white while the rest of the room falls into shadow. It happens most often in rooms with strong natural light contrast — a living room with large windows, or a hallway lit only by a single fixture.
The fix: turn on every light in the property, even during the day, and use your camera's HDR or exposure bracketing feature in any room with high contrast between a window and the interior.
A 360° camera captures everything in frame — there's no cropping out a messy corner the way you can with a standard photo. Unmade beds, cluttered benchtops, personal items, and stray cords in walkways are all far more visible and distracting in a virtual tour than in still photography.
The fix: treat the property styling pass as seriously as you would for professional stills photography, walking through and clearing clutter room by room before the camera comes out. It's worth agreeing this expectation with the agent or homeowner ahead of time too — arriving to find beds unmade and benchtops covered in dishes puts you in the awkward position of either shooting a messy home or delaying the appointment, neither of which is a great outcome for anyone involved.
Shooting rooms in a random order — or an order that made sense to you on the day but doesn't match how a buyer would naturally walk the property — produces a tour that feels disorienting to click through, even when every individual room looks great.
The fix: plan your shot order in advance, mirroring a natural walk-through: entry, living and dining, kitchen, bedrooms, bathrooms, then outdoor space, and stick to that sequence. Writing this order down as a simple numbered checklist before you start — rather than trusting yourself to remember it mid-shoot — is a small habit that prevents the far more time-consuming problem of realizing later that a room got captured out of sequence or skipped entirely.
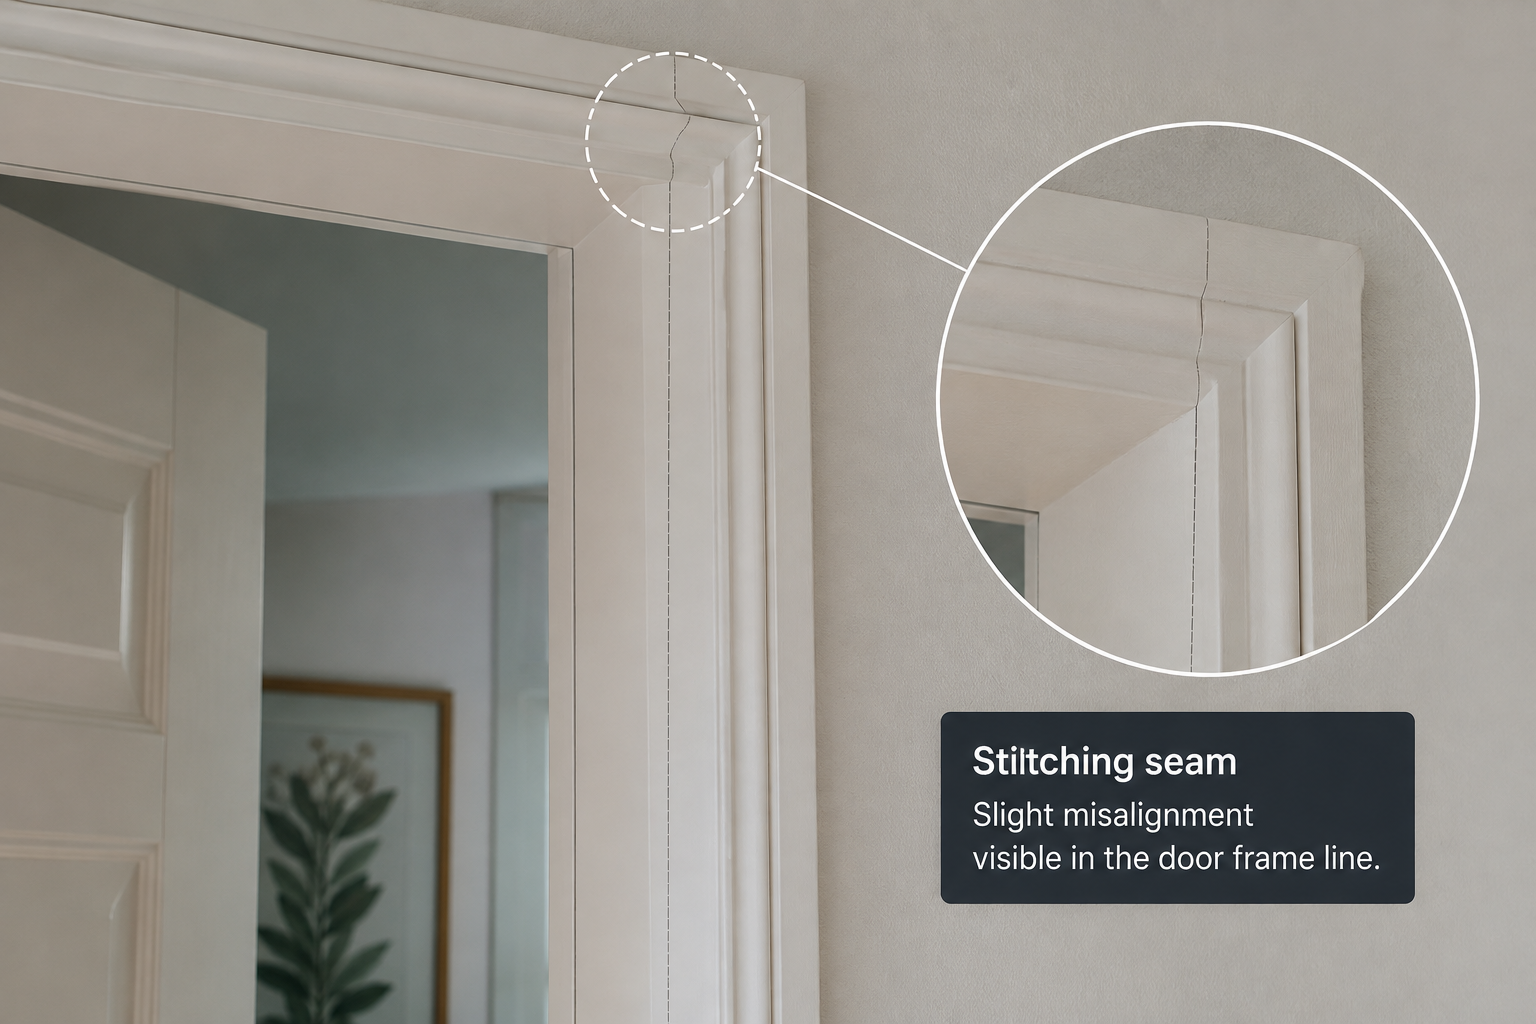
Accepting a camera's automatic stitching output without reviewing it is a fast way to publish a tour with visible seams, misaligned door frames, or exposure that jumps unnaturally between connected rooms. This is one of those virtual tour photography errors to avoid that's completely invisible during the shoot itself and only shows up once the tour is stitched together.
The fix: review every room in the finished tour specifically for seam alignment and exposure consistency before considering the job done, correcting any issues the software's auto-stitch missed.
Even a well-shot, well-stitched tour can have a broken hotspot, a dead-end in the navigation, or a starting point that opens on an unflattering angle of a hallway rather than the property's best feature. These issues are easy to miss when you're reviewing room by room instead of experiencing the tour the way a buyer actually will.
The fix: do one complete walkthrough of the finished, published tour exactly as a buyer would click through it, and if something goes wrong along the way, troubleshooting a tour that won't upload correctly is worth a dedicated look before you assume the fault is with your own shoot.
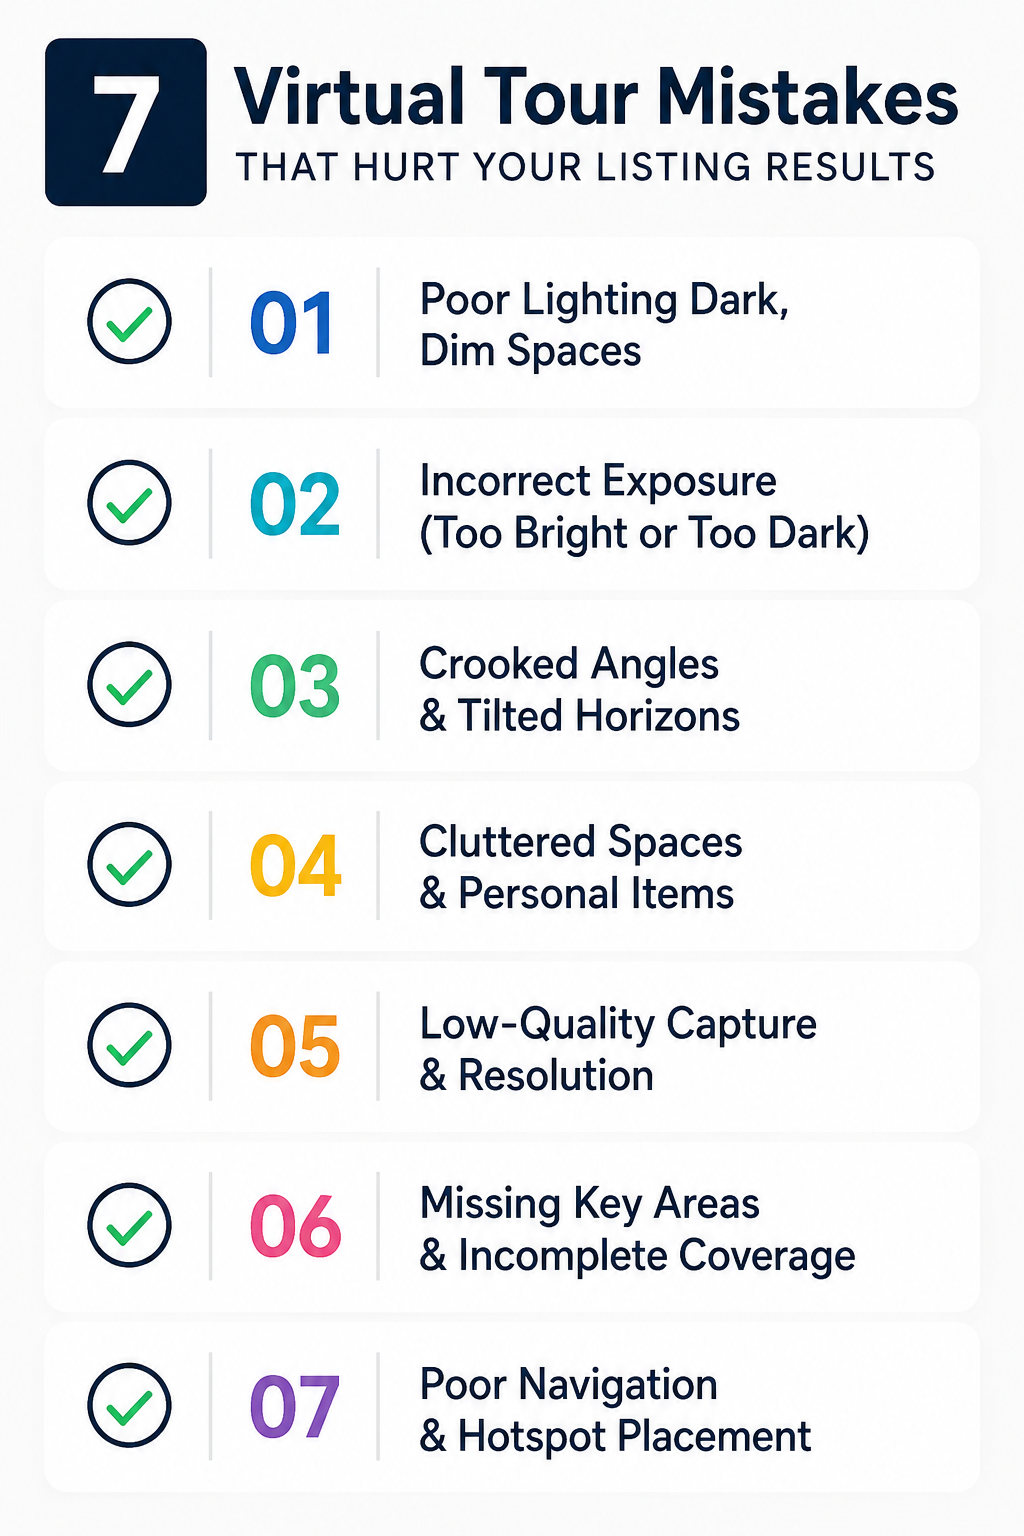
These seven mistakes share a common thread: none of them require expensive equipment to avoid, and all of them come down to consistent process rather than raw skill. The photographers who reliably produce clean, professional tours have usually just turned this list into an automatic checklist they run through on every job — plan the shot order, keep the height consistent, manage exposure deliberately, style the property properly, review on-site, check the stitching, and do one final buyer's-eye walkthrough before calling it done.
As a set of real estate 360 tour tips, this checklist is worth keeping somewhere visible — printed and tucked in your camera bag, or saved as a note on your phone — until it becomes second nature and you no longer need to consciously think through each step.
If you're looking at this list after a tour has already gone live rather than before a shoot, the good news is that most of these mistakes are fixable after the fact without a full reshoot. Exposure and color balance can often be corrected in your stitching software's editing tools, navigation order can usually be rearranged without new captures, and a poorly chosen starting point can be reset in a couple of clicks. A full reshoot is really only necessary when the underlying capture itself is unusable — badly blown-out exposure with no recoverable detail, or a stitching failure so severe the room can't be reconstructed. For anything short of that, how to fix bad virtual tours is often more about a software fix than a return visit to the property.
It's worth building a habit of periodically revisiting older published tours, particularly ones shot early in your process before these seven mistakes became second nature. A listing that's still active with a dim, awkwardly navigable tour from an earlier, less experienced shoot is worth a quick software-side correction if the fix is simple, since it reflects directly on your current work even if it was produced months earlier.
Every one of these common virtual tour mistakes real estate professionals run into comes down to the same underlying discipline: plan ahead, stay consistent, and review your work before calling it finished. None require better gear — just a checklist you actually follow on every single shoot, not just the ones where you happen to remember.
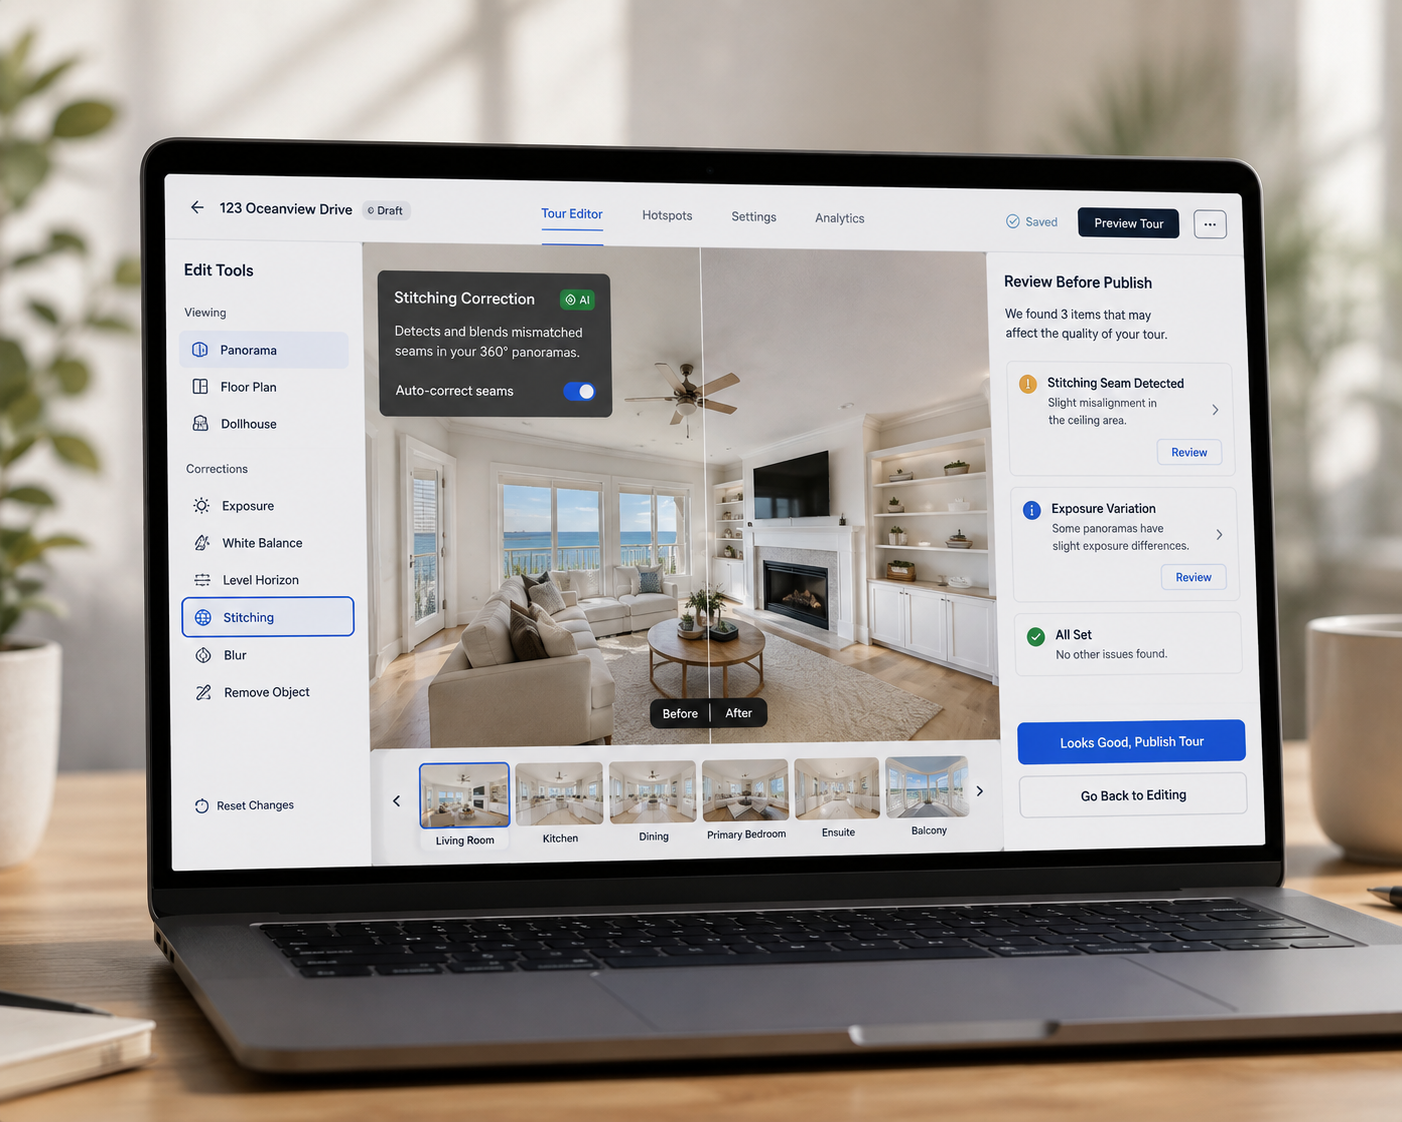
If you'd rather build good habits into your workflow from the start, CloudPano's editing and review tools make it easy to catch these mistakes before a tour ever reaches your realestate.com.au listing — turning this checklist from something you have to remember into something built directly into your process.


Compact, ready to go anywhere
Interchangeable lens that’s upgradeable
Dual 1-inch sensors for improved clarity and low light performance
Dynamic range and 6K 360° capture
360° photo resolution at 21MP

8K 360° video recording for ultra-detailed visuals.
4K single-lens mode for traditional wide-angle shots.
Invisible selfie stick effect for drone-like perspectives.
2.5-inch touchscreen with Gorilla Glass protection.
Waterproof up to 33ft for underwater shooting.

360° photo resolution in 23MP
Slim design at 24 mm thick
Built-in image stabilization for smooth video capture.
Internal 19GB storage for photo and video storage.
Wireless connectivity for remote control and sharing.

60MP 360° still images for high-resolution photography.
5.7K 360° video recording at 30fps.
2.25-inch touchscreen for intuitive control.
USB Type-C port for fast charging and data transfer.
MicroSD card slot for expandable storage.
.png)

.png)

Try it free. No credit card required. Instant set-up.






.svg)


.svg)