


.png)


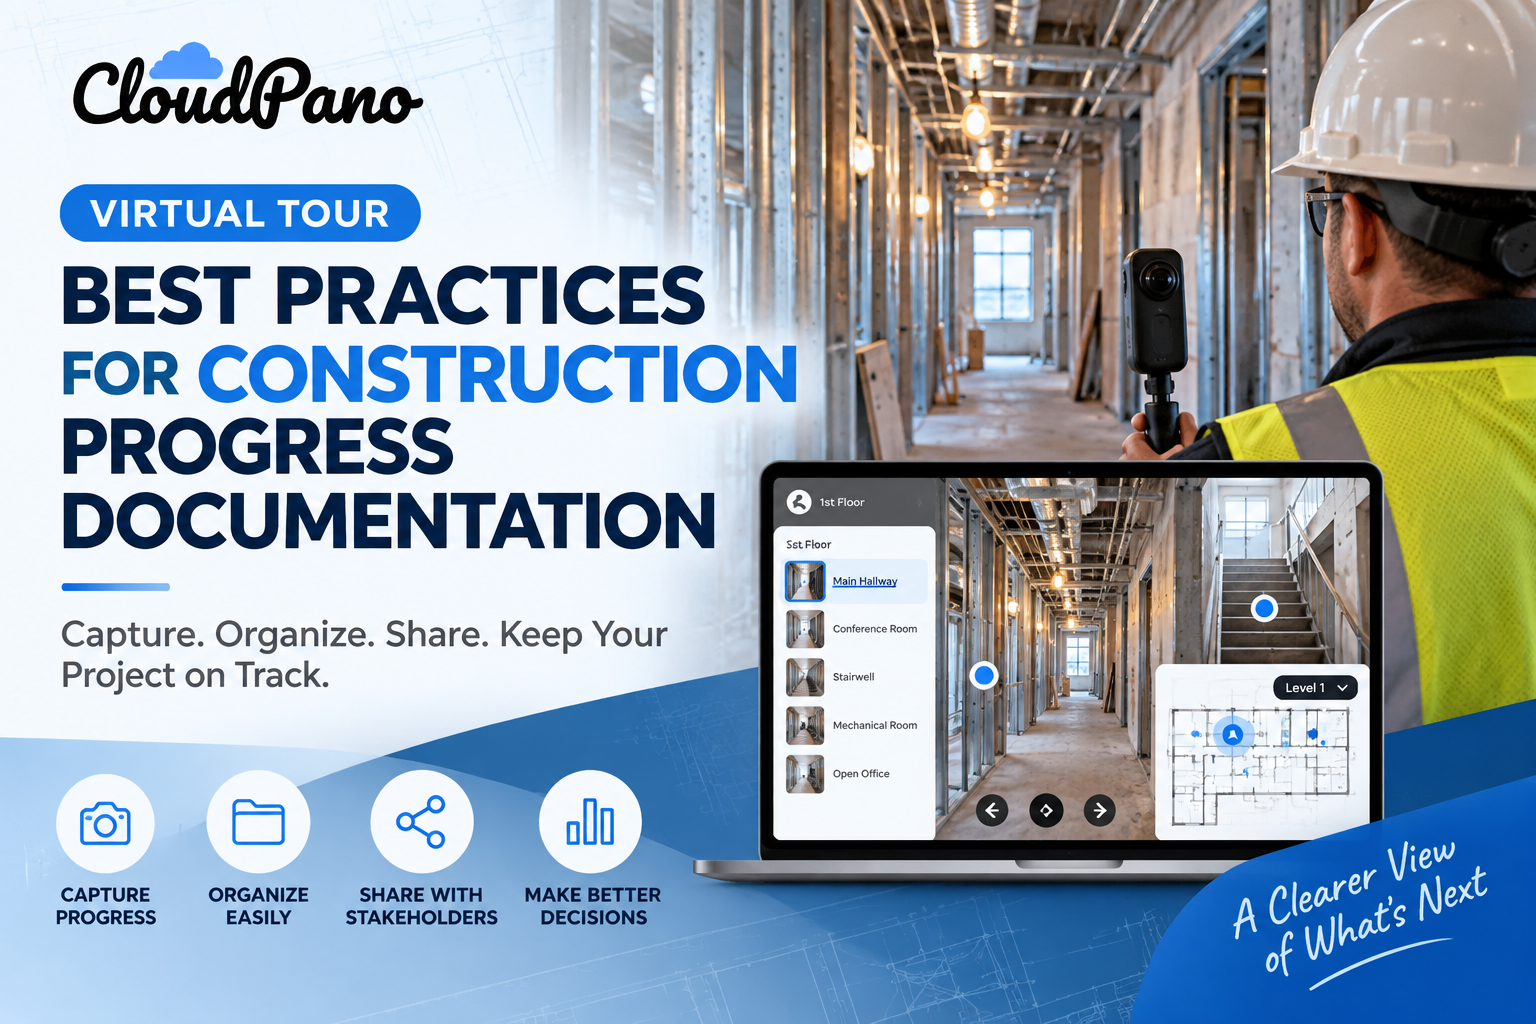
Capture 360° scenes on a consistent schedule, usually weekly, from the same fixed points and angles. Label scenes by phase and date, link them with logical hotspots, keep access easy for stakeholders, review analytics, and keep the tour updated through closeout so it stays a reliable record of the project.
Every construction project generates a mountain of documentation — daily logs, photos, punch lists, RFIs, and progress reports. Yet when an owner, lender, or inspector asks, “What does the site actually look like right now?” most teams are still stitching together folders of flat photos that lack context and go stale within days.
A well-run 360° virtual tour program solves that problem by giving every stakeholder a navigable, up-to-date view of the jobsite without requiring a site visit. Teams that adopt virtual tour software for construction as part of their standard documentation workflow find that progress records become easier to produce, easier to share, and far more useful when a dispute, warranty claim, or schedule question arises.
This guide walks through seven practical habits that turn a one-off virtual tour into a reliable, ongoing record of how a project actually came together.

Construction progress documentation has always mattered for accountability, but the way teams handle it is changing quickly. Industry coverage from outlets like Construction Dive has repeatedly noted how documentation and reporting practices across the industry are shifting away from static, one-off photo dumps toward continuous, structured records that stay useful long after a phase is complete.
That shift reflects a broader push toward operational discipline on jobsites. Groups such as the Associated General Contractors of America have long promoted best practices around consistent field reporting, risk management, and clear communication between contractors, owners, and subcontractors — and a disciplined virtual tour habit fits squarely into that kind of operational rigor.
A tour that is captured haphazardly, labeled inconsistently, or forgotten after the framing phase does little good. A tour built on a repeatable process, on the other hand, becomes a dependable source of truth that supports scheduling decisions, change-order conversations, and closeout documentation alike.
The seven practices below are ordered roughly the way a project team would encounter them: starting with how and when to capture scenes, moving through organization and navigation, and ending with the ongoing discipline of keeping a tour alive for the life of the project.
The single most important habit in construction progress documentation is regularity. A tour captured only when someone remembers to do it produces gaps that are impossible to fill later — you cannot go back and re-shoot a wall that has since been covered by drywall.
Most teams find that a weekly capture cadence strikes the right balance: frequent enough to catch meaningful changes at every phase, but not so frequent that it becomes a burden on site staff. Some projects benefit from a tighter schedule during fast-moving phases like structural steel or MEP rough-in, then can ease back to biweekly once finishes begin.
Whatever cadence you choose, treat it like any other recurring field task — assign it to a specific person, put it on the schedule, and track compliance the same way you would daily logs or safety walks. Consistency, not frequency alone, is what makes the resulting record trustworthy.
A weekly habit only pays off if the resulting scenes are actually comparable to one another. If the person capturing images stands in a different spot or points the camera in a different direction on each visit, viewers end up with a disjointed collection of images rather than a coherent record of change over time.
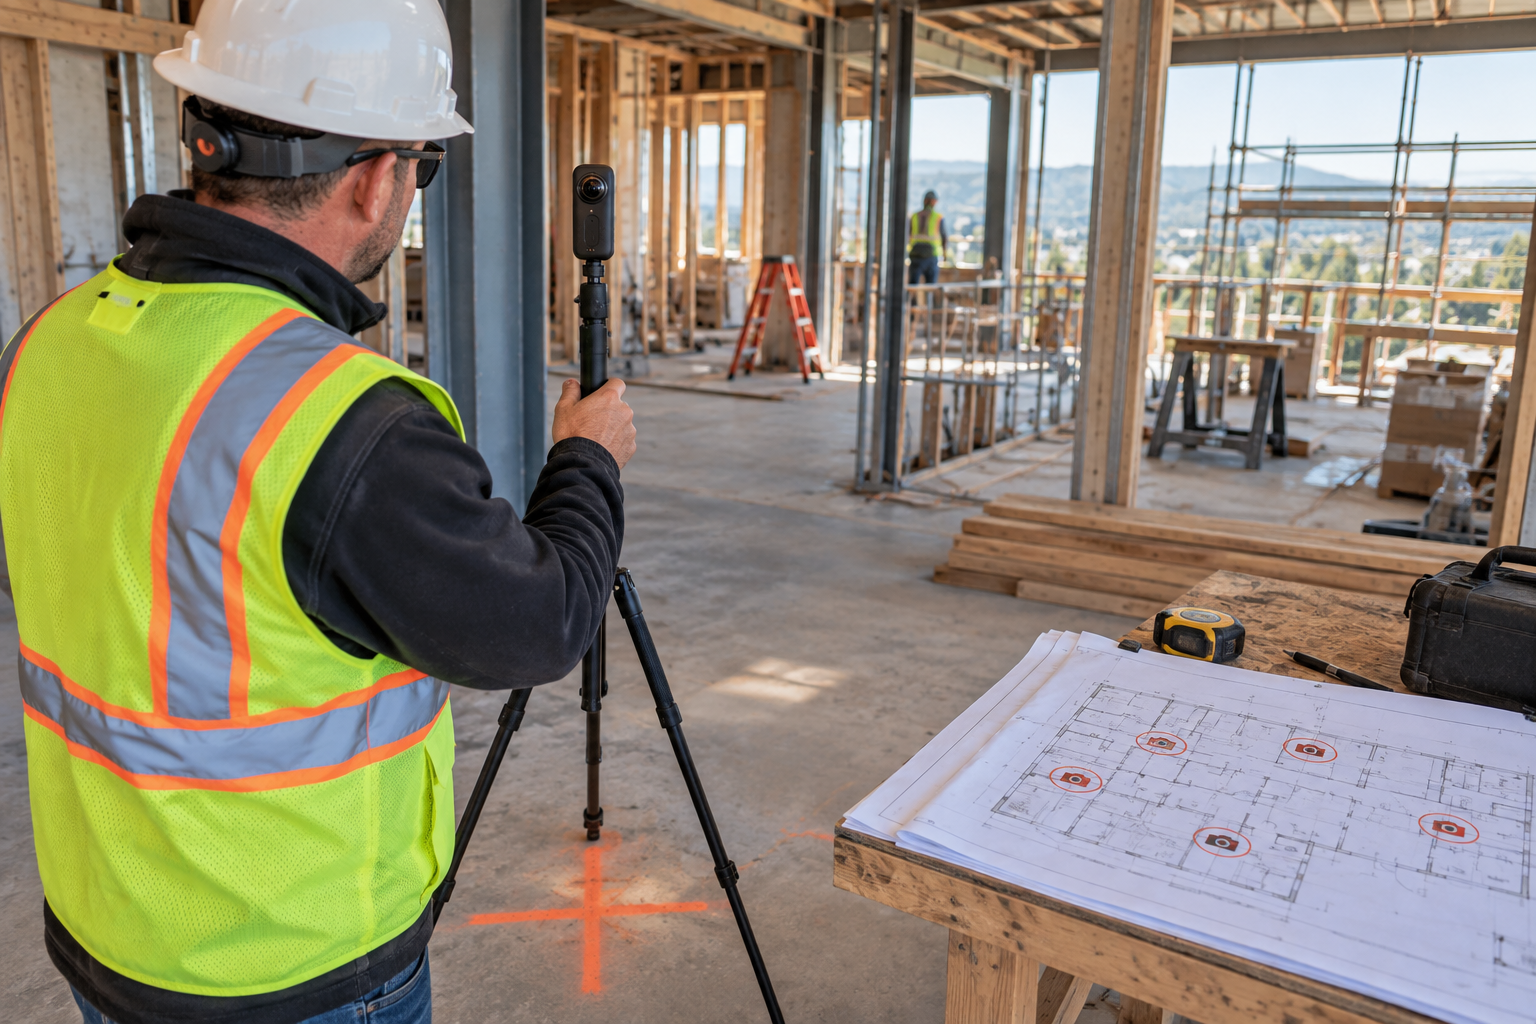
Before the first shoot, walk the site and establish a fixed set of capture points — typically at room centers, key structural bays, or wherever site conditions make comparison most useful — and mark them on the floor plan so anyone on the team can replicate them. Position the tripod or camera at the same height and orientation on every visit whenever possible.
This discipline turns your tour into something closer to a time-lapse: the same vantage point, phase after phase, so that anyone reviewing the record can see progress at a glance rather than trying to mentally reconcile inconsistent viewpoints. It also makes the tour far more defensible if it is ever used to settle a dispute about site conditions on a particular date.
As a project accumulates weeks or months of captures, an unorganized library of scenes quickly becomes unusable. Every scene should follow a clear, consistent naming convention — by construction phase (foundation, framing, rough-in, finishes) and by date — so that anyone opening the tour months later can immediately locate the record they need.
This kind of structured labeling is not just a convenience; it mirrors the broader discipline that formal documentation standards call for across a building’s life. Resources like the Whole Building Design Guide emphasize maintaining organized, traceable records throughout a building’s lifecycle, from design through construction and into operations — and a well-labeled virtual tour is a natural extension of that same principle.
Group scenes into folders or tour sections by floor and phase, and keep a simple index or legend so that new team members, subcontractors, or owner representatives can orient themselves without needing a walkthrough from the person who built the tour.
Once scenes are captured and labeled, the way they connect to one another matters just as much as the images themselves. Hotspot navigation lets a viewer move naturally between rooms, floors, or project phases within a single tour, but only if those connections are mapped out with some intention.
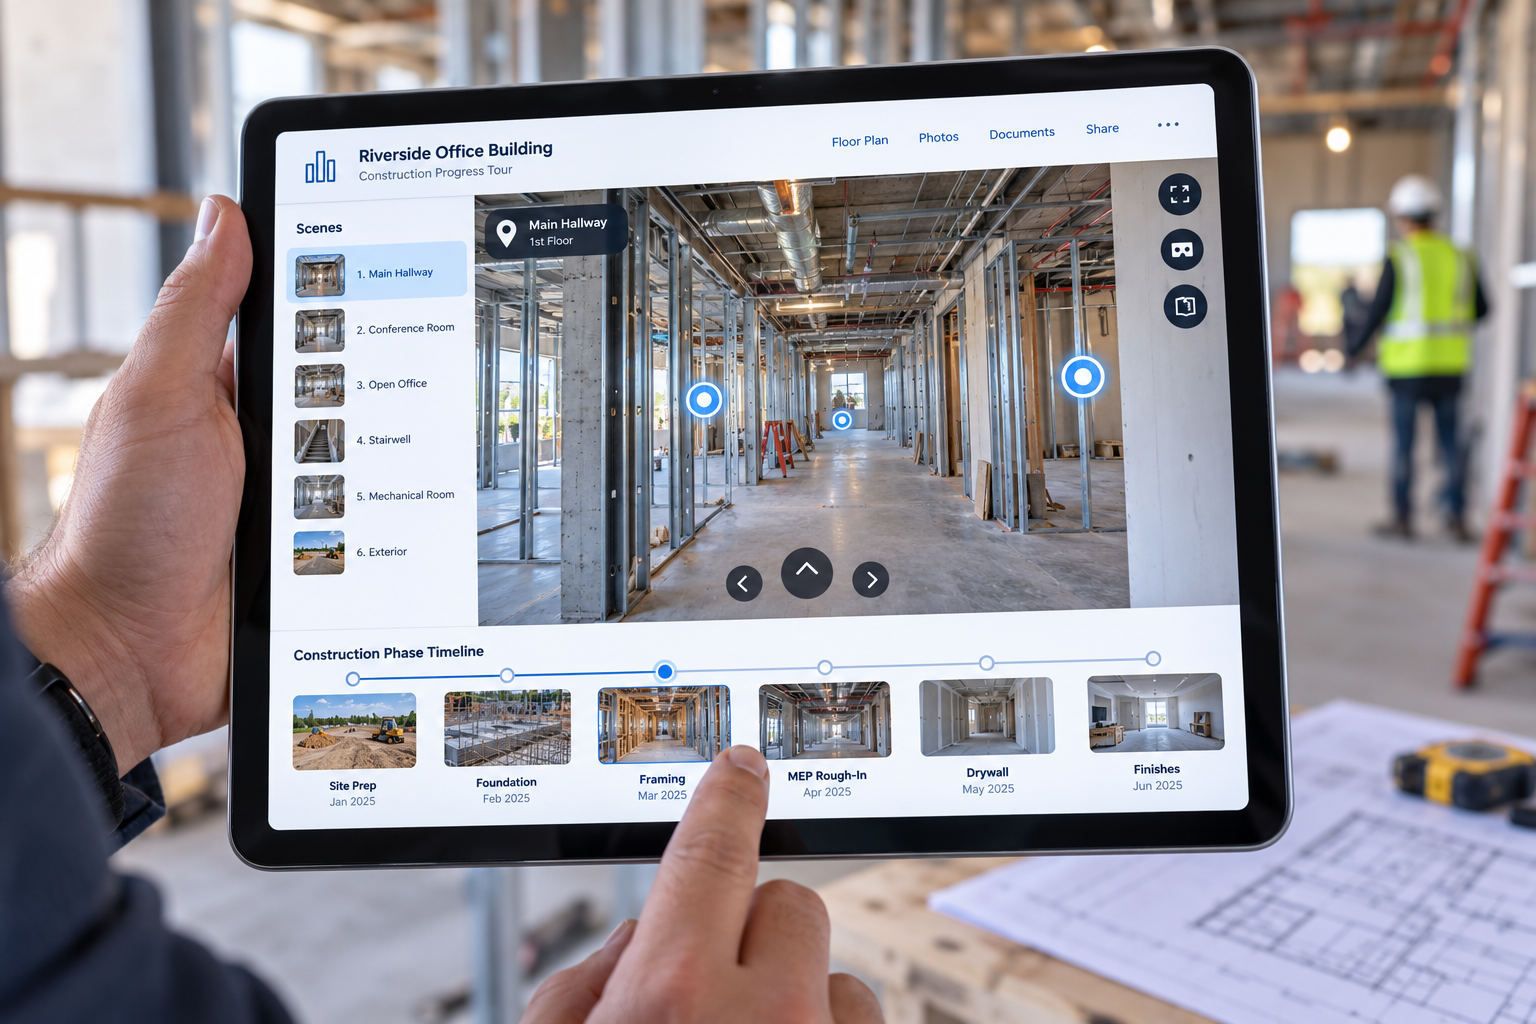
Link hotspots the way a person would actually move through the space — corridor to corridor, floor to floor via the stairwell or elevator, and phase to phase in chronological order — rather than leaving viewers to guess which hotspot leads where.
For multi-phase documentation, consider building a simple “timeline” path so a stakeholder can move forward through successive site visits and watch the same area evolve from slab to substantial completion. Thoughtful hotspot planning is what separates a tour that feels like a guided walkthrough from one that feels like a disconnected pile of panoramas, and it is often the difference between a tool stakeholders actually use and one they open once and abandon.
A virtual tour is only valuable if the people who need it can actually access it. Owners, lenders, inspectors, insurers, and design consultants all have legitimate reasons to check in on progress, and locking a tour behind cumbersome logins or restricting it to a single internal team defeats much of its purpose.
At the same time, a project team reasonably wants some control over who sees sensitive site conditions or unfinished work. The practical middle ground is to embed tours directly on a project extranet, client portal, or dedicated page — since tours can be embedded on webpages rather than confined to a standalone link — and use simple, low-friction access controls, such as a shared link or lightweight password, rather than heavyweight permission systems that discourage stakeholders from checking in.
This is one of the areas where choosing capable virtual tour software for construction pays off directly: a no-code, easy-to-share interface means the site superintendent or project manager can grant access in minutes rather than routing every request through IT.
When access is easy, stakeholders can check in more often, reducing status-update calls and email chains asking, “How does it look out there?”
Once a tour is live and being used, the next best practice is to look at how it’s actually being used.
Built-in analytics — typically surfaced through a Google Analytics integration — can reveal which scenes get the most views, how long stakeholders spend in particular areas, and which sections of the tour are being ignored entirely.
This data can be genuinely useful for project management. If lenders are repeatedly checking a specific mechanical room or an owner keeps returning to a particular unit finish, that may signal where attention and communication should be focused.
Conversely, if entire sections of the tour go unviewed, it may indicate that stakeholders don’t know they exist, that the hotspot navigation isn’t surfacing them clearly, or that the labeling scheme needs improvement.
Reviewing this engagement data regularly — monthly is reasonable for most projects — turns the tour from a static archive into an active communication tool that you can refine based on what stakeholders actually want to see.
The most common failure mode for construction virtual tours isn’t a bad first capture — it’s abandonment after the initial excitement fades.
A tour that stops being updated after the framing milestone sends the wrong signal to stakeholders and quickly loses its value as a documentation tool. Build the update cadence into the project’s standard operating rhythm rather than treating it as an extra task: assign ownership, tie captures to existing milestone or weekly-meeting schedules, and make updating the tour as routine as submitting a daily log.
Because tours built on a simple, no-code platform don’t require special software or technical training to update, this responsibility can sit with a superintendent or field engineer rather than requiring a specialist — removing one of the most common reasons for letting a tour lapse.
A tour that is actively maintained through substantial completion and closeout becomes a genuinely valuable record for warranty work, as-built verification, and future renovation planning. One that stops updating after week six becomes a liability that can undermine trust in the rest of your documentation.
How often should a construction virtual tour be updated?
Weekly is a reliable default for most projects, since it captures meaningful change without overwhelming field staff. Fast-moving phases like structural work may warrant more frequent updates, while later finish phases can sometimes move to a biweekly schedule.
Do stakeholders need special equipment or software to view a tour?
No. A well-built virtual tour works in a standard web browser and on a mobile phone or tablet, with a VR headset providing an optional, more immersive walkthrough. This allows owners, lenders, and inspectors to view progress using devices they already have.
Can a virtual tour replace daily written progress logs?
It’s best used alongside written logs rather than as a replacement. The tour provides visual and spatial context that written logs can’t capture, while written logs still provide the specific quantities, dates, and narrative details that a visual record alone won’t include.
Who on the project team should be responsible for capturing and maintaining the tour?
Most teams assign this responsibility to a superintendent, field engineer, or project coordinator who is already on site regularly. Because modern tour-building platforms require no coding or specialized technical training, this responsibility can be handled in-house without bringing in outside specialists.
Virtual tours have moved from a nice-to-have marketing extra to a practical documentation tool that construction teams can use for accountability, stakeholder communication, and long-term project records.
The difference between a tour that earns its keep and one that gets abandoned after a few weeks comes down to process: shooting on a consistent schedule, capturing from repeatable vantage points, organizing scenes clearly, connecting them with sensible hotspot navigation, keeping access open to the right people, reviewing analytics, and — above all — keeping the tour current throughout the life of the project.
Teams that build these habits into their standard operating rhythm, supported by capable virtual tour software for construction, end up with a documentation asset that pays dividends long after the ribbon-cutting, from warranty claims to future renovation planning.
Weekly is a reliable default for most projects, since it captures meaningful change without overwhelming field staff. Fast-moving phases like structural work may warrant more frequent updates, while later finish phases can sometimes move to a biweekly schedule.
No. A well-built virtual tour works in a standard web browser and on a mobile phone or tablet, with a VR headset as an optional, more immersive walkthrough. Owners, lenders, and inspectors can view progress using devices they already have.
It's best used alongside written logs, not as a replacement. The tour provides visual and spatial context that written logs can't capture, while written logs still supply the specific quantities, dates, and narrative details that a visual record alone won't include.
Most teams assign it to a superintendent, field engineer, or project coordinator who is already on site regularly. Because modern tour-building platforms require no coding or specialized technical training, the work can be handled in-house without bringing in outside specialists.
Shooting from the same marked spots, height, and orientation on every visit makes scenes comparable, so the tour works like a time-lapse of each area. Reviewers can see progress at a glance, and the record is far more defensible if it is ever used to settle a dispute about site conditions.


Compact, ready to go anywhere
Interchangeable lens that’s upgradeable
Dual 1-inch sensors for improved clarity and low light performance
Dynamic range and 6K 360° capture
360° photo resolution at 21MP

8K 360° video recording for ultra-detailed visuals.
4K single-lens mode for traditional wide-angle shots.
Invisible selfie stick effect for drone-like perspectives.
2.5-inch touchscreen with Gorilla Glass protection.
Waterproof up to 33ft for underwater shooting.

360° photo resolution in 23MP
Slim design at 24 mm thick
Built-in image stabilization for smooth video capture.
Internal 19GB storage for photo and video storage.
Wireless connectivity for remote control and sharing.

60MP 360° still images for high-resolution photography.
5.7K 360° video recording at 30fps.
2.25-inch touchscreen for intuitive control.
USB Type-C port for fast charging and data transfer.
MicroSD card slot for expandable storage.
.png)

.png)

Try it free. No credit card required. Instant set-up.







.svg)


.svg)