


.png)


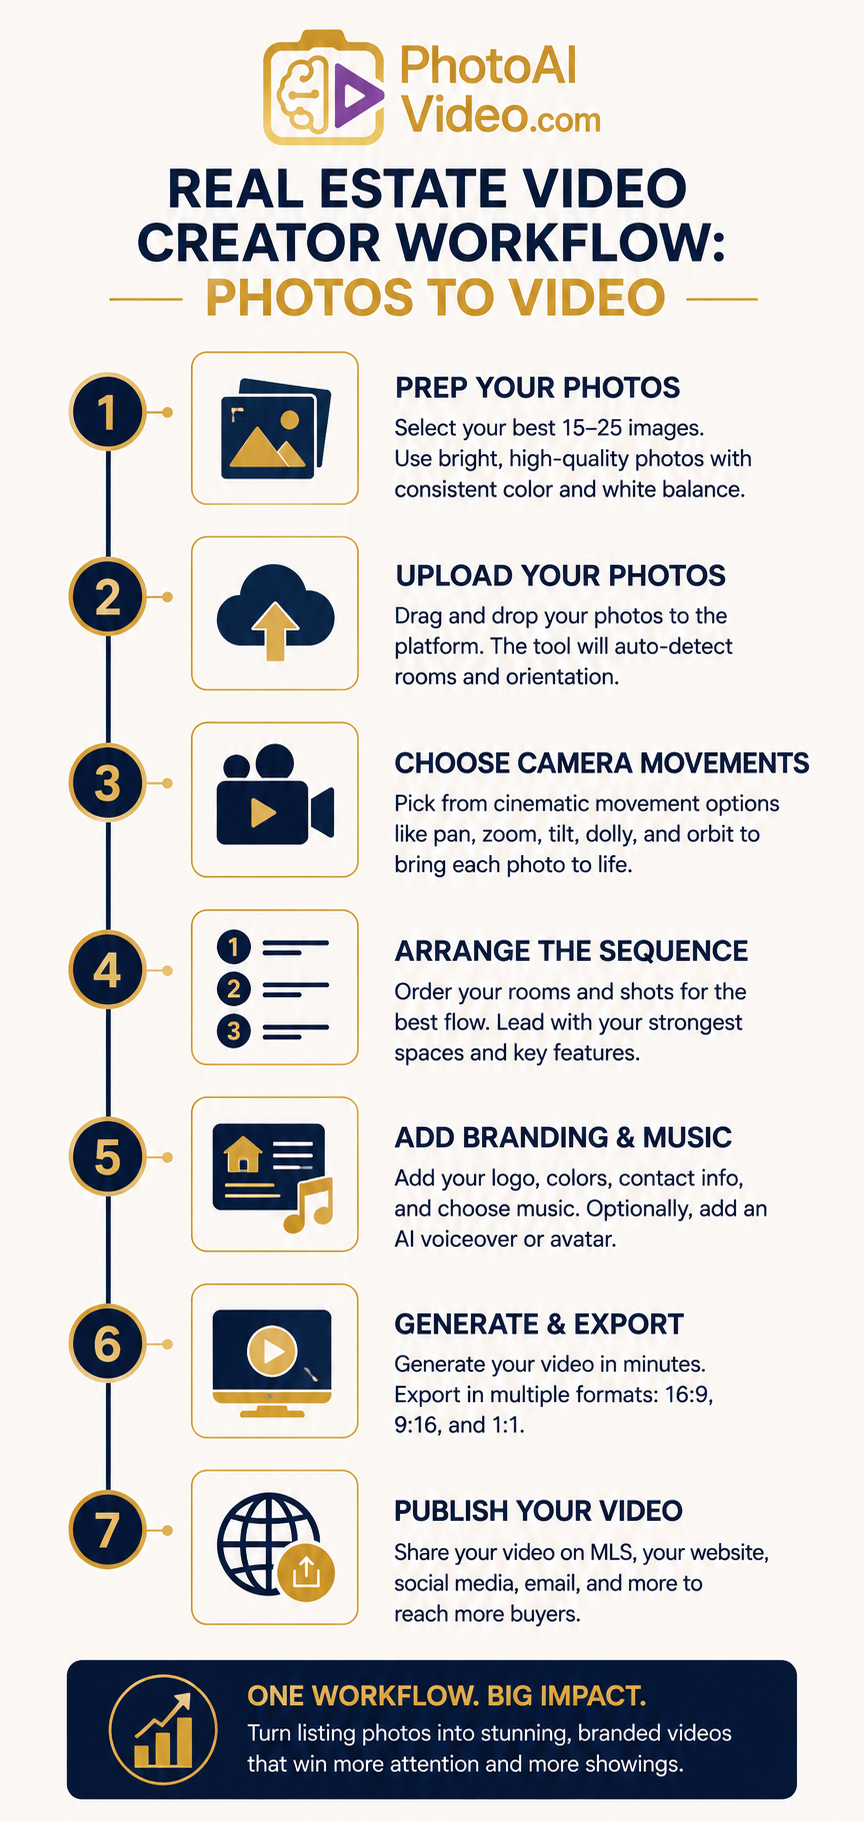
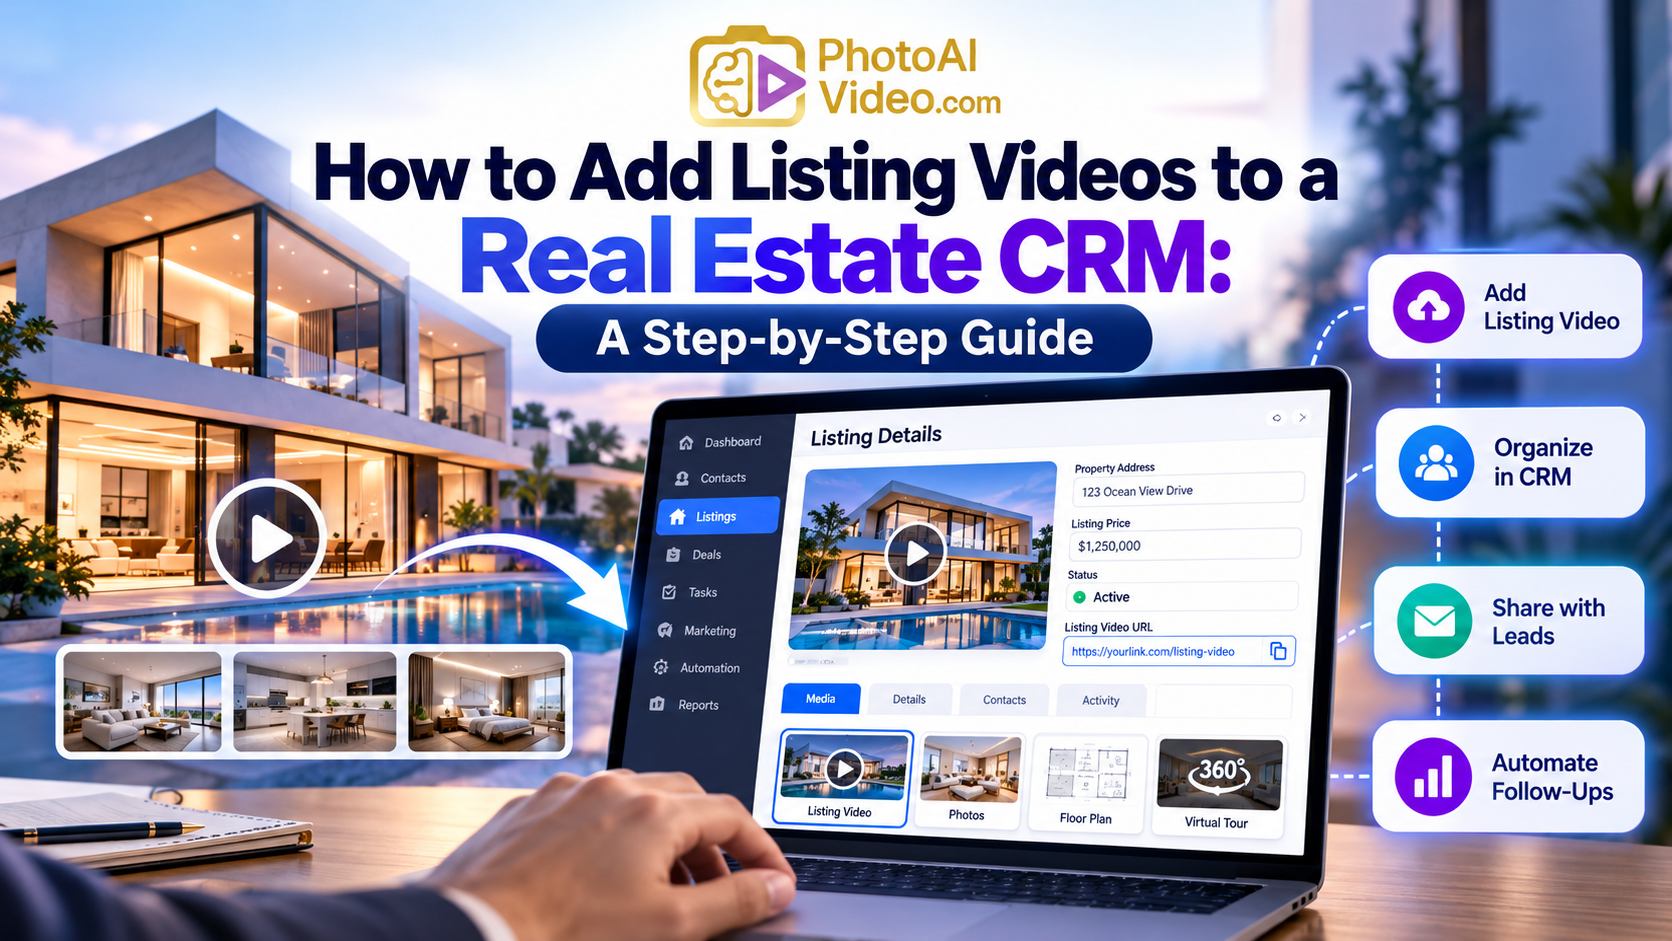
If you've ever tried to turn a folder of listing photos into a polished walkthrough video by hand, you know how quickly a "quick edit" can turn into a lost afternoon. That's the exact problem a real estate video creator solves: instead of wrestling with timelines and export settings, you upload your photos and let the software handle the cinematography, pacing, and branding for you.
This isn't theoretical — it's a workflow you can use on a real listing today. Modern real estate video creator tools take a set of still photos and turn them into a fully branded, music-scored property video in about the time it takes to grab a coffee. But knowing which buttons to click is only half the story; the result depends on what you do before, during, and after you hit "generate."
Below is the step-by-step workflow real estate agents use to go from a phone full of listing photos to a finished, publish-ready video — with practical tips at each stage to help the result look like it came from a professional videographer rather than a template.
Any AI video generator is only as good as what you feed it. It can smooth out pacing and add cinematic camera movement, but it can't fix a blurry photo or invent details that aren't in the original shot. A few minutes of preparation upfront can save you from having to re-upload files later.
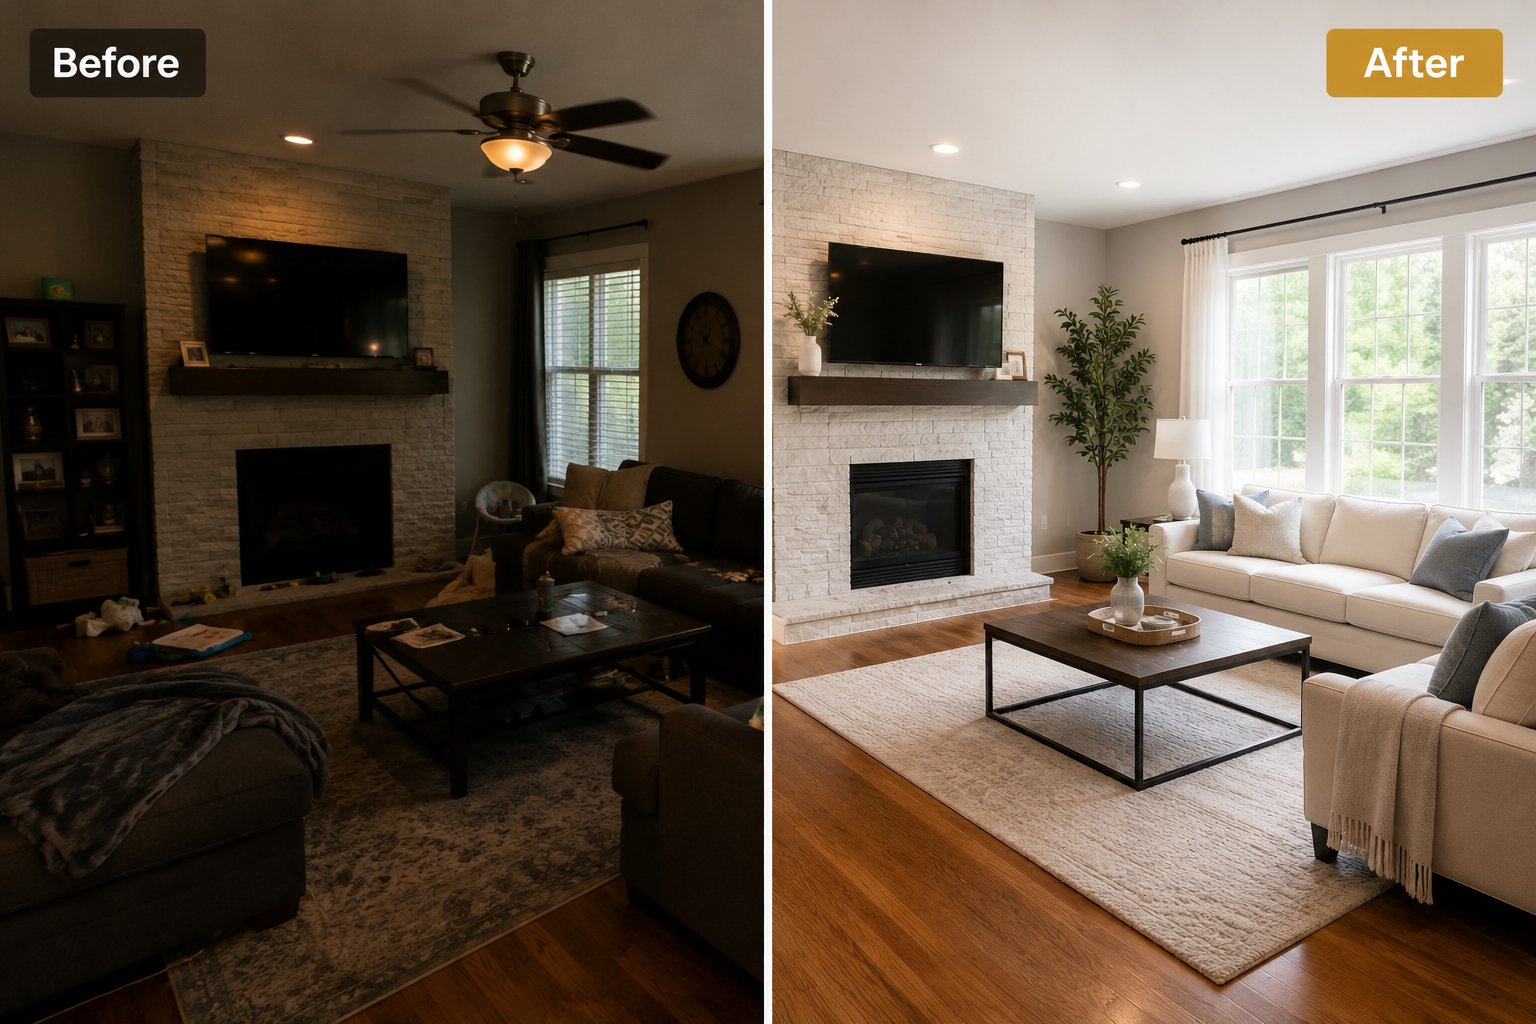
Start by narrowing each property down to your strongest 15–25 photos. Resist the urge to include every angle of every room — a video that lingers on an empty corner can quickly lose a viewer's attention. Prioritize:
If a room only has one usable photo, that's fine — the software can still generate movement from it. Rooms with two or three complementary angles simply give it more to work with.
It's also worth remembering that buyers increasingly expect video before booking a showing, a shift well documented in Wyzowl's State of Video Marketing report, which has tracked video's growing role in consumer decision-making. Strong source photos are what make that video worth watching.
Once your photos are curated, the upload step is usually the fastest part of the entire process. Most platforms accept drag-and-drop batch uploads, so you can upload an entire shoot at once rather than adding images one at a time.
A few practical habits can make this step smoother:
Once uploaded, the platform typically auto-detects room types and image orientation, setting you up for the next step: deciding how the camera should actually move through each shot.
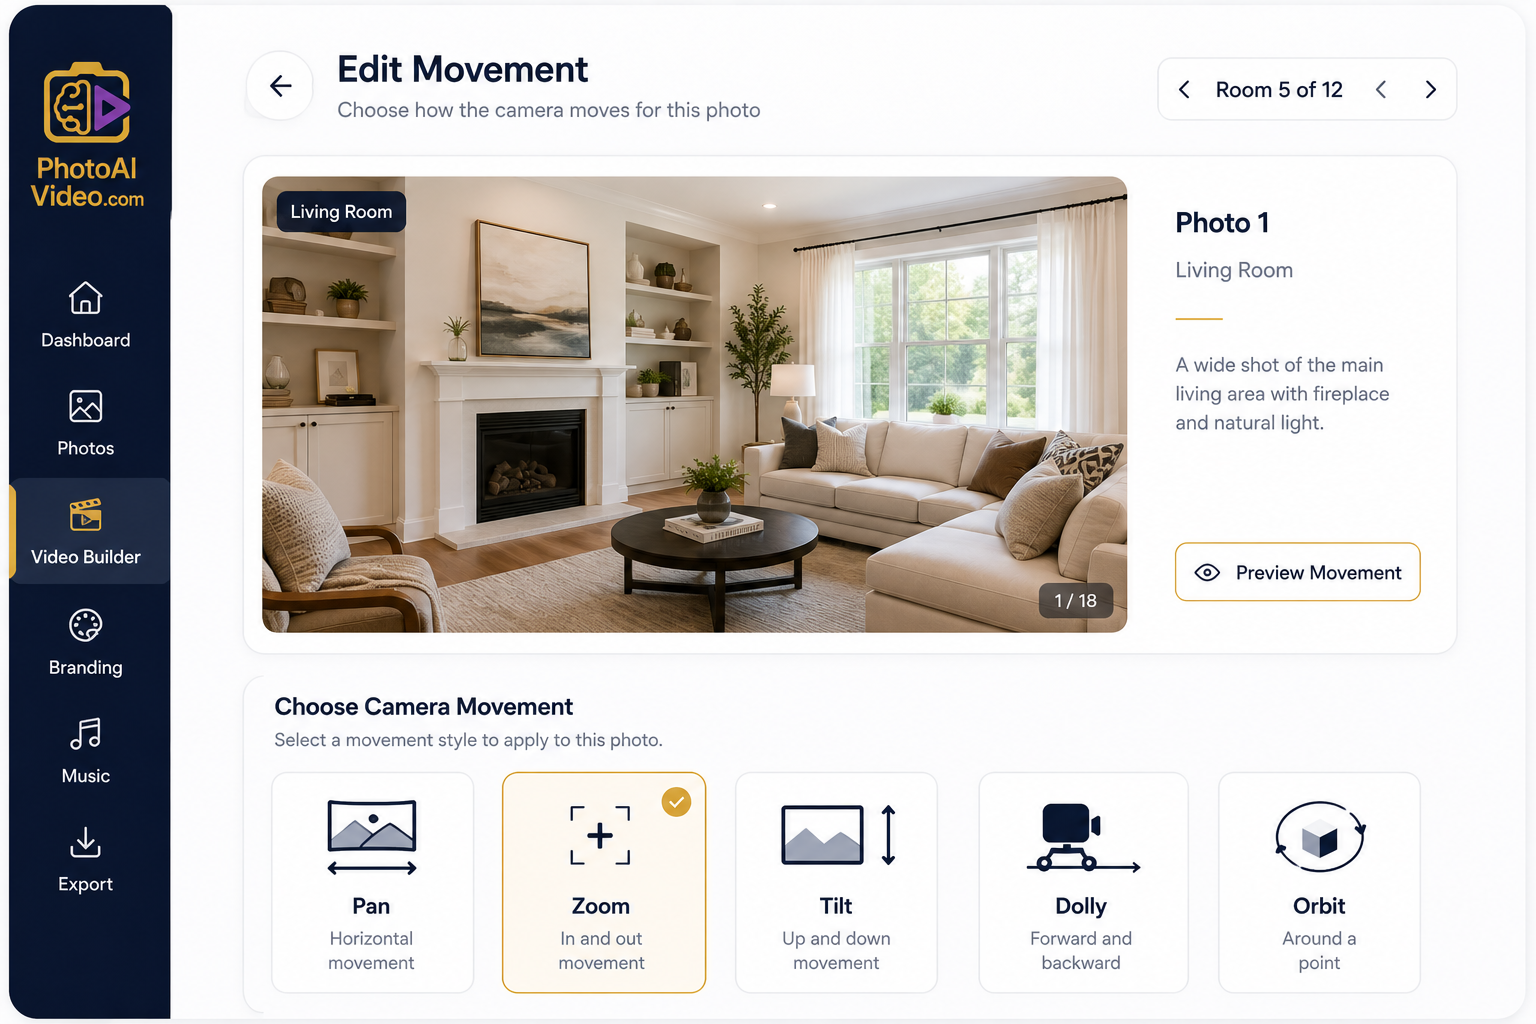
This is where a real estate video creator earns its name — it's the difference between a static slideshow and something that feels like footage from a walkthrough. Instead of manually keyframing pans and zooms in an editing program, you select from a library of pre-built camera movements and apply them to individual photos or rooms.
Common options include slow pans across living spaces, subtle push-ins on kitchens and islands, gentle tilts for vaulted ceilings, dolly-style moves down hallways, and orbit effects for standout features like a fireplace or pool.
A few tips for choosing well:
Getting this step right is what separates a generic listing video from one that reflects the property's actual character.
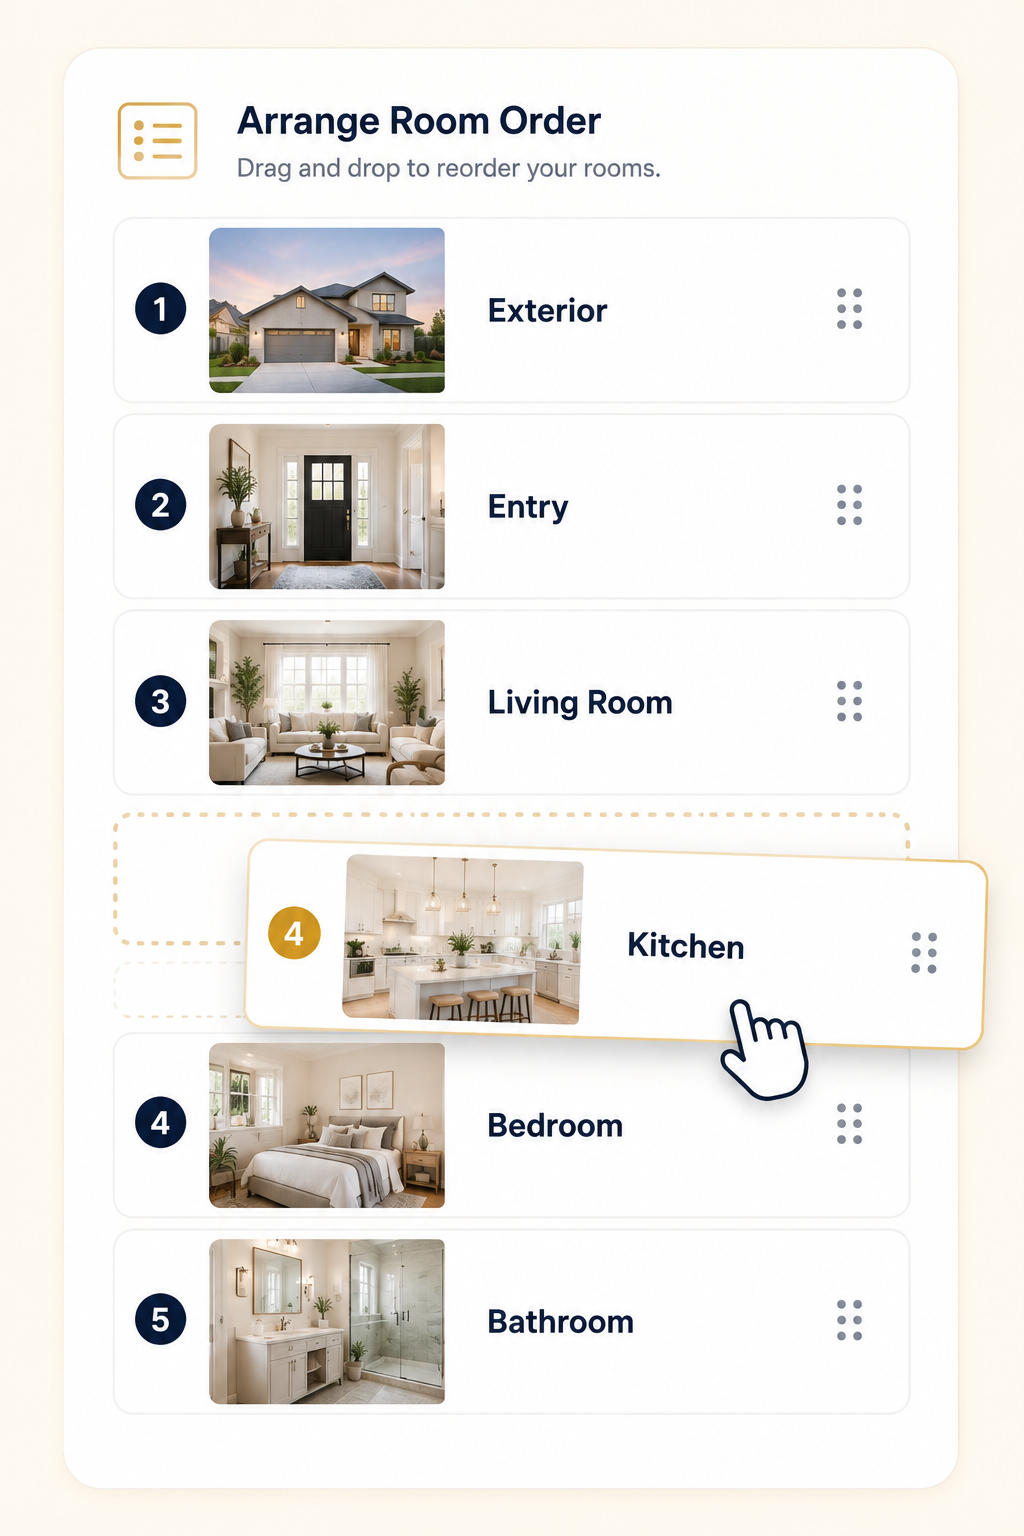
With movements chosen, the next job is sequencing — deciding the order in which rooms appear. This is arguably the most underrated step in the entire real estate video creator workflow because pacing and order can affect how long viewers continue watching.
A structure that works well for most listings is:
Front-load your best rooms — attention on short-form video drops off quickly, a pattern echoed in HubSpot's video marketing statistics. If your kitchen is the star of the listing, don't bury it eight rooms in. Most tools let you drag and drop thumbnails to reorder them instantly, so test a couple of sequences before settling on one.
A property video without branding is a missed opportunity — it markets the house but not you. This step turns a generic clip into video marketing for realtors that also helps build your personal brand.
At a minimum, add:
From there, choose your audio. A music bed from a licensed library works well for most listing videos — pick something that matches the property's tone rather than simply choosing a generic upbeat track.
If you want the video to do more of the selling for you, an AI voiceover add-on can narrate the listing's highlights, such as square footage, standout features, and neighborhood details, without requiring you to record anything yourself. Some platforms also offer an AI avatar clone of the agent for a quick on-camera-style introduction, with no actual camera or crew needed.
Save your branding setup once you've created it. Most tools let you store a branding kit so every future listing video automatically applies your logo, colors, and contact details instead of requiring you to start from scratch each time.
Once your photos, movements, sequence, and branding are set, generating the video is typically a single-click process. Rendering usually takes just a few minutes rather than the hours a manual edit might require — the core time-saving promise of this entire approach.
Before you consider the project finished, export it in more than one format:
Exporting all three versions from the same project takes only a few extra minutes and means you won't have to reformat the video later simply because a particular channel requires a different aspect ratio.
A finished video only delivers value once it reaches buyers, so distribution deserves the same attention as production.
MLS and listing syndication: Many MLS platforms support video links or embeds. Check your local board's specifications for hosting requirements and add the link to your listing as soon as it's live.
Your website: Embed the video on the property's landing page. This is often where buyer research happens — photos and video are among the first things buyers evaluate when browsing homes online, a pattern reflected in Zillow Research's ongoing work on how buyers search.
Social media: Post the vertical version natively to Instagram, TikTok, and Facebook Reels rather than linking out, since native uploads generally perform better than shared links.
Email: Use a static thumbnail with a play-button overlay that links to the hosted video in your listing announcement or newsletter. This gives recipients a clear visual cue to watch the property video.
PhotoAIVideo was built around this exact sequence, condensed into a single guided app. You upload your listing photos, and the platform's real estate video creator engine detects rooms, suggests camera movements from its library of 12+ options — including pan, zoom, tilt, dolly, orbit, and more — and lets you fine-tune or reorder the sequence using simple drag-and-drop controls.
Branding can be saved as a reusable kit, allowing your logo, brand colors, and contact details to be applied automatically to every new listing. Agencies and photographers can also enable white-label output for clients.
You can add music from the built-in library or turn on the AI voiceover add-on to narrate the listing without recording anything yourself. An AI avatar clone option is also available for a quick spoken introduction without filming on camera. From upload to a finished, export-ready video generally takes about five minutes.
The platform works for individual agents, teams, and photography businesses and offers both a fully DIY, self-serve app and a Done-For-You service for agents who would rather hand off the entire process.
Plans remain accessible at different stages — check PhotoAIVideo's pricing, which includes a free plan alongside paid tiers for higher output volumes.
Want to see the results before trying it yourself? PhotoAIVideo's before-and-after video examples show real listings taken through this process. And because the platform was designed around this specific use case, its tools built for real estate agents page explains how the workflow maps to day-to-day listing marketing.
Do I need video editing experience to use a real estate video creator?
No. The entire point of these tools is to remove manual editing from the process. You're choosing from pre-built camera movements and templates rather than working directly in a timeline, so no prior editing experience is required.
How long does it actually take to go from photos to a finished video?
For most listings, the full workflow — upload, movement selection, sequencing, branding, and export — takes well under 30 minutes of hands-on time, with the actual video generation itself often finishing in around five minutes.
What if my listing photos aren't professional quality?
Well-lit, sharp, reasonably high-resolution photos will always produce the best results, but you don't necessarily need professional photography equipment. A recent smartphone camera used with good natural light can provide suitable input for the AI to work with.
Can I reuse my branding across multiple listings?
Yes. Most platforms, including PhotoAIVideo, let you save a branding kit — including your logo, colors, and contact information — so it's applied automatically to every new video instead of being set up from scratch each time.
Turning listing photos into a finished marketing video no longer requires a film crew, editing software, or a spare afternoon. A real estate video creator handles the camera movement, pacing, and branding automatically, leaving you to focus on the decisions that actually affect how the video performs: which photos to use, how to sequence the rooms, and where to publish the result.
Run your next listing's photos through the workflow above, and you'll have a polished, branded property video ready for your website, social channels, and inbox before your coffee gets cold.


Compact, ready to go anywhere
Interchangeable lens that’s upgradeable
Dual 1-inch sensors for improved clarity and low light performance
Dynamic range and 6K 360° capture
360° photo resolution at 21MP

8K 360° video recording for ultra-detailed visuals.
4K single-lens mode for traditional wide-angle shots.
Invisible selfie stick effect for drone-like perspectives.
2.5-inch touchscreen with Gorilla Glass protection.
Waterproof up to 33ft for underwater shooting.

360° photo resolution in 23MP
Slim design at 24 mm thick
Built-in image stabilization for smooth video capture.
Internal 19GB storage for photo and video storage.
Wireless connectivity for remote control and sharing.

60MP 360° still images for high-resolution photography.
5.7K 360° video recording at 30fps.
2.25-inch touchscreen for intuitive control.
USB Type-C port for fast charging and data transfer.
MicroSD card slot for expandable storage.
.png)

.png)

Try it free. No credit card required. Instant set-up.






.svg)


.svg)