


.png)


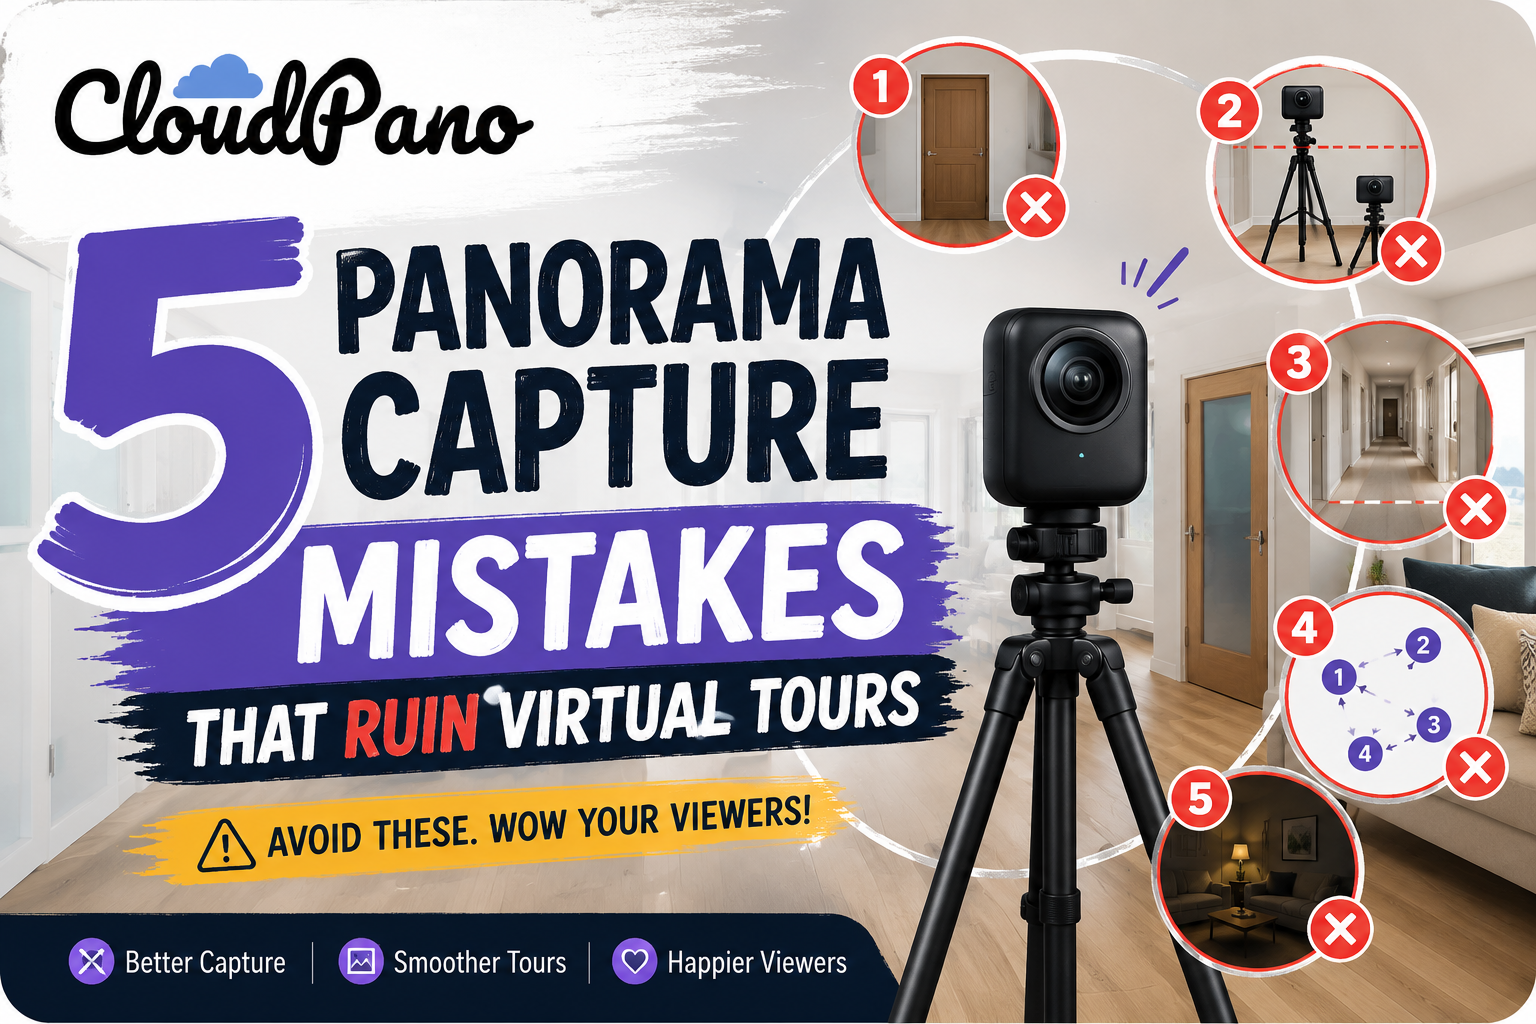
Auto-connect software has made building a virtual tour dramatically faster — but it's still only as good as the panoramas you feed it. A handful of capture habits show up again and again as the reason a tour doesn't connect the way you expected. Here are the five most common ones, why they cause problems, and exactly how to fix each.
Why it's a problem: Auto-connect tools rely on line of sight — if there's a clear visual path from one capture point to the next, the software links them automatically. A closed door blocks that path completely, even if the two rooms are directly next to each other. The software has no way to know a connection should exist if the doorway is sealed shut in the image.
The fix: Keep every door you're about to shoot through open, on both sides, before you trigger the capture. If a door needs to be closed for staging reasons, plan for an alternate connecting shot from a different angle where the sightline stays open. When you capture panos TourFlash can auto-connect, an open doorway is doing more work than it looks like — it's the entire signal the software uses to link two spaces.
Why it's a problem: Shifting your tripod height between shots — even by a few inches — changes the vantage point in a way that can make transitions between panoramas feel jarring or misaligned once they're stitched into a tour. It can also affect how reliably the software reads a clean sightline, since the framing of a doorway or hallway can shift enough between inconsistent heights to make the connection less clean-cut.
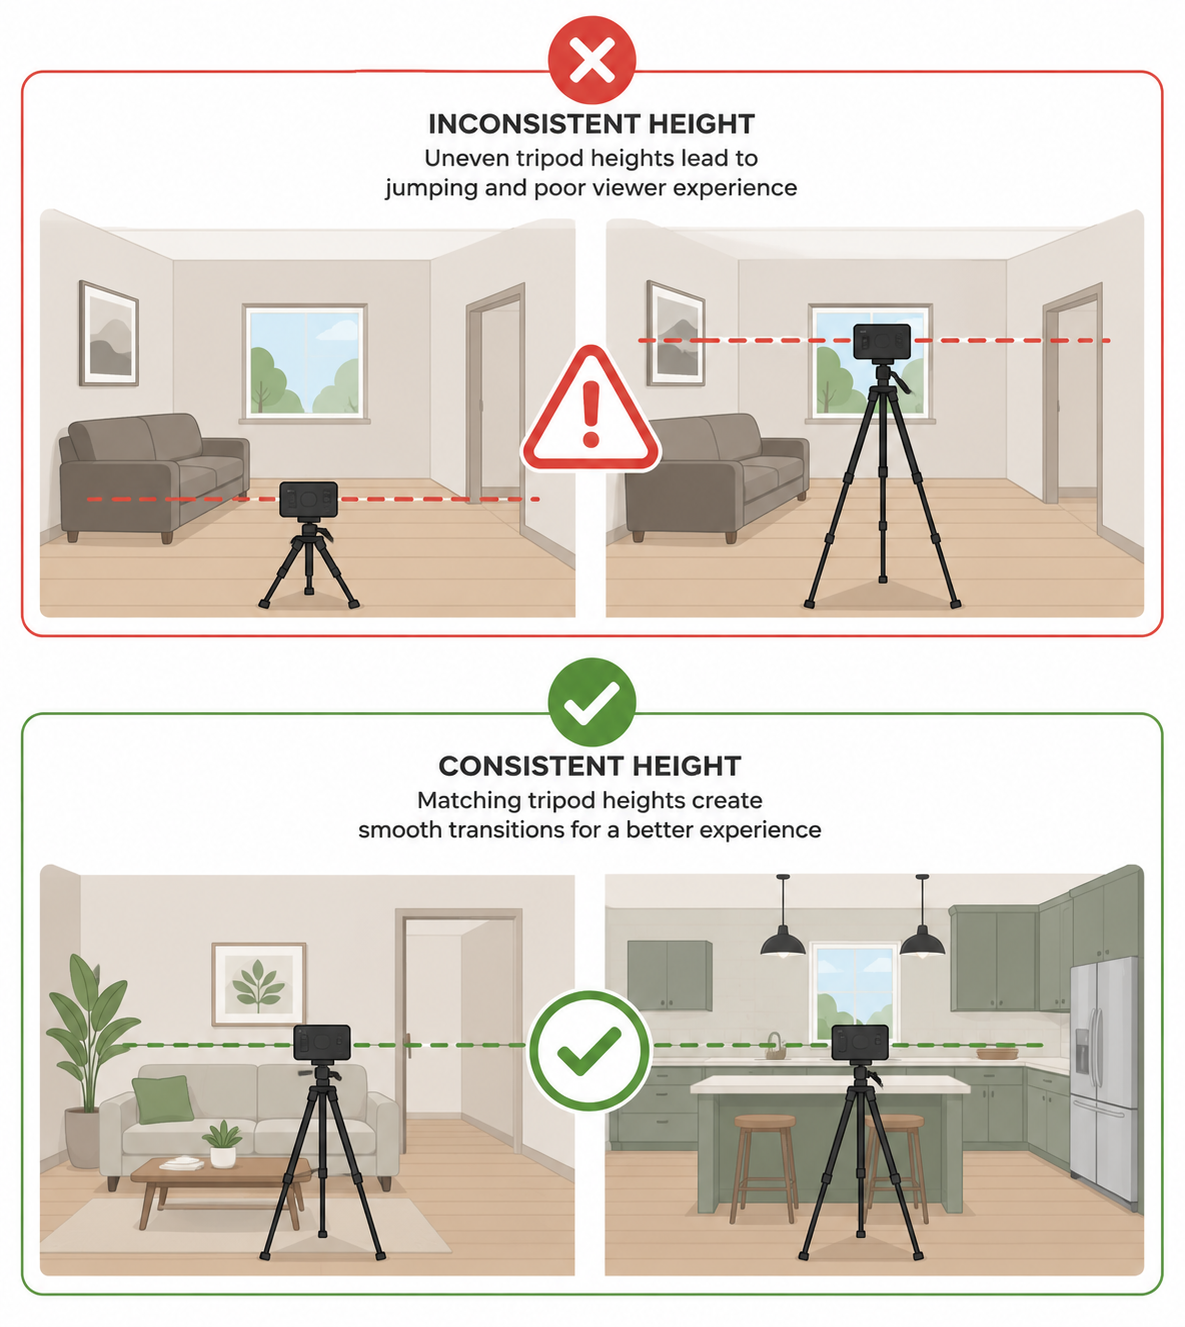
The fix: Lock in a tripod height at the start of the shoot and keep it consistent across every capture point in the property, unless you have a specific reason to change it (like capturing a loft or a notably different ceiling height). A quick height check before every third or fourth shot is a good habit to build. For a deeper look at getting tripod height and camera consistency right, B&H's Explora has solid technical guides on panoramic capture setup.
Why it's a problem: Hallways, entryways, landings, and other "in-between" spaces often get treated as less important than the actual rooms — but they're frequently the only connective link between two sections of a property. Skip the hallway pano, and you may have two beautifully captured rooms with no way for the software to link them, since there's no shared sightline between them without that middle capture point.
The fix: Treat transitional spaces as mandatory capture points, not optional extras. Before you leave a section of the property, ask whether every room connects to the next through a captured hallway, entry, or landing — not just a room you assume is "close enough." This is one of the most common ways to avoid tour connection errors that only show up after you've already left the property.
Why it's a problem: This mistake doesn't break any single connection on its own, but it makes every other mistake on this list much harder to catch. If you shoot the primary bedroom, skip to the kitchen, then double back to a hallway you missed, it becomes difficult to mentally track which sightlines you've actually captured cleanly. Gaps in the tour often trace back to a shoot that jumped around rather than one that missed an obviously important room.
The fix: Shoot in the same order a person would naturally walk through the space — starting at the entry and moving outward room by room, rather than bouncing between areas based on convenience or lighting. A sequential capture order makes it far easier to mentally verify, room by room, that each new pano has a clear line of sight back to the one before it.
Why it's a problem: Uneven or harsh lighting can cause visible seams, color shifts, or blown-out highlights where the individual frames of a panorama are stitched together. Beyond just looking unpolished, bad stitching can sometimes distort the parts of an image where a doorway or connecting space would otherwise read clearly, indirectly making it harder for both viewers and auto-connect software to interpret the space correctly.
The fix: Shoot with consistent, even lighting across a room wherever possible — turn on interior lights to balance strong window light, and avoid capturing directly into bright windows or harsh direct sun when you can help it. Bracketing exposures (if your camera and workflow support it) can also help avoid blown highlights in high-contrast rooms. The PPA's real estate photography guidelines cover lighting fundamentals in more depth if you want a more thorough technical reference.

This is essentially a condensed line-of-sight capture checklist — the same short list of habits that determines whether an auto-connect tool builds a clean, complete tour or leaves you with a gap to fix later.
None of these five mistakes are complicated to avoid — they're mostly a matter of habit. Keep doors open, keep your tripod height steady, don't skip the in-between spaces, shoot in order, and watch your lighting. Build those five habits into every shoot, and auto-connect software has everything it needs to build a clean, fully connected tour without a second trip back to the property.


Compact, ready to go anywhere
Interchangeable lens that’s upgradeable
Dual 1-inch sensors for improved clarity and low light performance
Dynamic range and 6K 360° capture
360° photo resolution at 21MP

8K 360° video recording for ultra-detailed visuals.
4K single-lens mode for traditional wide-angle shots.
Invisible selfie stick effect for drone-like perspectives.
2.5-inch touchscreen with Gorilla Glass protection.
Waterproof up to 33ft for underwater shooting.

360° photo resolution in 23MP
Slim design at 24 mm thick
Built-in image stabilization for smooth video capture.
Internal 19GB storage for photo and video storage.
Wireless connectivity for remote control and sharing.

60MP 360° still images for high-resolution photography.
5.7K 360° video recording at 30fps.
2.25-inch touchscreen for intuitive control.
USB Type-C port for fast charging and data transfer.
MicroSD card slot for expandable storage.
.png)

.png)

Try it free. No credit card required. Instant set-up.






.svg)


.svg)