


.png)


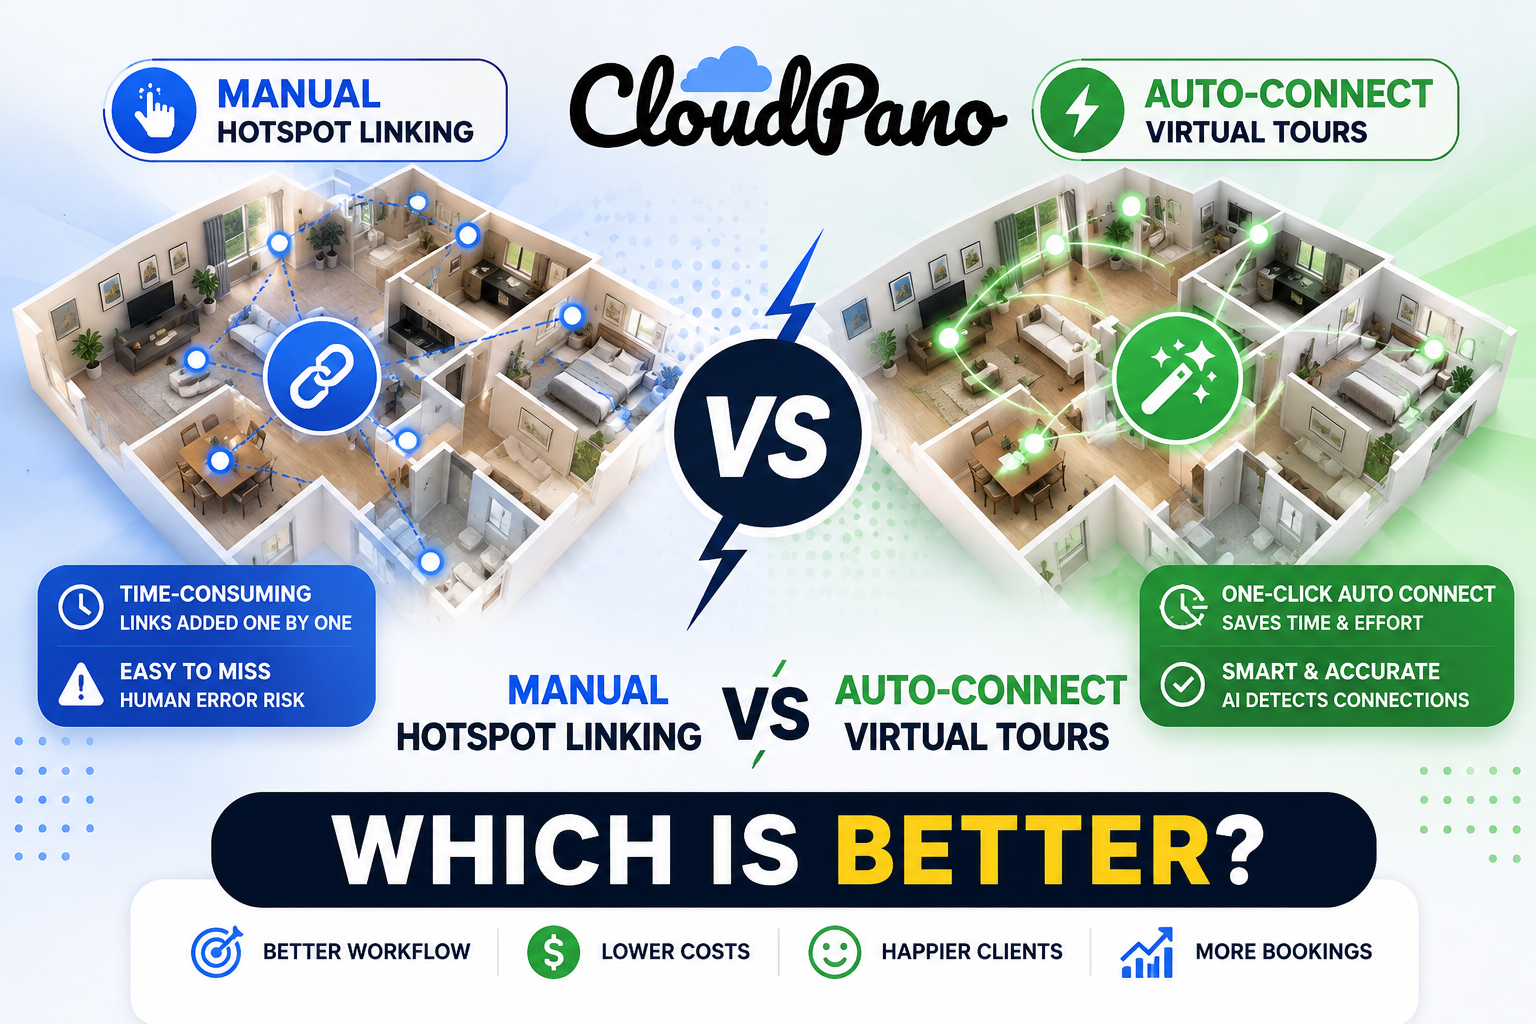
Every 360 photographer eventually hits the same fork in the road: do you link your virtual tours by hand, or let software figure out the connections for you? Both approaches produce a finished tour. But they get there very differently, and the right choice depends on what you're shooting, how much time you have, and how much control you actually need over the final navigation.
This isn't a case of one method being universally right. Here's an honest look at both, including where manual linking still earns its place.

Manual hotspot linking is the traditional way most virtual tours have been built. You open your first panorama, drop in a hotspot, aim it precisely at the doorway or opening that leads to the next room, and save it. Then you open the next pano and repeat the process — pointing a new hotspot back toward the room you came from, plus forward toward whatever comes next.
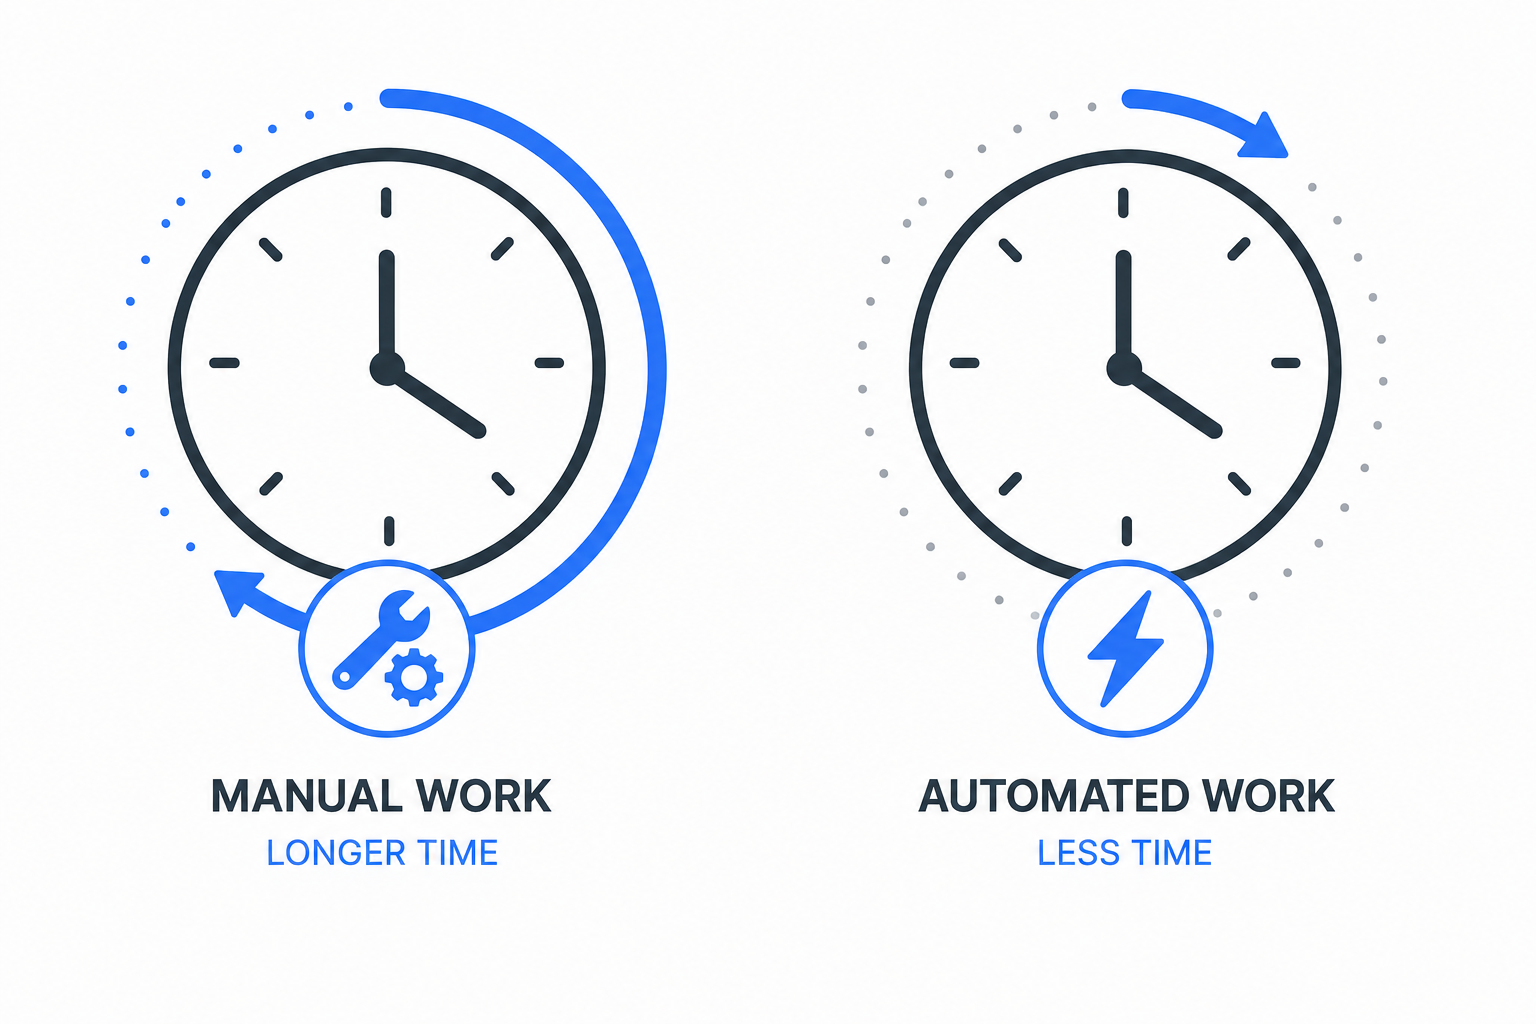
For a small space, this is fine. Five or six panos, a handful of hotspots, maybe fifteen minutes of work. But scale that up to a large home, a commercial building, or a multi-floor property, and the math changes fast. A 40- or 50-pano tour can easily mean 80-100 individual hotspot placements once you count both directions of every connection. Photographers who've done this at volume often report an hour or more of pure linking work on larger properties — time that has nothing to do with photography and everything to do with software data entry.
It's also error-prone. Miscount a room, misalign a hotspot angle, or forget a single connection, and the client notices immediately when they hit a dead end in the tour. Catching those mistakes means clicking back through the whole thing before delivery — another chunk of time added to a job that already ate into your afternoon.
Auto-connect software approaches the problem from the other direction. Instead of you telling the software where each connection goes, the software looks at the panoramas themselves and works it out.
The underlying logic is simpler than it sounds: if you can visually see one capture point from another — meaning there's a clear, unobstructed sightline between the two spots — the software treats that as a valid connection and builds the link automatically. This is exactly how TourFlash auto-connects tours. It scans your uploaded panoramas, evaluates which ones have line of sight to each other, and builds every hotspot for you in one pass.
The one thing that matters on your end is capture discipline. If you shoot with the TourFlash line-of-sight rule in mind — keeping doors open, avoiding obstructed hallways, capturing in a sensible walking order — the auto-connect process has everything it needs to build an accurate tour without any manual cleanup. For most standard room-to-room layouts, this genuinely lets you skip manual hotspot setup entirely.
This isn't unique to real estate, either. The same line-of-sight logic underpins a lot of modern indoor navigation systems — Google's own guidelines for indoor tour and Street View navigation describe similar principles around connecting capture points into a coherent walkable path.
To be fair to the traditional method: there are situations where manual linking isn't going away anytime soon.
Non-adjacent jumps. Auto-connect tools are built around line-of-sight logic, which works great for rooms that flow into each other naturally. But if you want a hotspot that jumps somewhere with no visual connection at all — say, linking a lobby directly to a rooftop deck three floors up, or connecting a "virtual staging" pano to its "as-is" counterpart — that's a deliberate creative choice, not something the software can infer from sightlines. Manual linking is still the right tool for these intentional shortcuts.
Custom navigation experiences. Some clients want a very specific guided path through a tour rather than an open, explore-anywhere layout. If you're building a curated sequence — a real estate "highlight reel" tour, for example, or a museum-style guided walk — manually controlling exactly which hotspots appear and where takes precedence over automatic detection.
Fixing occasional auto-connect gaps. Even with good capture practice, you'll occasionally get a spot where two panos should connect but didn't, usually because something blocked the sightline unexpectedly. In these cases, a quick manual hotspot fix on just that one connection is faster than reshooting.
The honest takeaway: auto-connect handles the bulk, repetitive work of standard adjacent-room linking extremely well. Manual linking remains the better tool for intentional, non-standard navigation choices layered on top.
Here's roughly how the two approaches stack up on a mid-size tour (around 30 panos):
The gap widens as tours get larger. A small 10-pano tour might not show much difference in total time. A 50-pano estate home is where auto-connect really pulls ahead, since the manual approach's time cost scales roughly linearly with pano count, while an auto-connect run stays just as fast regardless of size.
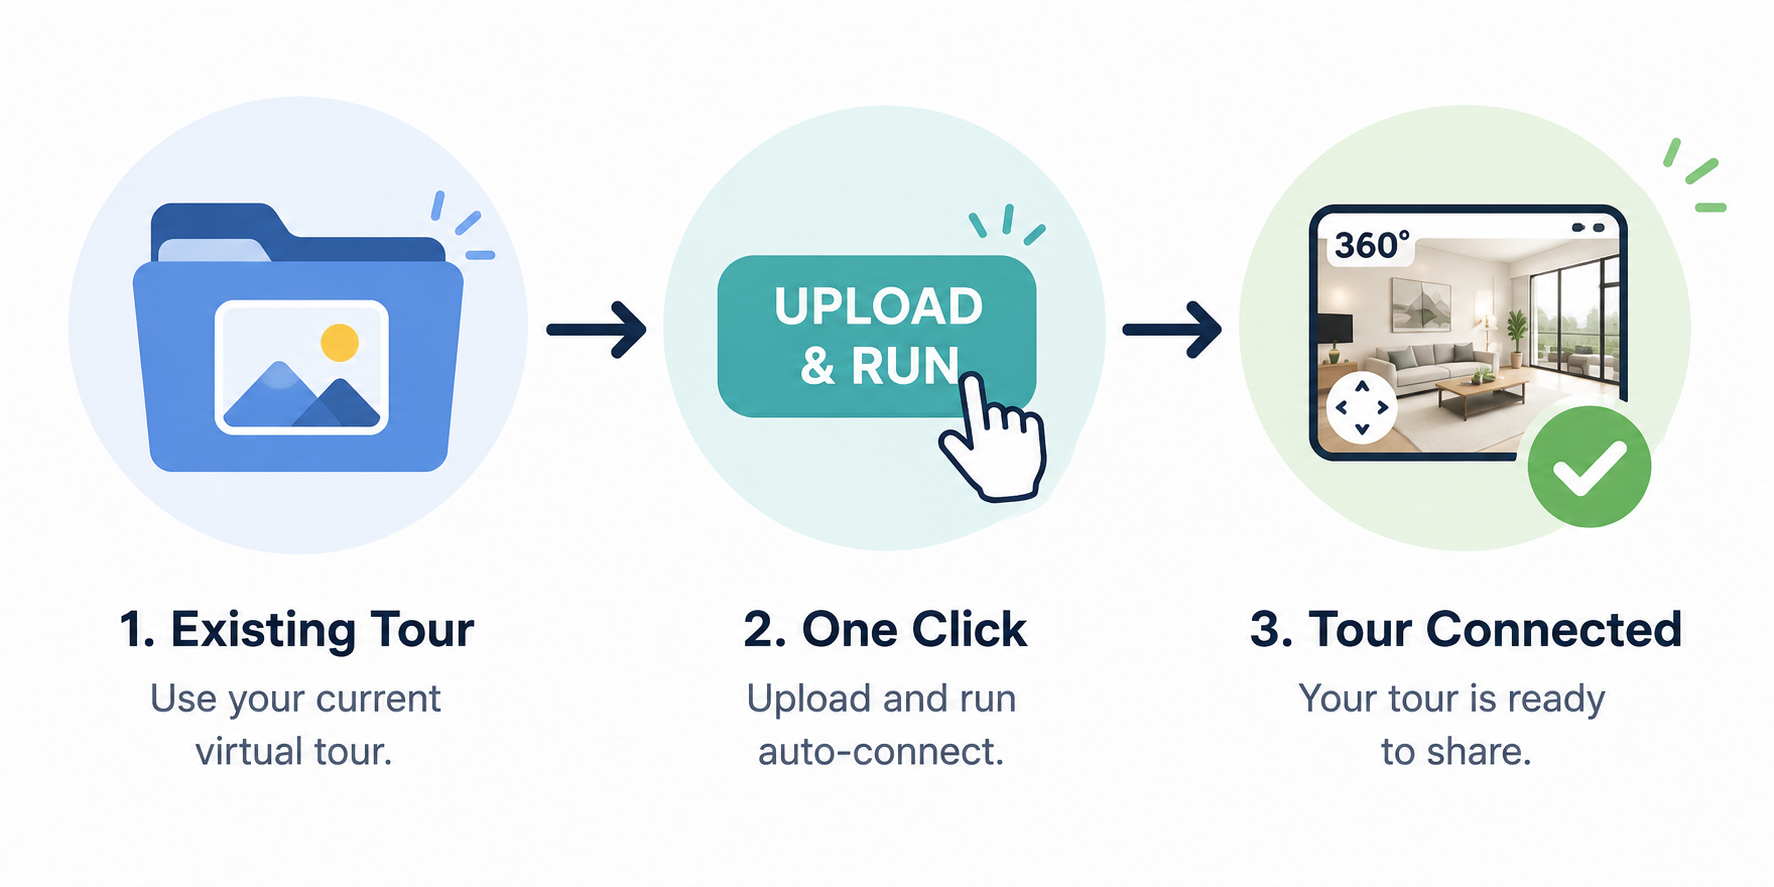
If you've been linking tours manually and want to move to an auto-connect workflow, you don't need to touch anything you've already delivered. A few practical steps:
For more general technique background on 360 capture workflows before you make the switch, PetaPixel's photography tutorials are a solid reference point regardless of which linking method you end up using.
Manual hotspot linking isn't obsolete — it still has a real role for custom, non-adjacent navigation. But for the everyday task of connecting a normal room-to-room tour, it's hard to justify an hour of clicking when auto-connect software can do the same job in a couple of minutes. If most of your tours follow standard walkable layouts, it's worth testing an auto-connect workflow on your next shoot and seeing how much time comes back to you.


Compact, ready to go anywhere
Interchangeable lens that’s upgradeable
Dual 1-inch sensors for improved clarity and low light performance
Dynamic range and 6K 360° capture
360° photo resolution at 21MP

8K 360° video recording for ultra-detailed visuals.
4K single-lens mode for traditional wide-angle shots.
Invisible selfie stick effect for drone-like perspectives.
2.5-inch touchscreen with Gorilla Glass protection.
Waterproof up to 33ft for underwater shooting.

360° photo resolution in 23MP
Slim design at 24 mm thick
Built-in image stabilization for smooth video capture.
Internal 19GB storage for photo and video storage.
Wireless connectivity for remote control and sharing.

60MP 360° still images for high-resolution photography.
5.7K 360° video recording at 30fps.
2.25-inch touchscreen for intuitive control.
USB Type-C port for fast charging and data transfer.
MicroSD card slot for expandable storage.
.png)

.png)

Try it free. No credit card required. Instant set-up.






.svg)


.svg)