How to Upload Photos to Trulia That Stand Out

Cloudpano
August 15, 2025
5 min read
Share this post

📸 How to Upload Photos to Trulia That Stand Out

When buyers scroll through Trulia, your listing photos are the first impression — and in real estate, first impressions can make or break a deal. With thousands of properties competing for attention, you need photos that stop the scroll, capture interest, and make buyers click through.

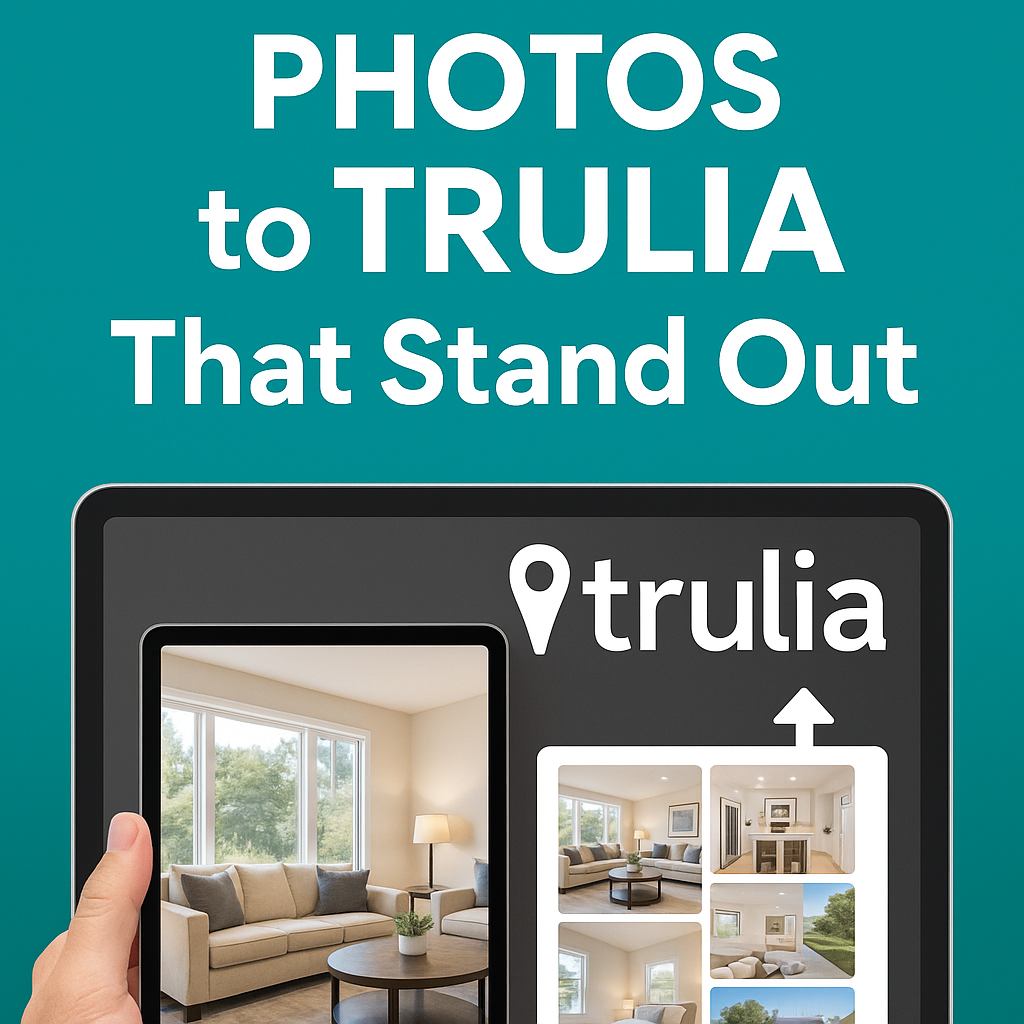
In this guide, you’ll learn exactly how to upload photos to Trulia that stand out, step-by-step, plus strategies to optimize your gallery for maximum engagement.

💡 Why Photos on Trulia Matter

High-quality photos on Trulia can:

  • 📈 Increase click-through rates to your listing
  • 🏠 Boost buyer inquiries and showing requests
  • ⏱ Keep potential buyers viewing your property longer
  • 💰 Lead to faster and higher offers

🛠 Step 1: Understand How Trulia Gets Your Photos

Most Trulia listings are syndicated from your MLS feed or your brokerage feed. This means:

  • Uploading your photos to your MLS will often automatically update your Trulia listing.
  • If your MLS does not syndicate photos correctly, you can upload or replace them directly via the Zillow Group (Zillow + Trulia) backend.

📷 Step 2: Prepare High-Quality Images Before Uploading

Before you upload, make sure your images are:

  • Resolution: At least 1920 x 1080 pixels for crisp viewing
  • File Type: JPG for best online quality
  • Orientation: Horizontal for gallery consistency
  • Lighting: Use natural light when possible; avoid harsh shadows
  • Editing: Adjust brightness, contrast, and white balance without over-saturating

🖥 Step 3: Upload Photos Through Your MLS

The most common and reliable method:

  1. Log into your MLS dashboard.
  2. Select your active listing.
  3. Navigate to the Media/Photos section.
  4. Upload your images in your preferred order.
  5. Save changes and confirm Trulia syndication is enabled.

🌐 Step 4: Upload Directly to Trulia (If Needed)

If your MLS feed is not updating or you want to replace certain photos:

  1. Log into your Zillow Premier Agent account.
  2. Go to the My Listings section.
  3. Select your property.
  4. Click Edit Photos.
  5. Upload, reorder, and save.

🎯 Step 5: Arrange Photos to Tell a Story

Your gallery should have a logical flow that helps buyers visualize the home.

Recommended order:

  1. Exterior hero shot 🌳
  2. Living room 🛋
  3. Kitchen 🍳
  4. Dining area 🍽
  5. Bedrooms 🛏
  6. Bathrooms 🚿
  7. Backyard or special features 🌅

✍ Step 6: Use Captions to Add Value

Captions can highlight what buyers might otherwise miss:

  • “Newly renovated kitchen with quartz countertops”
  • “Open floor plan perfect for entertaining”
  • “Private backyard with mature landscaping”

⚡ Step 7: Combine Photos with Other Media

Trulia lets you pair photos with videos and virtual tours for an even richer listing experience.

You can add:

📲 Step 8: Promote Your Trulia Listing

Don’t wait for buyers to stumble upon your listing — promote it:

  • Share your Trulia link on social media 📱
  • Include it in email campaigns 📧
  • Feature it in blog posts on your agent website 🌐

📊 Step 9: Monitor Analytics and Refine

Check your listing performance through MLS reports or Zillow Group analytics:

  • Photo views
  • Click-through rates
  • Time spent on listing

If engagement drops, update your hero image or replace underperforming photos.

🧠 Pro Tips for Stand-Out Trulia Photos

  • ✅ Use twilight photography for curb appeal
  • ✅ Stage key rooms for lifestyle appeal
  • ✅ Include wide shots and close-up detail shots
  • ✅ Update photos seasonally

📌 Final Thoughts

Uploading standout photos to Trulia is more than just a technical step — it’s a marketing strategy. By combining professional-quality photography, strategic ordering, captions, and mixed media, you can create a listing that demands attention and generates buyer action.

📢 Ready to Upgrade All Your Listing Media?

Here are tools to help you get more from every property listing:

Share this post
Cloudpano

Choose The Right 360° Camera

Insta360 ONE RS 1-Inch 360 Edition

  • Compact, ready to go anywhere

  • Interchangeable lens that’s upgradeable

  • Dual 1-inch sensors for improved clarity and low light performance

  • Dynamic range and 6K 360° capture

  • 360° photo resolution at 21MP

Learn More

Insta360 X4

  • 8K 360° video recording for ultra-detailed visuals.

  • 4K single-lens mode for traditional wide-angle shots.

  • Invisible selfie stick effect for drone-like perspectives.

  • 2.5-inch touchscreen with Gorilla Glass protection.

  • Waterproof up to 33ft for underwater shooting.

Learn More

Ricoh Theta Z1

  • 360° photo resolution in 23MP

  • Slim design at 24 mm thick

  • Built-in image stabilization for smooth video capture.

  • Internal 19GB storage for photo and video storage.

  • Wireless connectivity for remote control and sharing.

Learn More

Ricoh Theta X

  • 60MP 360° still images for high-resolution photography.

  • 5.7K 360° video recording at 30fps.

  • 2.25-inch touchscreen for intuitive control.

  • USB Type-C port for fast charging and data transfer.

  • MicroSD card slot for expandable storage.

Learn More
Property Marketing
Allows potential buyers to explore properties in detail from anywhere, enhancing the real estate marketing process.
Automotive Spins
Create an interactive virtual showroom and engage affluent digital buyers with live 360º video calls, all through the CloudPano mobile app for a complete automotive sales solution.
Interactive Floor Plans
Create 2D and 3D floor plans with measurements in 4 minutes or less, all from your phone. Download the Floor Plan Scanner app and get your first scan free.

360 Virtual Tours With CloudPano.com. Get Started Today.

Try it free. No credit card required. Instant set-up.

Try it free
Latest posts

See our other posts

Interviews, tips, guides, industry best practices, and news.

How to Add a Floor Plan to Apartments.com Property Pages

Learn how to add a floor plan to your Apartments.com property pages to attract more qualified renters and boost listing engagement. This step-by-step guide covers uploading, formatting, and optimizing your floor plans, plus pro tips for pairing them with virtual tours and professional photography.
Read post

How to Upload and Arrange Photos for Apartments.com

Learn how to upload and arrange photos on Apartments.com to maximize attention, engagement, and rental applications. Step-by-step guide with pro tips and MLS-inspired strategies.‍
Read post

How to Add a 3D Tour to Apartments.com Listings

This comprehensive guide walks property managers, landlords, and leasing agents through the process of adding a 3D virtual tour to their Apartments.com listings. It covers both MLS syndication and direct upload methods, optimization tips, and marketing strategies to attract more qualified tenants. Readers will also find links to related MLS and listing enhancement tutorials for maximum online impact.
Read post