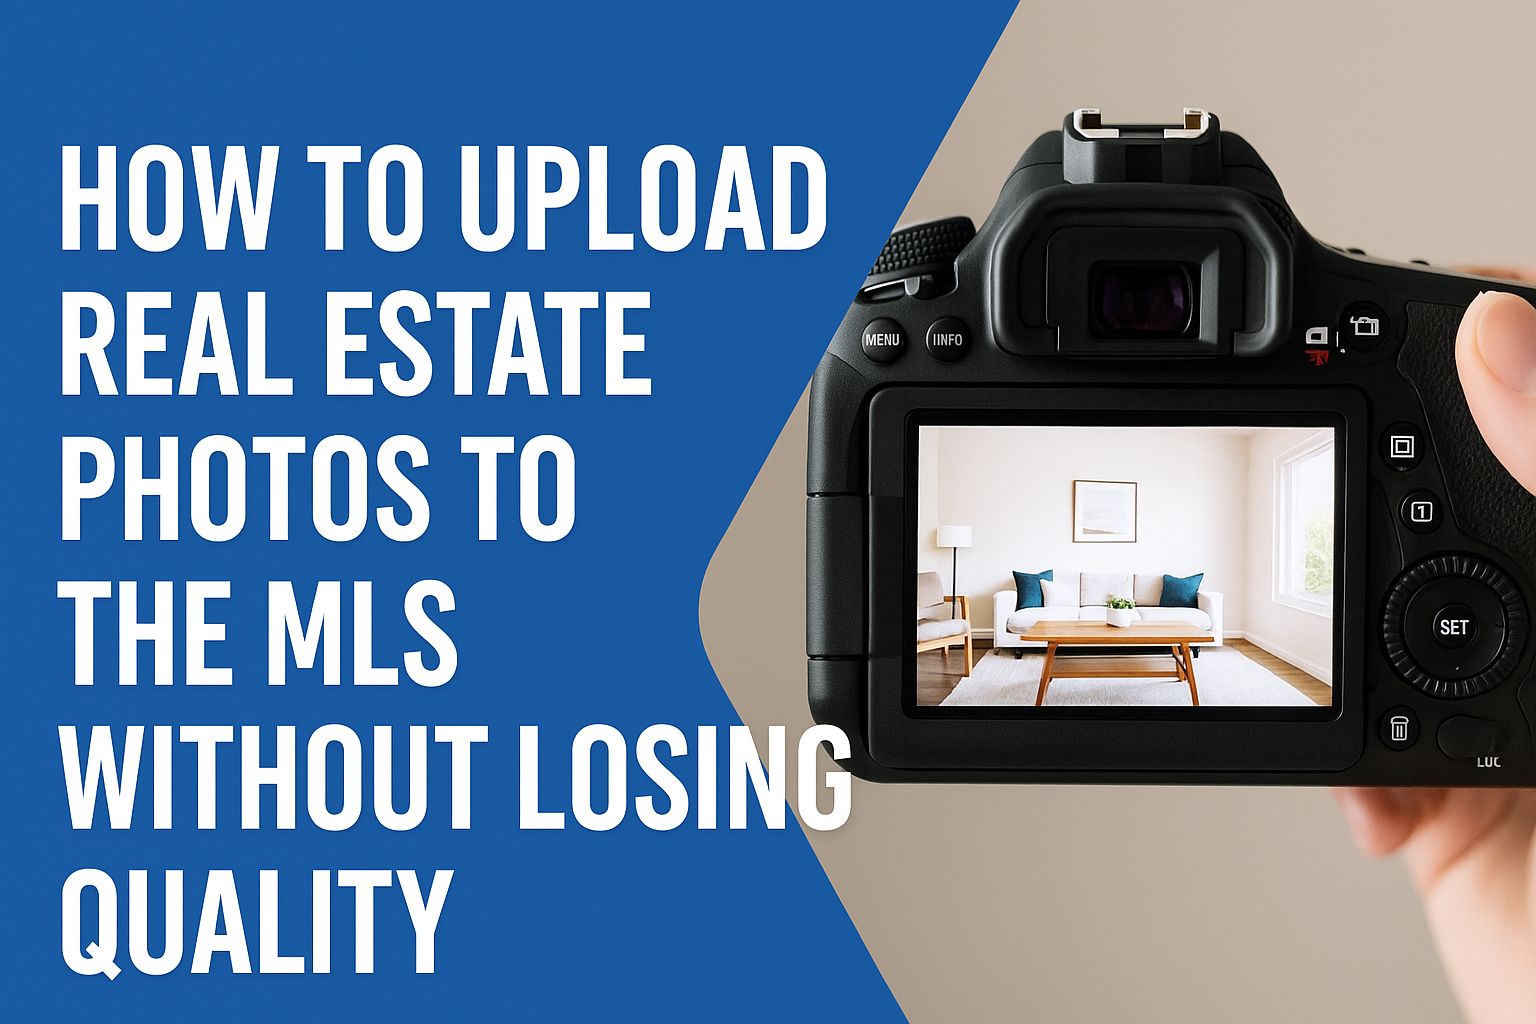
How to Upload Real Estate Photos to the MLS Without Losing Quality

Cloudpano
August 17, 2025
5 min read
Share this post

📸 How to Upload Real Estate Photos to the MLS Without Losing Quality

When it comes to selling a property fast and for the highest price possible, one truth remains crystal clear: your photos are the first showing.

If they’re sharp, vibrant, and high-quality, potential buyers will click, view, and book showings. If they’re blurry, pixelated, or poorly lit… well, you’ve just lost interest before you even started.

Unfortunately, many real estate agents and photographers unknowingly upload stunning photos to the MLS — only to see them look soft, washed-out, or compressed once they appear online.

This guide will walk you through exactly how to upload real estate photos to the MLS without losing quality so your listings pop on every platform.

🏆 Why MLS Photo Quality Is a Big Deal

When buyers are scrolling through dozens of listings on sites like Zillow, Realtor.com, and Homes.com, your images are competing for attention in milliseconds.

High-quality photos:

  • ✅ Grab attention immediately
  • ✅ Increase click-through rates
  • ✅ Help justify higher asking prices
  • ✅ Build your reputation as a professional agent or media pro

On the flip side, low-quality MLS photos scream “cut corners” — and that hurts your brand.

📂 Step 1: Start With the Highest Resolution Possible

The old saying is true: garbage in, garbage out. If you start with poor-quality originals, no upload trick will save you.

Pro tips:

  • Shoot in RAW whenever possible — you’ll retain maximum detail for editing.
  • Export your JPEGs at 3000px wide or larger before resizing.
  • Avoid over-compressing images before the MLS even sees them.

Remember, you can always shrink an image down, but you can’t stretch it larger without losing sharpness.

⚙️ Step 2: Know Your MLS’s Exact Requirements

Every MLS has its own rules for maximum pixel dimensions and file sizes. If you exceed them, the system will often resize or compress your images automatically — and not always in a flattering way.

For example:

  • Some MLS systems limit you to 2048 × 1536 pixels.
  • Others allow up to 4096 × 3072 pixels.
  • File size caps usually range between 10–15 MB per image.

Check your MLS documentation or call their support line to confirm the exact specs before you start exporting.

🖼 Step 3: Resize Without Killing the Detail

The sweet spot is big enough to look great on large screens, but small enough to meet MLS limits.

Here’s how to do it:

  1. Open your photo in Lightroom, Photoshop, or an equivalent editor.
  2. Resize to just under the MLS’s max resolution.
  3. Export at 80–90% JPEG quality — this keeps detail intact while reducing file size.

By keeping compression moderate, you avoid the blocky “artifacting” that makes photos look low-end.

🔄 Step 4: Keep the Aspect Ratio Consistent

Most MLSs display photos at a 4:3 aspect ratio. If you upload a panoramic shot or an odd crop, the system may stretch, distort, or add ugly black bars.

Best practice:

  • Shoot and export in the same ratio your MLS uses.
  • If you want to showcase wide shots, make them consistent across the set so your gallery feels polished.

🚀 Step 5: Use a Professional Upload Workflow

Here’s something many agents don’t realize — some MLS portals recompress photos again during upload.

To avoid this:

  • Upload from a desktop rather than a mobile device when possible.
  • Pre-optimize your images yourself so the MLS system doesn’t “over-process” them.
  • Use software like CloudPano to create both your still photo set and a stunning 360° tour in one go. This lets you offer both high-res images and immersive content in a single MLS-friendly package.

🔍 Step 6: Preview Before Going Live

Before you click “Submit Listing,” always:

  • View your uploaded photos inside the MLS portal.
  • Compare them side-by-side with your originals.
  • Check on both desktop and mobile screens for sharpness and color accuracy.

If you see noticeable degradation, re-export with slightly different compression settings and try again.

💡 Bonus Tip: Go Beyond Static Photos

Even perfectly uploaded stills can only do so much. Many MLSs now allow additional rich media like:

  • 🌀 360° Virtual Tours (CloudPano makes this simple)
  • 🎥 Cinematic listing videos (perfect for social media shares)
  • 📐 Interactive floor plans (help buyers visualize space instantly)

These not only boost engagement but also help you stand out from competitors relying on photos alone.

📊 Real-Life Example: Quality That Converts

Before:

  • 8MB JPEG straight from camera, uploaded directly to MLS → auto-compression → softer edges, muted colors.

After:

  • Resized to MLS max resolution, exported at 90% quality, slight color enhancement, uploaded through a pro workflow → crisp, vibrant, and MLS-optimized.

The result? More clicks, more calls, and faster offers.

📢 Final Thoughts

Uploading to the MLS without losing photo quality isn’t complicated — but it does require paying attention to resolution, compression, and upload method.

By controlling the process yourself, you make sure your listings look as stunning online as they do in person — and that means more buyer interest, more showings, and better offers.

💡Bonus

🚀 Call to Action — Elevate Your MLS Listings Today!

🌐 CloudPano is your all-in-one solution for high-quality photo presentation and immersive property marketing. Start impressing sellers and attracting more buyers today.

Share this post
Cloudpano

Choose The Right 360° Camera

Insta360 ONE RS 1-Inch 360 Edition

  • Compact, ready to go anywhere

  • Interchangeable lens that’s upgradeable

  • Dual 1-inch sensors for improved clarity and low light performance

  • Dynamic range and 6K 360° capture

  • 360° photo resolution at 21MP

Learn More

Insta360 X4

  • 8K 360° video recording for ultra-detailed visuals.

  • 4K single-lens mode for traditional wide-angle shots.

  • Invisible selfie stick effect for drone-like perspectives.

  • 2.5-inch touchscreen with Gorilla Glass protection.

  • Waterproof up to 33ft for underwater shooting.

Learn More

Ricoh Theta Z1

  • 360° photo resolution in 23MP

  • Slim design at 24 mm thick

  • Built-in image stabilization for smooth video capture.

  • Internal 19GB storage for photo and video storage.

  • Wireless connectivity for remote control and sharing.

Learn More

Ricoh Theta X

  • 60MP 360° still images for high-resolution photography.

  • 5.7K 360° video recording at 30fps.

  • 2.25-inch touchscreen for intuitive control.

  • USB Type-C port for fast charging and data transfer.

  • MicroSD card slot for expandable storage.

Learn More
Property Marketing
Allows potential buyers to explore properties in detail from anywhere, enhancing the real estate marketing process.
Automotive Spins
Create an interactive virtual showroom and engage affluent digital buyers with live 360º video calls, all through the CloudPano mobile app for a complete automotive sales solution.
Interactive Floor Plans
Create 2D and 3D floor plans with measurements in 4 minutes or less, all from your phone. Download the Floor Plan Scanner app and get your first scan free.

360 Virtual Tours With CloudPano.com. Get Started Today.

Try it free. No credit card required. Instant set-up.

Try it free
Latest posts

See our other posts

Interviews, tips, guides, industry best practices, and news.

Boost Your Real Estate Branding: Add Logos to AI Videos With Our New Software Update

This blog introduces PhotoAIVideo’s latest software update, which allows real estate agents, photographers, and media creators to easily add their logo to AI-generated listing videos. It explains why branding is crucial in real estate today—boosting trust, professionalism, recognition, and competitive advantage. The post walks step-by-step through how the new Logo Upload Feature works, including uploading a logo, adjusting placement, resizing, opacity, and padding, and generating a fully branded video in seconds. Readers also learn branding best practices and how this feature helps them win more listings, stand out locally, improve social media engagement, strengthen Google visibility, and create a consistent marketing identity across all platforms.
Read post

How to Use PhotoAIVideo’s New Logo Upload Feature for Real Estate AI Videos

This blog teaches real estate agents, photographers, and media creators exactly how to use PhotoAIVideo’s new Logo Upload Feature to create fully branded AI real estate videos in seconds. It explains why branding is essential for building trust, authority, and local recognition, and walks readers step-by-step through uploading photos, adding their logo, adjusting placement, sizing, opacity, and padding, and generating a polished cinematic video. The post also includes professional branding tips—such as using transparent PNGs, avoiding visual clutter, ensuring consistent sizing, and optimizing logo opacity for social platforms. Readers learn how branded videos improve social media performance, help win more listings, strengthen market presence, and elevate every piece of real estate marketing content.
Read post

New Update! Easily Insert Logos Into AI Real Estate Videos for Stronger Branding

This blog introduces PhotoAIVideo’s newest update that allows real estate agents, photographers, and media creators to seamlessly insert logos into their AI-generated real estate videos. The post explains why branding matters more than ever in today’s competitive real estate market and how a simple logo can elevate professionalism, strengthen brand recognition, and help win more listings. Readers learn step-by-step how to upload, position, size, and customize their logo inside PhotoAIVideo, along with branding best practices such as using transparent PNGs, maintaining consistent placement, optimizing opacity, and avoiding visual clutter. The blog also highlights how branded videos boost trust, increase social media engagement, improve Google Business Profile visibility, and create long-lasting marketing assets for real estate pros.
Read post