How to Upload High-Quality Photos to Homes.com

Cloudpano
August 17, 2025
5 min read
Share this post

How to Upload High-Quality Photos to Homes.com 📸✨

When it comes to real estate listings, photos are everything. In fact, buyers spend more time looking at images than reading property descriptions. On Homes.com, high-quality photos aren’t just a nice touch—they’re the difference between a listing that gets ignored and one that drives clicks, calls, and offers.

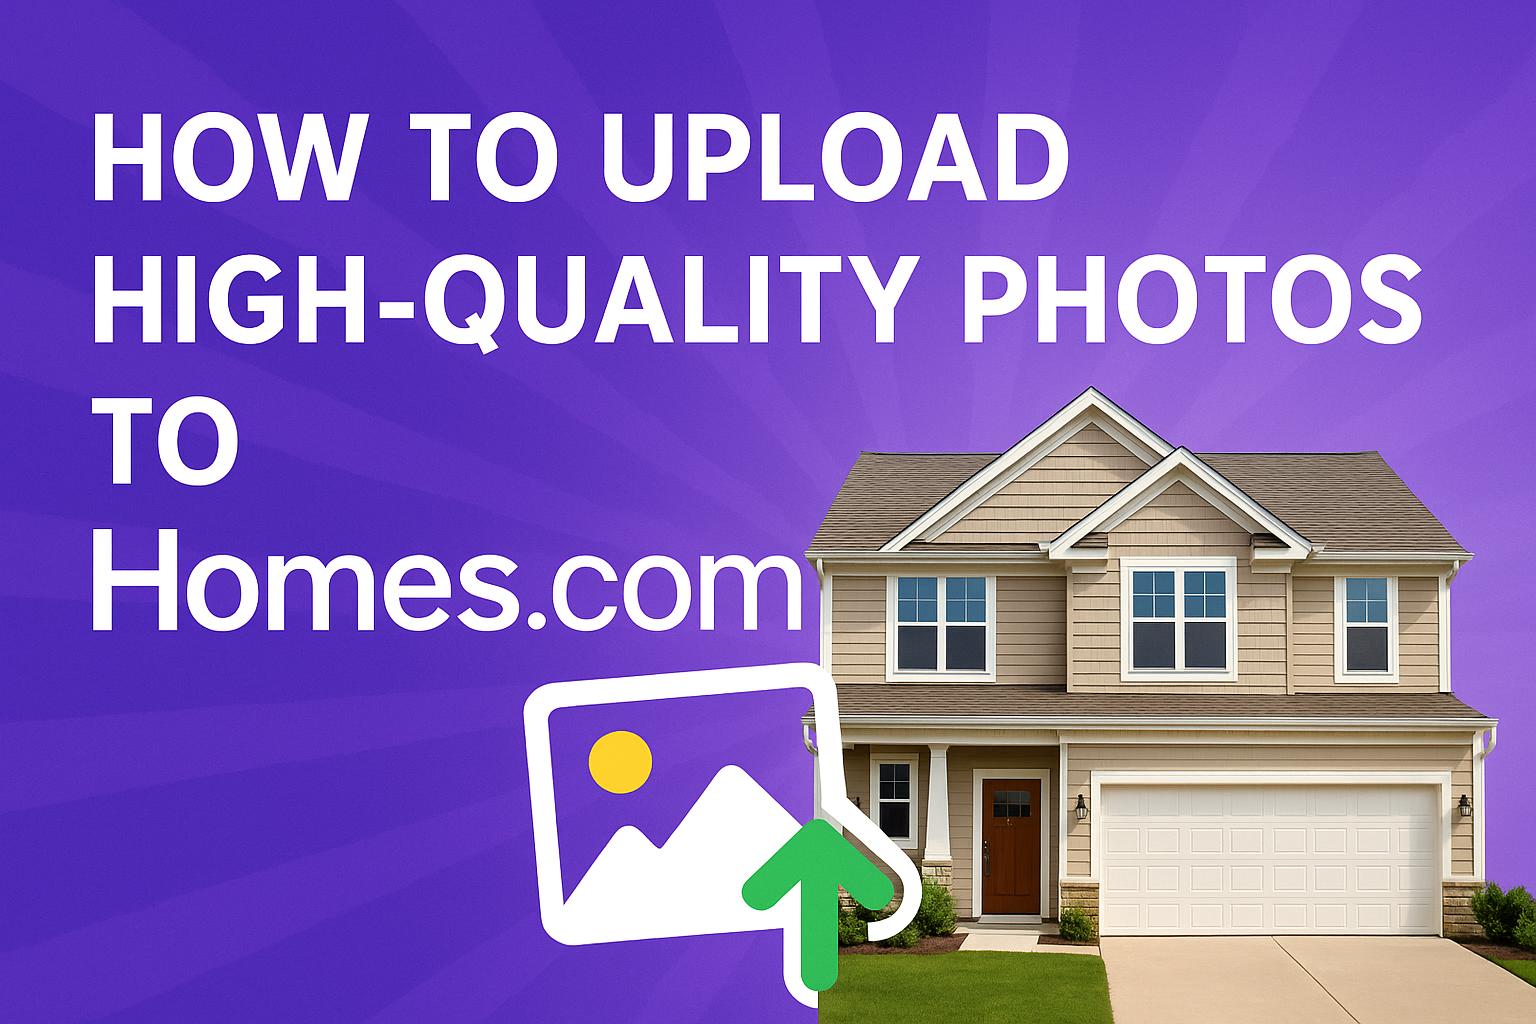
In this step-by-step guide, we’ll walk through how to upload stunning, high-resolution images to Homes.com without losing quality. Along the way, we’ll also explore MLS best practices, link to helpful resources, and share insider tips to make your property stand out.

Why Photo Quality Matters on Homes.com 🏡📷

Real estate photography has the power to:

  • Create an emotional connection with buyers.
  • Drive higher engagement on listings.
  • Increase time-on-page, which can improve lead conversions.
  • Position you as a professional, trustworthy agent or property manager.

According to research, listings with 20–30 high-quality photos generate significantly more leads than those with fewer or lower-quality images. And when paired with virtual tours or listing videos, your properties rise to the top of search results.

Step 1: Prepare Your Images 🖼️✅

Before uploading, make sure your photos are optimized. Homes.com recommends using:

  • High resolution: At least 1024 x 768 pixels or larger.
  • Landscape orientation: Horizontal images perform better.
  • JPEG format: Ensures balance of quality and fast loading.
  • Natural lighting: Avoid dark or grainy images.

📌 Pro Tip: Always showcase curb appeal first! Exterior photos are the most-clicked images in listings.

Step 2: Log Into Your Homes.com Dashboard 🔑💻

  1. Visit Homes.com and log in with your agent or property manager credentials.
  2. Navigate to the Listings Dashboard.
  3. Select the property you want to update.

From here, you’ll see options to add or replace photos, videos, or virtual tours.

Step 3: Upload Your Photos 📤📸

  • Click “Upload Photos” and select images from your device.
  • Drag and drop files into the upload area.
  • Arrange the order of your photos—Homes.com allows you to control which image appears as the featured listing photo.

👉 Remember, the first photo is your hook. Use a hero shot of the property exterior or an eye-catching interior angle.

Step 4: Maintain Image Quality 🖼️✨

One of the most common mistakes agents make is uploading compressed or distorted images. To avoid this:

  • Avoid screenshots or re-saving images multiple times.
  • Export from editing software at full resolution.
  • Use professional editing tools to enhance brightness, sharpness, and contrast.

Step 5: Add Captions and Details 📝📊

Don’t stop at just uploading photos. Add context for each image:

  • Living room: “Spacious open-concept living with natural light.”
  • Kitchen: “Upgraded stainless-steel appliances and granite countertops.”
  • Exterior: “Freshly landscaped yard with outdoor entertainment space.”

Captions help buyers visualize themselves in the space, and they also add SEO value to your listings.

Step 6: Save and Preview 👀✅

Once your photos are uploaded:

  • Hit Save.
  • Preview the listing to make sure images display correctly.
  • Check mobile view—most buyers browse from their phones.

At this stage, your listing should be polished, professional, and lead-ready.

Bonus: Go Beyond Photos 🚀🏠

High-quality photos are step one—but Homes.com gives you more tools to supercharge your listings:

  • Virtual Tours: Showcase immersive 360° walkthroughs.
  • Videos: Highlight lifestyle and movement within the space.
  • Floor Plans: Give buyers a sense of space and flow.

By combining these assets, you’ll create listings that grab attention and keep buyers engaged longer.

Linking Strategy: MLS Resource Hub 🔗📚

For more in-depth MLS strategies, explore these related guides:

Each of these connects back to best practices that you can also apply on Homes.com.

Final Thoughts 💡

Uploading high-quality photos to Homes.com is one of the simplest yet most powerful ways to boost your real estate marketing. With a bit of prep and attention to detail, you can ensure your listings look professional, engaging, and conversion-ready.

Remember: photos tell the story of the property—make sure it’s a story buyers can’t resist.

🚀 Call-to-Action (CTA)

Want to scale your listings faster? Explore our powerful tools and resources:

With these tools, you can transform every Homes.com listing into a lead-generating machine.

Share this post
Cloudpano

Choose The Right 360° Camera

Insta360 ONE RS 1-Inch 360 Edition

  • Compact, ready to go anywhere

  • Interchangeable lens that’s upgradeable

  • Dual 1-inch sensors for improved clarity and low light performance

  • Dynamic range and 6K 360° capture

  • 360° photo resolution at 21MP

Learn More

Insta360 X4

  • 8K 360° video recording for ultra-detailed visuals.

  • 4K single-lens mode for traditional wide-angle shots.

  • Invisible selfie stick effect for drone-like perspectives.

  • 2.5-inch touchscreen with Gorilla Glass protection.

  • Waterproof up to 33ft for underwater shooting.

Learn More

Ricoh Theta Z1

  • 360° photo resolution in 23MP

  • Slim design at 24 mm thick

  • Built-in image stabilization for smooth video capture.

  • Internal 19GB storage for photo and video storage.

  • Wireless connectivity for remote control and sharing.

Learn More

Ricoh Theta X

  • 60MP 360° still images for high-resolution photography.

  • 5.7K 360° video recording at 30fps.

  • 2.25-inch touchscreen for intuitive control.

  • USB Type-C port for fast charging and data transfer.

  • MicroSD card slot for expandable storage.

Learn More
Property Marketing
Allows potential buyers to explore properties in detail from anywhere, enhancing the real estate marketing process.
Automotive Spins
Create an interactive virtual showroom and engage affluent digital buyers with live 360º video calls, all through the CloudPano mobile app for a complete automotive sales solution.
Interactive Floor Plans
Create 2D and 3D floor plans with measurements in 4 minutes or less, all from your phone. Download the Floor Plan Scanner app and get your first scan free.

360 Virtual Tours With CloudPano.com. Get Started Today.

Try it free. No credit card required. Instant set-up.

Try it free
Latest posts

See our other posts

Interviews, tips, guides, industry best practices, and news.

MLS Virtual Tour Guide: How to Add a Virtual Tour to Your Listing Step-by-Step

This step-by-step guide shows real estate agents exactly how to add a virtual tour to an MLS listing. Learn why MLS virtual tours boost engagement, attract more buyers, and shorten time-on-market. Includes compliance tips, upload instructions, distribution strategies, and why CloudPano is the best tool for creating MLS-compliant 3D tours.
Read post

MLS Photo Upload Guide: How to Add Real Estate Photos Without Losing Quality

This pillar post teaches real estate agents and photographers how to upload high-quality property photos to the MLS without losing sharpness or vibrancy. It covers MLS photo size requirements, compression best practices, aspect ratios, and pro workflows to keep images crisp across Zillow, Realtor.com, and other listing platforms. With step-by-step tips and a bonus section on 360° tours, videos, and interactive floor plans, it’s designed to help you boost click-through rates, attract buyers, and speed up listing approvals.
Read post

How to Create One Link for All Your Property Media Across Platforms

Managing multiple links for photos, videos, and virtual tours across MLS, Zillow, and Realtor.com can be overwhelming. This guide shows agents and property marketers how to streamline everything into a single property media hub. Learn how to build one universal link that hosts photos, 3D tours, videos, and floor plans—boosting SEO, saving time, and improving the buyer experience.
Read post