How to Post a Floor Plan on Realtor.com Property Pages

Cloudpano
August 19, 2025
5 min read
Share this post

📐 How to Post a Floor Plan on Realtor.com Property Pages

In real estate marketing, floor plans aren’t just an optional extra — they’re a powerful conversion tool. 🏠 They help buyers visualize a home’s flow, understand dimensions, and picture themselves living there.

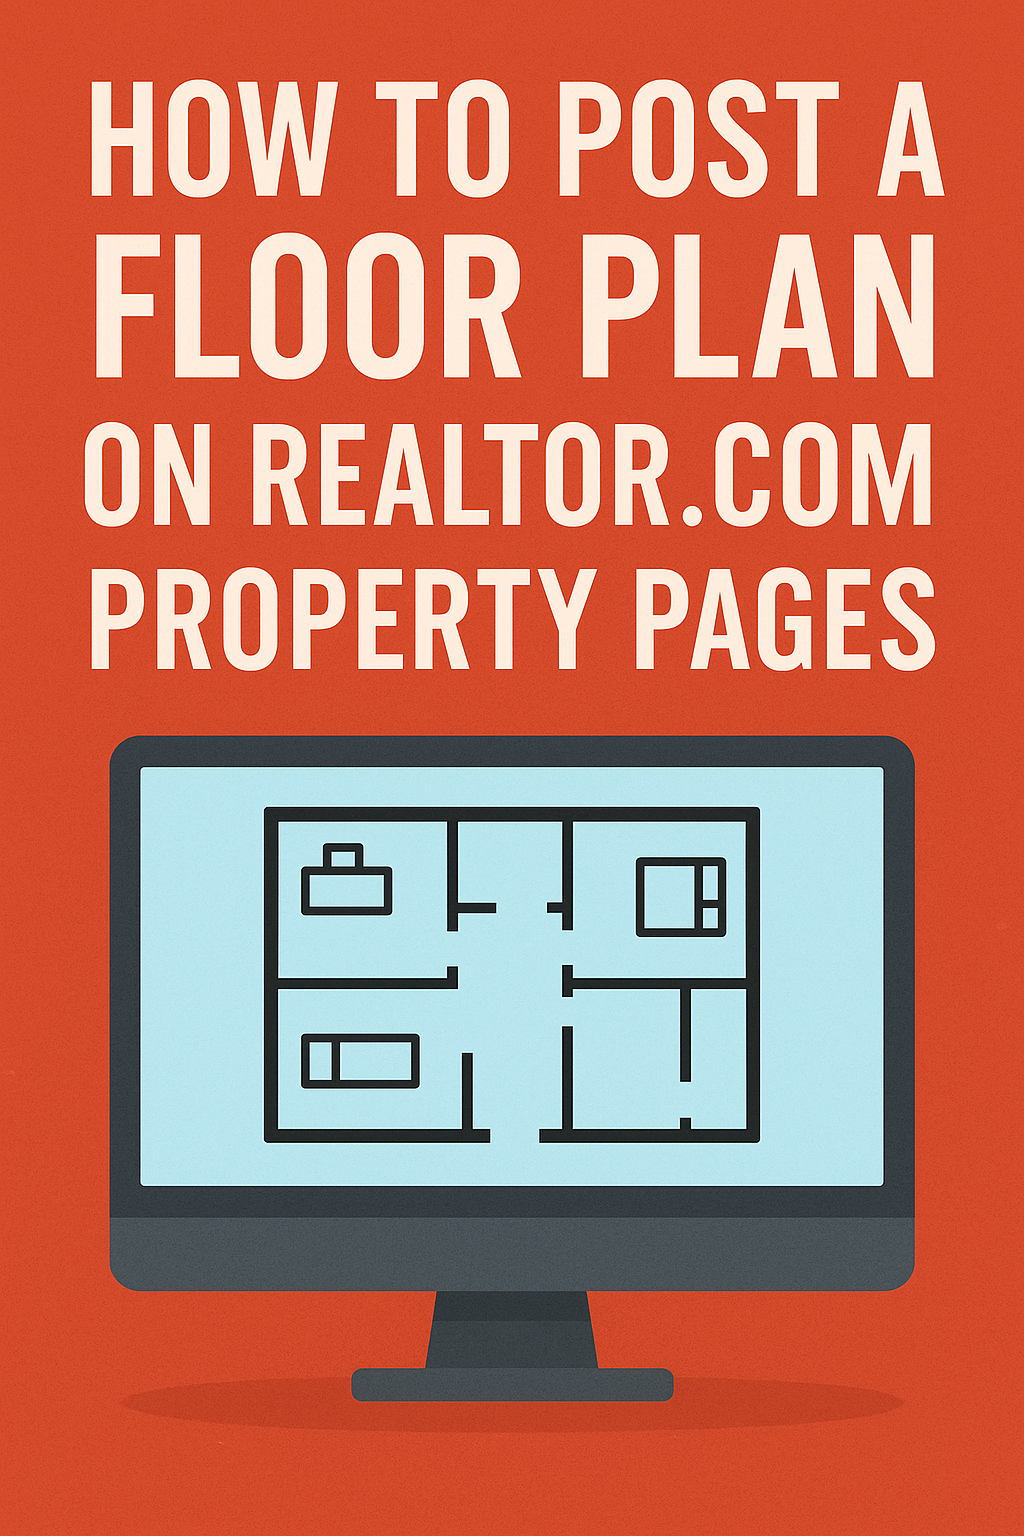
If you want to stand out on Realtor.com, posting a floor plan alongside your photos and videos is one of the smartest moves you can make. In this guide, we’ll show you step-by-step how to post a floor plan on your Realtor.com property page, plus insider tips for maximizing visibility.

🔍 Why Floor Plans Are Essential for Listings

According to research by Zillow, listings with floor plans get up to 52% more clicks than those without. That’s because buyers:

  • 📏 Understand the property’s true layout
  • 🛋 Plan furniture placement before visiting
  • 🚪 Visualize how each room connects
  • 🗓 Save time deciding which properties to tour

If you’re already uploading high-quality media to your MLS, you might also like:

🛠 Step 1: Confirm MLS and Realtor.com Sync Settings

Most listings on Realtor.com pull in data from your MLS feed. If your MLS supports floor plans, you may be able to upload there and have them appear automatically.

However, if your MLS doesn’t transmit floor plan files to Realtor.com, you’ll need to upload them directly.

📚 Related read: How to Add a 3D Home Tour to Zillow Listings

🖼 Step 2: Prepare Your Floor Plan File

Before uploading, make sure your floor plan meets Realtor.com’s specifications:

  • File Types: JPG, PNG, or PDF (JPG recommended for easy preview)
  • Resolution: At least 1200px wide for clarity
  • Labels: Include room names and dimensions
  • Orientation: Keep it simple and easy to read on mobile

💡 Want to generate clean, branded floor plans quickly? Tools like Pictastic.ai can help you turn sketches into polished layouts.

🖥 Step 3: Upload Directly to Realtor.com

Here’s the upload process:

  1. Log into your Realtor.com dashboard (Agent or Broker account)
  2. Click on the "Listings" tab
  3. Select the property you want to enhance
  4. Find the "Add Media" or "Add Floor Plan" option
  5. Upload your file and give it a descriptive title (e.g., “Main Level Floor Plan – 2,400 sq ft”)
  6. Save and preview your listing to ensure it displays correctly

🚀 Step 4: Optimize for Better Engagement

A plain upload is fine — but an optimized floor plan can drive even more buyer interest:

  • 🏷 Use SEO-friendly file names (“modern-3-bedroom-floor-plan-austin.jpg”)
  • ✍ Add a short description highlighting key layout features
  • 📊 Include dimensions for every room
  • 🔗 Cross-promote your floor plan in your listing description and link to virtual tours

📖 You might also find value in:

🌐 Step 5: Pair with Other Media for Maximum Impact

Floor plans work best when combined with photos, videos, and 3D tours. This creates a complete property story that engages buyers longer.

Example marketing sequence:

  1. Buyer clicks on your listing photo
  2. They watch a short walkthrough video 🎥
  3. They check the floor plan to see room flow 📐
  4. They explore the property in a 3D tour 🌀

📌 Related article: How to Add a 3D Tour to Realtor.com Listings

📈 Step 6: Promote Your Realtor.com Listing Externally

Once your floor plan is live, share your Realtor.com link everywhere:

  • 📲 Social media (Facebook, Instagram, LinkedIn)
  • 📧 Email blasts to your database
  • 🌐 Your personal website or agent page

💡 Tip: Use a consistent media package across all platforms for branding consistency.

🧠 Pro Tips for Posting Floor Plans

  • Brand your floor plans with your logo
  • ✅ Make sure they’re accurate and to scale
  • ✅ Include both furnished and unfurnished versions if possible
  • ✅ Use color coding to distinguish living, dining, and bedroom areas

🏆 Why This Matters

A great floor plan doesn’t just inform buyers — it moves them closer to booking a showing. Realtor.com is one of the highest-traffic property portals in the U.S., so every enhancement you add makes your listing more competitive.

The more complete your listing media package is, the more serious buyers you’ll attract.

📢 Ready to Upgrade All Your Listing Media?

Here are tools to help:

Share this post
Cloudpano

Choose The Right 360° Camera

Insta360 ONE RS 1-Inch 360 Edition

  • Compact, ready to go anywhere

  • Interchangeable lens that’s upgradeable

  • Dual 1-inch sensors for improved clarity and low light performance

  • Dynamic range and 6K 360° capture

  • 360° photo resolution at 21MP

Learn More

Insta360 X4

  • 8K 360° video recording for ultra-detailed visuals.

  • 4K single-lens mode for traditional wide-angle shots.

  • Invisible selfie stick effect for drone-like perspectives.

  • 2.5-inch touchscreen with Gorilla Glass protection.

  • Waterproof up to 33ft for underwater shooting.

Learn More

Ricoh Theta Z1

  • 360° photo resolution in 23MP

  • Slim design at 24 mm thick

  • Built-in image stabilization for smooth video capture.

  • Internal 19GB storage for photo and video storage.

  • Wireless connectivity for remote control and sharing.

Learn More

Ricoh Theta X

  • 60MP 360° still images for high-resolution photography.

  • 5.7K 360° video recording at 30fps.

  • 2.25-inch touchscreen for intuitive control.

  • USB Type-C port for fast charging and data transfer.

  • MicroSD card slot for expandable storage.

Learn More
Property Marketing
Allows potential buyers to explore properties in detail from anywhere, enhancing the real estate marketing process.
Automotive Spins
Create an interactive virtual showroom and engage affluent digital buyers with live 360º video calls, all through the CloudPano mobile app for a complete automotive sales solution.
Interactive Floor Plans
Create 2D and 3D floor plans with measurements in 4 minutes or less, all from your phone. Download the Floor Plan Scanner app and get your first scan free.

360 Virtual Tours With CloudPano.com. Get Started Today.

Try it free. No credit card required. Instant set-up.

Try it free
Latest posts

See our other posts

Interviews, tips, guides, industry best practices, and news.

Boost Your Real Estate Branding: Add Logos to AI Videos With Our New Software Update

This blog introduces PhotoAIVideo’s latest software update, which allows real estate agents, photographers, and media creators to easily add their logo to AI-generated listing videos. It explains why branding is crucial in real estate today—boosting trust, professionalism, recognition, and competitive advantage. The post walks step-by-step through how the new Logo Upload Feature works, including uploading a logo, adjusting placement, resizing, opacity, and padding, and generating a fully branded video in seconds. Readers also learn branding best practices and how this feature helps them win more listings, stand out locally, improve social media engagement, strengthen Google visibility, and create a consistent marketing identity across all platforms.
Read post

How to Use PhotoAIVideo’s New Logo Upload Feature for Real Estate AI Videos

This blog teaches real estate agents, photographers, and media creators exactly how to use PhotoAIVideo’s new Logo Upload Feature to create fully branded AI real estate videos in seconds. It explains why branding is essential for building trust, authority, and local recognition, and walks readers step-by-step through uploading photos, adding their logo, adjusting placement, sizing, opacity, and padding, and generating a polished cinematic video. The post also includes professional branding tips—such as using transparent PNGs, avoiding visual clutter, ensuring consistent sizing, and optimizing logo opacity for social platforms. Readers learn how branded videos improve social media performance, help win more listings, strengthen market presence, and elevate every piece of real estate marketing content.
Read post

New Update! Easily Insert Logos Into AI Real Estate Videos for Stronger Branding

This blog introduces PhotoAIVideo’s newest update that allows real estate agents, photographers, and media creators to seamlessly insert logos into their AI-generated real estate videos. The post explains why branding matters more than ever in today’s competitive real estate market and how a simple logo can elevate professionalism, strengthen brand recognition, and help win more listings. Readers learn step-by-step how to upload, position, size, and customize their logo inside PhotoAIVideo, along with branding best practices such as using transparent PNGs, maintaining consistent placement, optimizing opacity, and avoiding visual clutter. The blog also highlights how branded videos boost trust, increase social media engagement, improve Google Business Profile visibility, and create long-lasting marketing assets for real estate pros.
Read post