.png)

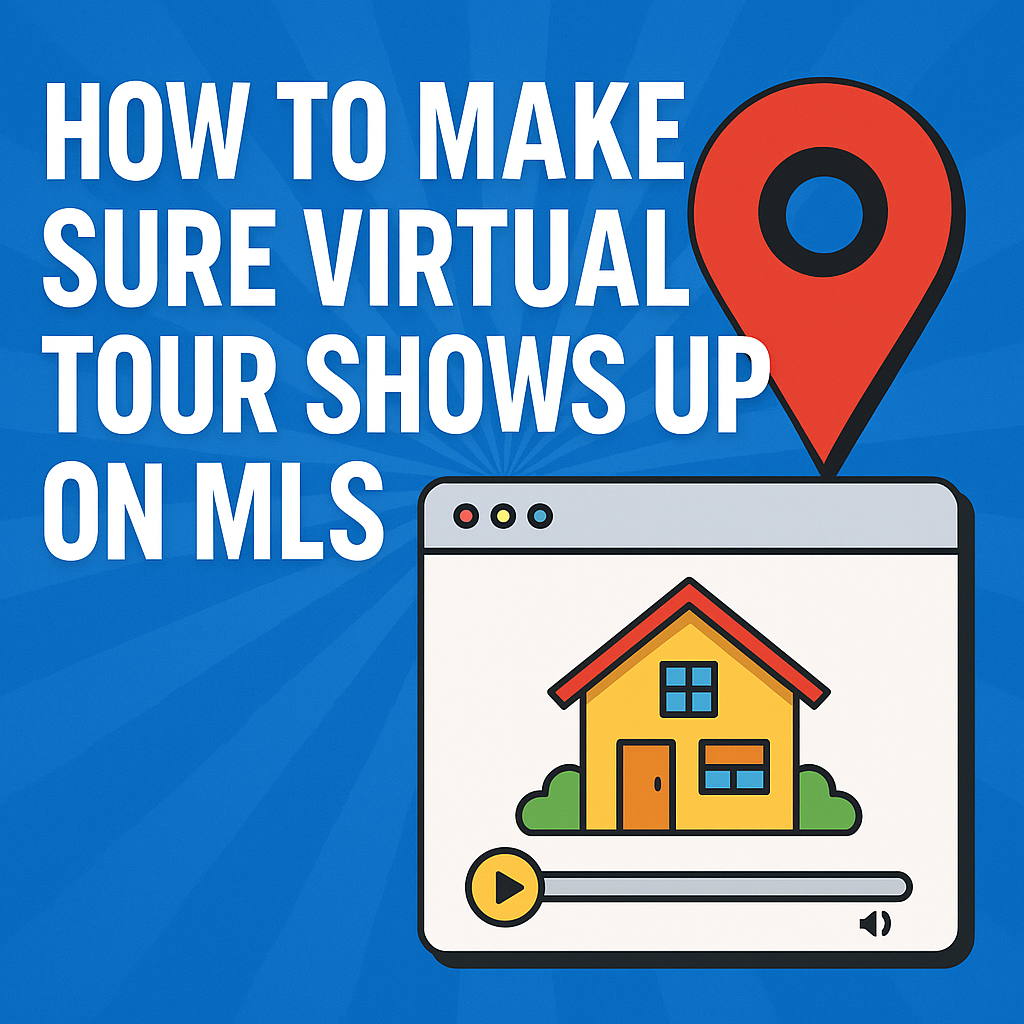
In today’s competitive real estate market, listings with virtual tours consistently receive more views, higher engagement, and faster offers than static photo-only listings. Yet, many realtors upload a tour only to discover later that it doesn’t display properly on the MLS 😱.
In this complete guide, you’ll learn step-by-step how to ensure your virtual tour shows up on MLS every time, avoid common mistakes, and maximize visibility for your listings.
Adding a virtual tour to MLS isn’t just about having a “cool feature”—it’s about winning more buyer attention. According to the National Association of Realtors (NAR), more than 50% of buyers say they are more likely to request a showing for a property with a virtual tour.
Not only do tours boost engagement, but they also help listings stand out in crowded markets like Zillow, Realtor.com, and Redfin, since MLS feeds push the virtual tour link directly to these syndicated platforms.
Each MLS has slightly different rules for virtual tour links. Some allow branded tours (with logos, agent info, and CTAs), while others require unbranded versions (just the property itself).
For example:
One of the most common mistakes realtors make is copying the wrong link type. MLS typically requires a direct tour link (unbranded) instead of:
If you’re using platforms like CloudPano or Matterport, both offer dedicated MLS-ready links. Always choose the “Unbranded Link” option when copying.
👉 Related tutorial: How Realtors Can Add Cloudpano Tour To MLS
Every MLS has a specific field for “Virtual Tour URL.” It may appear under:
⚠️ Important: Do not paste your virtual tour into the photo description or remarks section—most MLS platforms will strip it out.
👉 Related step-by-step: Best Way To Insert Virtual Tour Link Into MLS
After you upload the link, always preview the listing:
Some MLS systems even allow you to test syndicated feeds (Zillow, Realtor.com). Make sure the tour works across all channels.
Even if you follow the steps, issues can still pop up. Here are the most common:
👉 Related tutorial: How To Upload A 3D Virtual Tour To MLS For Real Estate
👉 Related strategy: Add Virtual Tour To MLS Using CloudPano Tutorial
CloudPano makes the process incredibly easy:
This is why many top agents are switching from Matterport-only tours to CloudPano for faster turnaround and MLS compliance.
👉 Related comparison: [How Realtors Can Add Matterport Tour To MLS]
If you want to read the official MLS policies, here are two trusted sources:
Both regularly update compliance standards, so make sure you’re referencing the latest guidelines.
Getting your virtual tour to show up correctly on MLS can mean the difference between a stagnant listing and one that gets calls, showings, and offers quickly.
By following these steps—using unbranded links, testing drafts, and staying compliant—you’ll ensure your listings always stand out.
✅ Ready to upgrade your MLS listings with CloudPano tours?
Here’s how we can help:
👉 Don’t let your listings blend in—make sure your virtual tour shows up on MLS and wins more buyers today!

Compact, ready to go anywhere
Interchangeable lens that’s upgradeable
Dual 1-inch sensors for improved clarity and low light performance
Dynamic range and 6K 360° capture
360° photo resolution at 21MP

8K 360° video recording for ultra-detailed visuals.
4K single-lens mode for traditional wide-angle shots.
Invisible selfie stick effect for drone-like perspectives.
2.5-inch touchscreen with Gorilla Glass protection.
Waterproof up to 33ft for underwater shooting.

360° photo resolution in 23MP
Slim design at 24 mm thick
Built-in image stabilization for smooth video capture.
Internal 19GB storage for photo and video storage.
Wireless connectivity for remote control and sharing.

60MP 360° still images for high-resolution photography.
5.7K 360° video recording at 30fps.
2.25-inch touchscreen for intuitive control.
USB Type-C port for fast charging and data transfer.
MicroSD card slot for expandable storage.
.png)
.png)

Try it free. No credit card required. Instant set-up.