.png)


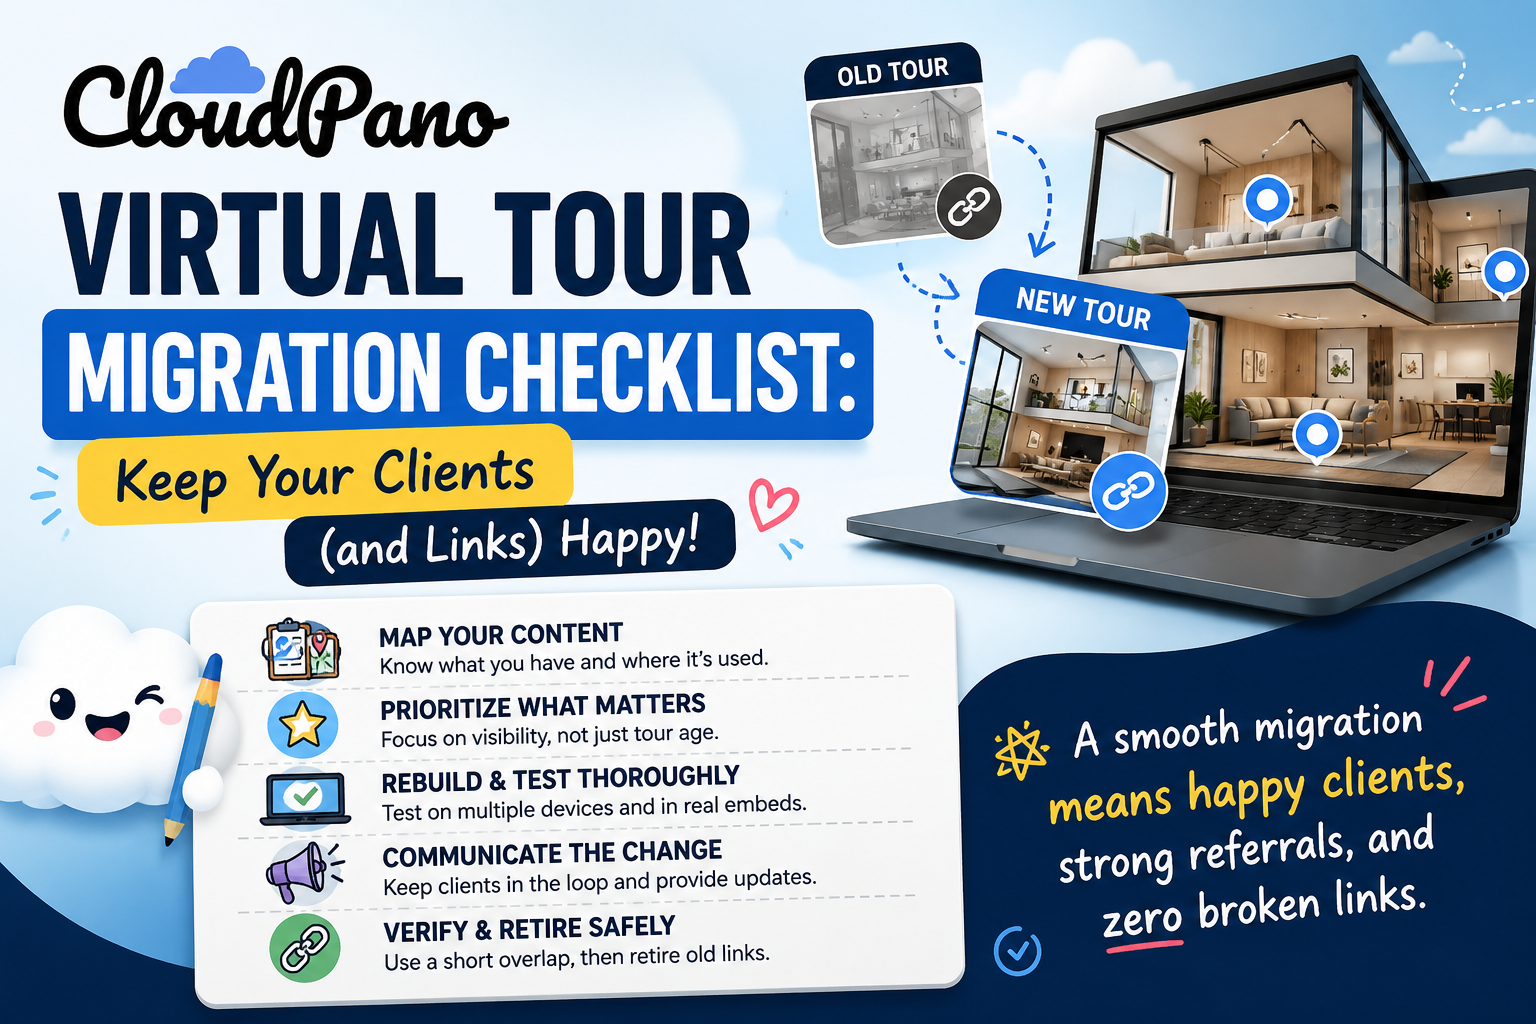
Matterport is a widely used platform for creating immersive virtual tours, but what if you want more control and flexibility over where and how you showcase your tours? In this step-by-step guide, we'll show you how to host your Matterport virtual tours elsewhere, specifically using CloudPano.
Whether you're a small business owner, realtor, or engaged in a unique 3D tour project, this guide empowers you to take charge of your virtual tours and present them in a way that aligns with your specific needs. Let's dive in and explore the possibilities!

Step 1: Export Your Matterport Virtual Tour
Step 2: Prepare Your Virtual Tour Files
Step 3: Sign Up or Log In to CloudPano
Step 4: Create a New Project on CloudPano
Step 5: Upload Your Matterport Virtual Tour Files
Step 6: Customize Your Virtual Tour
Step 7: Publish Your Virtual Tour

Conclusion
By following this step-by-step guide, you can successfully host your Matterport virtual tours elsewhere, such as on CloudPano. This allows you to take control of your virtual tour presentation, customize it to your liking, and reach your audience in a way that suits your specific needs. Say goodbye to platform restrictions and embrace the flexibility that CloudPano provides for showcasing your immersive virtual tours. Whether you're a realtor looking to market properties, a business owner showcasing your space, or a creative with a unique 3D tour project, CloudPano empowers you to present your tours on your terms. Explore the possibilities and start hosting your Matterport virtual tours outside the traditional platform today!

Compact, ready to go anywhere
Interchangeable lens that’s upgradeable
Dual 1-inch sensors for improved clarity and low light performance
Dynamic range and 6K 360° capture
360° photo resolution at 21MP

8K 360° video recording for ultra-detailed visuals.
4K single-lens mode for traditional wide-angle shots.
Invisible selfie stick effect for drone-like perspectives.
2.5-inch touchscreen with Gorilla Glass protection.
Waterproof up to 33ft for underwater shooting.

360° photo resolution in 23MP
Slim design at 24 mm thick
Built-in image stabilization for smooth video capture.
Internal 19GB storage for photo and video storage.
Wireless connectivity for remote control and sharing.

60MP 360° still images for high-resolution photography.
5.7K 360° video recording at 30fps.
2.25-inch touchscreen for intuitive control.
USB Type-C port for fast charging and data transfer.
MicroSD card slot for expandable storage.
.png)
.png)

Try it free. No credit card required. Instant set-up.