


.png)


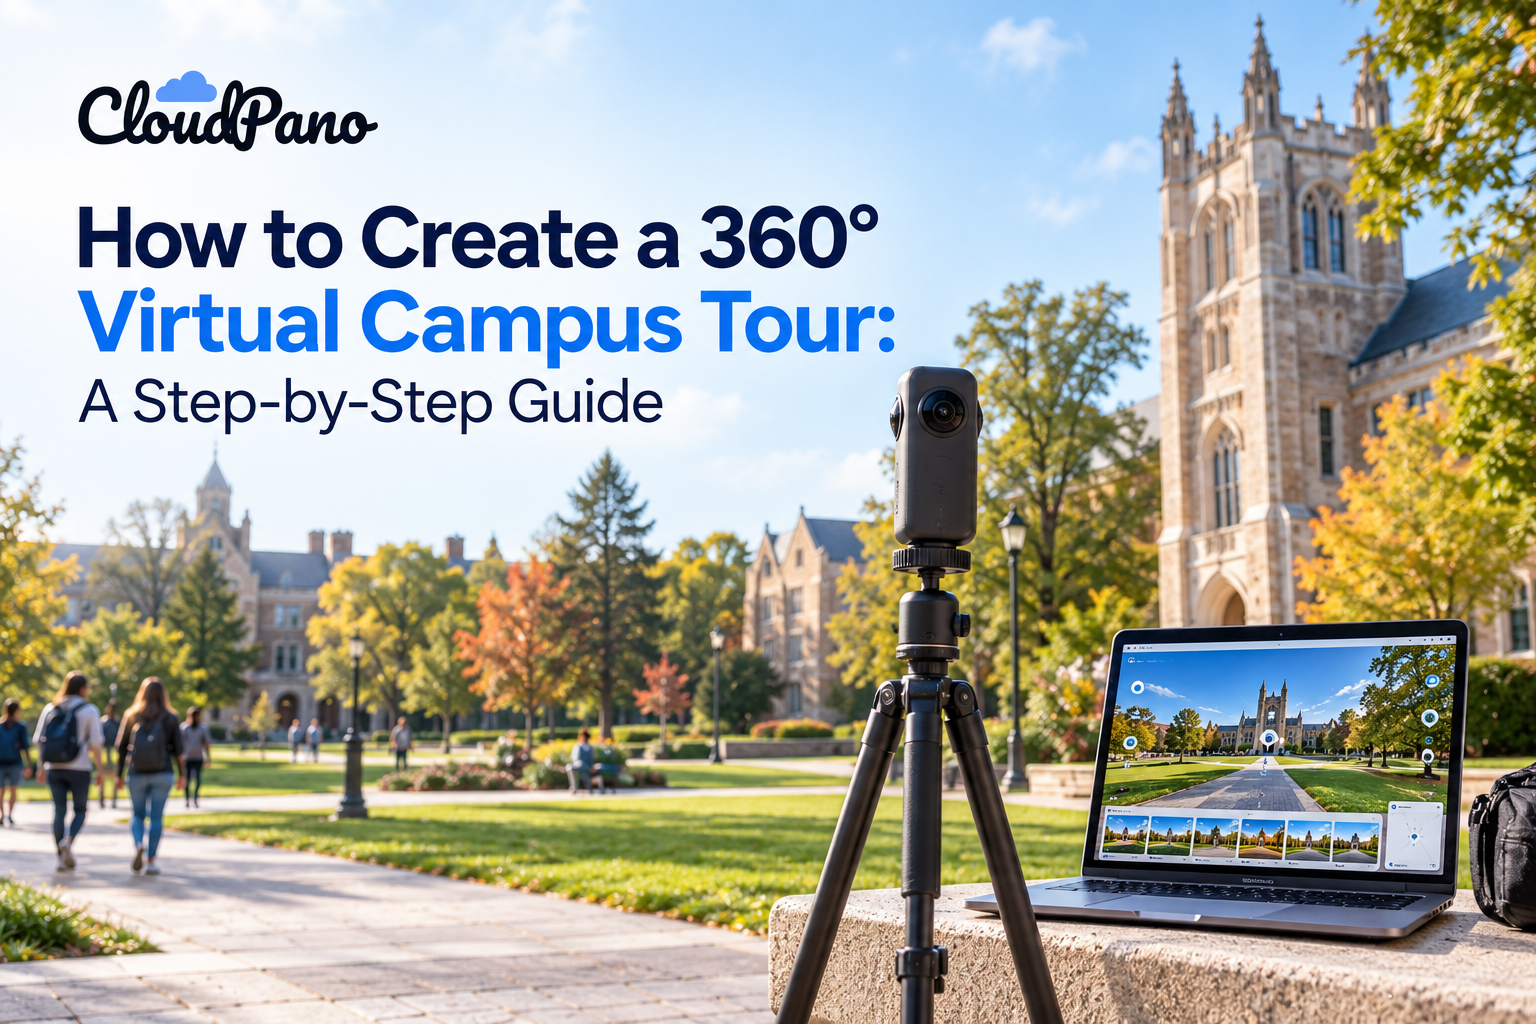
Universities can create a 360° virtual campus tour by planning key locations, capturing high-quality 360° images, uploading them to university-focused virtual tour software, connecting scenes with hotspots, adding branding and calls to action, testing the experience across devices, and publishing it across admissions channels for prospective students to explore remotely.
Prospective students and their families often form an opinion about a campus long before they schedule a visit. A well-built 360° virtual tour lets them explore residence halls, lecture spaces, dining commons, and quads on their own schedule, from anywhere in the world.
For admissions and enrollment marketing teams juggling limited travel budgets and growing applicant pools, a virtual tour can be a valuable part of the recruitment toolkit. If you're comparing options, this guide to virtual tour software built for higher-ed admissions teams is a useful starting point before you shoot a single photo.
The good news is that you don't need a video production budget or a technical background to produce a professional tour. With a no-code platform, a suitable 360° camera, and a clear plan, admissions offices can capture and publish a full campus tour without an overly complicated production process.
Below is a practical, step-by-step guide to planning, shooting, building, and promoting a 360° virtual campus tour — whether you're doing the work yourself or briefing a vendor or student photographer.
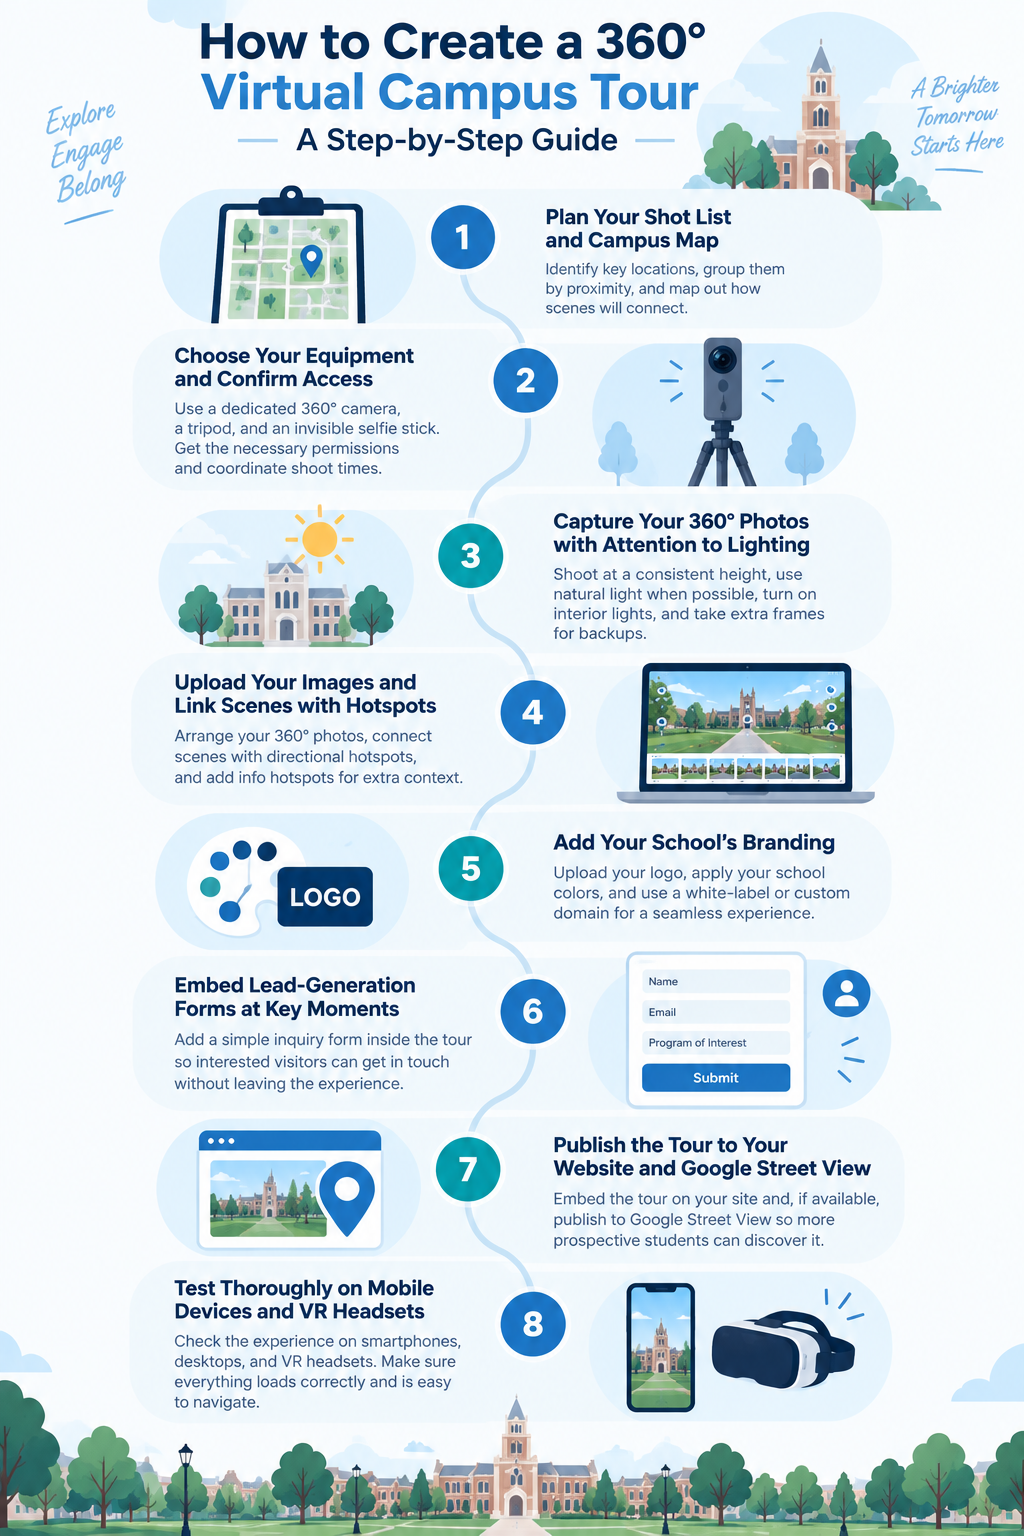
Start by listing every space a prospective student would want to see: the admissions welcome center, a representative residence hall room, a lecture hall, the library, dining hall, student union, athletic facilities, labs, and outdoor gathering spaces such as the quad.
Group locations by physical proximity so you can shoot efficiently in a single walk around campus. Then, sketch a rough map showing how the spaces connect. This can become the backbone of your hotspot navigation later.
Loop in academic departments and student affairs early, since they may know which rooms photograph well and which spaces are most likely to be available during your shooting window.
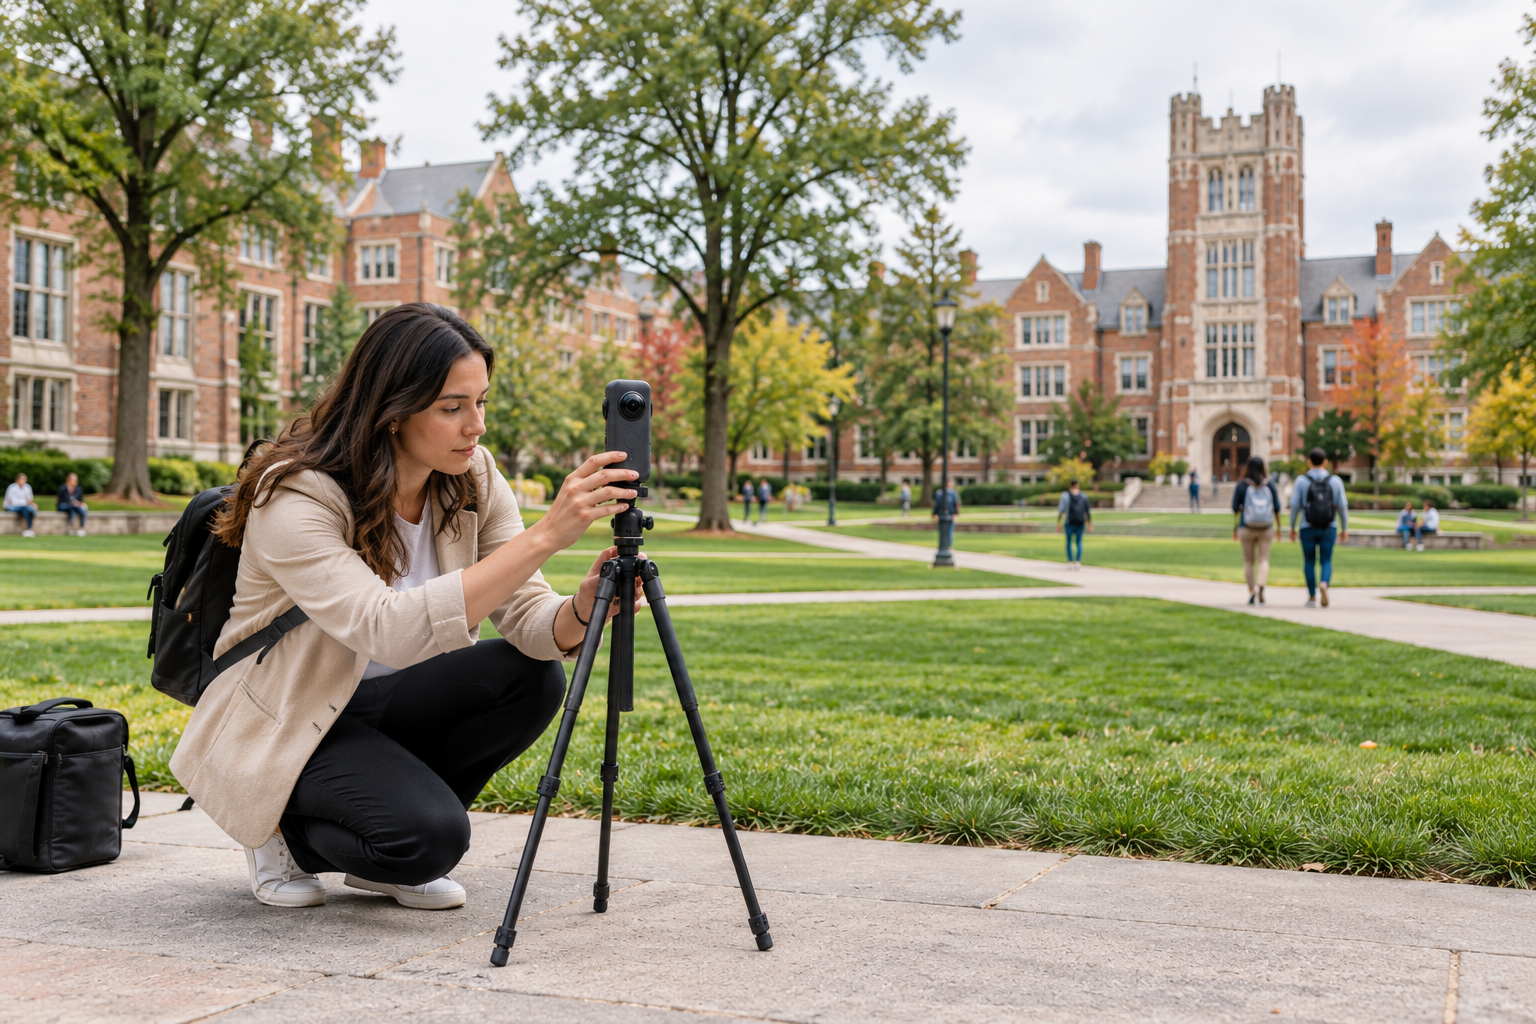
A dedicated 360° camera generally produces more consistent results than a smartphone panorama app and may be worth the investment for a project intended to last through several admissions cycles.
Pair the camera with a small tripod and, if possible, an invisible selfie-stick mount to minimize the photographer's appearance in the shot.
Before shooting, confirm access to locked buildings, coordinate with residence life for dorm rooms, and schedule around classes so hallways and lecture rooms can be captured without unnecessarily disrupting students.
Shoot at a consistent height — around chest level — in every room to keep the tour visually cohesive.
Natural light can work especially well outdoors, so consider shooting during overcast conditions or in the softer light of early morning or late afternoon to avoid harsh shadows and overexposed skies.
Indoors, turn on the room lights and, where possible, shoot during daylight hours to balance the interior with the light coming through the windows.
Take a few extra frames at each location. Having backups can be useful if a shadow, reflection, or passerby affects one of your shots.
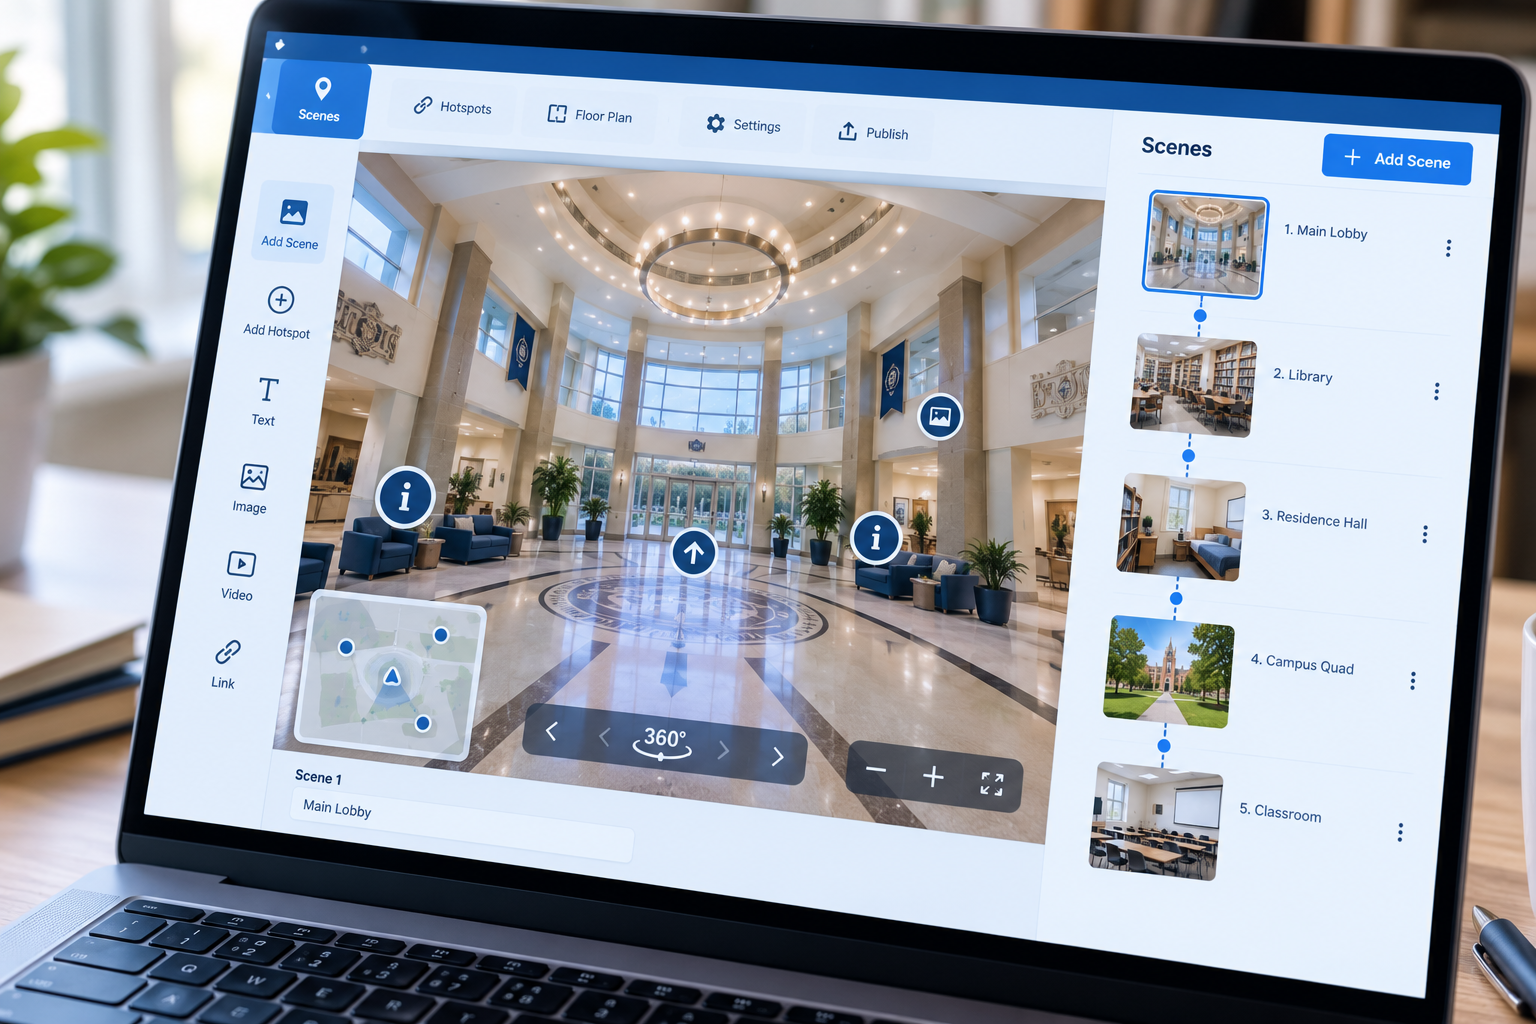
Once you have your 360° photos, upload them to a no-code virtual tour platform such as CloudPano, where scenes can be arranged and connected without coding.
Place directional hotspots so viewers can click from the quad into the student union, then from the lobby down a hallway into a classroom, creating an experience that resembles walking through the campus.
You can also add informational hotspots — such as a pop-up describing a scholarship program, a fact about a historic building, or a link to a department's academic programs — to provide useful context beyond the visuals.
Consistency with your institution's visual identity can make the virtual tour feel like a natural extension of your admissions website.
Add your logo and school colors where supported, and consider using white-label or custom-domain options if your platform provides them. This can create a more cohesive experience than directing prospective students to a generic vendor-branded tour.
For families comparing several institutions online, maintaining consistent branding across your digital recruitment materials can also help create a more polished experience.
Consider placing a simple inquiry or "request more information" form directly inside the tour — for example, after a visitor explores the residence halls, academic facilities, or financial aid office.
This gives interested prospective students an opportunity to take the next step without leaving the tour.
Keep the form concise. Fields such as name, email address, and intended program of study may be enough to begin the conversation.
Where your platform and admissions systems support it, captured inquiries can then be routed into your CRM or admissions database so counselors can follow up.
Embed the finished tour directly on your admissions or "Visit Campus" webpage using the platform's embed code. This allows visitors to explore the campus without leaving your website.
If your platform supports Google Street View publishing, you can also consider publishing appropriate campus imagery there. This can provide another way for prospective students and families to discover and explore the campus through Google Maps and Search.
Before publishing, test the experience on smartphones as well as desktop devices. Make sure hotspots are easy to tap, text is legible, scenes load properly, and navigation feels intuitive.
If your platform supports VR headset viewing and your institution plans to use that functionality at open houses, college fairs, or recruitment events, test the VR experience as well.
Fix broken links, missing hotspots, awkward transitions, or dead-end scenes before launch. Even a visually impressive tour can become frustrating if visitors can't navigate it easily.
Once your tour is live, treat it as an ongoing recruitment asset rather than a one-time project.
Feature it prominently on your "Visit Us" and admitted-student pages, include the link in relevant admissions and financial aid communications, and share it in email campaigns with prospective students who may not be able to attend an in-person visit day.
Admissions counselors and student ambassadors can also reference the tour during phone calls, virtual information sessions, and college fair conversations. Instead of simply describing a residence hall, classroom, or campus facility, they can direct families to an interactive experience that shows the space.
You can also consider adding the tour to relevant social media profiles, digital recruitment materials, and communications sent to high school counselors.
For students who cannot easily travel for an in-person visit, a virtual tour provides another way to access information about the campus and explore important spaces remotely.
Finally, revisit the tour regularly.
Buildings are renovated, programs change, facilities are updated, and signage gets replaced. An outdated tour can undermine the polished impression you're trying to create.
Assign someone on your team — or establish responsibility with your vendor — to review the tour periodically and update scenes when necessary.
Building a 360° virtual campus tour becomes much more manageable when the project is broken into clear steps: plan your locations, capture consistent photos, connect scenes with hotspots, apply your institution's branding, incorporate lead capture where appropriate, publish the experience, and test everything before launch.
Once live, the tour can become a reusable recruitment asset that prospective students can explore regardless of where they live or when they're researching your institution.
For teams still evaluating which platform best fits their workflow and budget, this overview of university-focused virtual tour software is a helpful next step before committing to a shoot date.
Not necessarily. Depending on your institution's resources and quality requirements, a student worker, in-house marketing staff member, or campus photographer may be able to capture the tour using a suitable 360° camera.Consistent camera placement, good lighting, careful composition, and a thoughtful shot list are among the most important factors in creating a professional-looking result.
There's no fixed number.Focus first on the spaces prospective students are most likely to care about: admissions and welcome areas, a representative residence hall room, important academic buildings, dining facilities, recreation spaces, and outdoor gathering areas.You can start with your highest-priority locations and expand the tour over time rather than trying to capture every building at once.
No — and it doesn't need to.A virtual tour can complement in-person visits by helping students explore a campus before traveling, narrow their college choices, prepare for an upcoming visit, or experience the campus when travel isn't practical.It works alongside open houses, admitted-student days, and traditional campus tours rather than replacing them.
Start with the engagement metrics your virtual tour platform or connected analytics tools can reliably track. Depending on your setup, these might include tour visits, scene views, engagement with specific areas, or lead-form submissions.You can then combine those signals with CRM or admissions data to understand whether visitors who interact with the tour later request information, schedule a visit, apply, or take another meaningful recruitment action.The exact metrics available will depend on the platform and analytics configuration, so confirm what your chosen software actually tracks before building your reporting strategy.
The timeline depends on campus size, the number of scenes, access to buildings, photography requirements, editing, and the complexity of the finished tour. A smaller admissions tour can start with priority locations and expand over time, while a comprehensive campus experience may require multiple capture sessions and additional review before publication.


Compact, ready to go anywhere
Interchangeable lens that’s upgradeable
Dual 1-inch sensors for improved clarity and low light performance
Dynamic range and 6K 360° capture
360° photo resolution at 21MP

8K 360° video recording for ultra-detailed visuals.
4K single-lens mode for traditional wide-angle shots.
Invisible selfie stick effect for drone-like perspectives.
2.5-inch touchscreen with Gorilla Glass protection.
Waterproof up to 33ft for underwater shooting.

360° photo resolution in 23MP
Slim design at 24 mm thick
Built-in image stabilization for smooth video capture.
Internal 19GB storage for photo and video storage.
Wireless connectivity for remote control and sharing.

60MP 360° still images for high-resolution photography.
5.7K 360° video recording at 30fps.
2.25-inch touchscreen for intuitive control.
USB Type-C port for fast charging and data transfer.
MicroSD card slot for expandable storage.
.png)

.png)

Try it free. No credit card required. Instant set-up.





.svg)


.svg)