How to Add Floor Plans to Homes.com Listings

Cloudpano
August 17, 2025
5 min read
Share this post

🏡 How to Add Floor Plans to Homes.com Listings (Step-by-Step Guide)

When renters and buyers browse Homes.com, they want more than just photos—they want to understand the space. That’s why floor plans are one of the most powerful tools you can add to your listing. They help buyers visualize the layout, flow, and size of the property before they ever set foot inside.

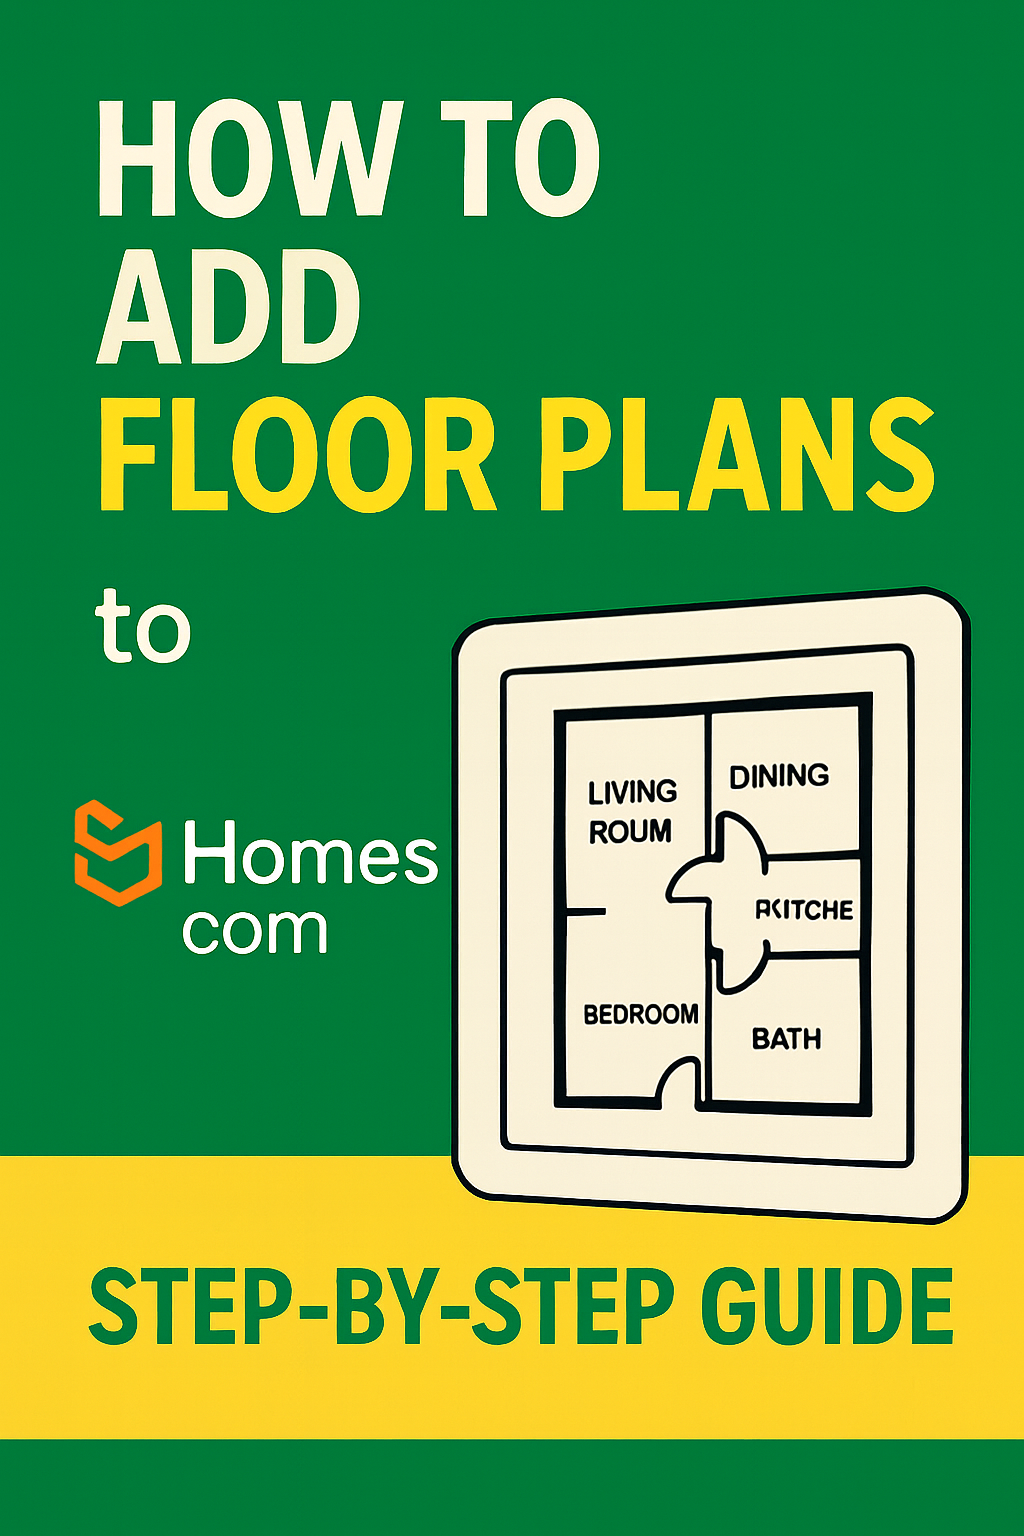
In this guide, we’ll show you exactly how to upload and showcase floor plans on Homes.com listings 📐, why they matter, and tips to keep them looking professional and high-quality.

✨ Why Floor Plans Matter for Homes.com Listings

Adding a floor plan isn’t just about showing rooms—it’s about building trust. A recent study shows that listings with floor plans get 30–40% more engagement compared to those without.

Here’s why:

  • 🔑 Clarity – Buyers see room dimensions and layout.
  • 🖼️ Visualization – It helps people picture furniture placement.
  • 🚀 More Clicks – Listings with interactive content stand out on Homes.com.
  • 💼 Professional Edge – Sellers see you as a tech-forward agent.

🛠️ Step 1: Prepare Your Floor Plan Files

Before uploading, make sure your floor plan file is ready:

  • 📂 Use JPG or PNG for images, or PDF if supported.
  • 🔍 Ensure clear resolution (minimum 1200px width).
  • 🏷️ Label rooms and dimensions.
  • 🎨 Keep the design simple, black-and-white or with light shading.

🖥️ Step 2: Log Into Your Homes.com Account

  1. Go to Homes.com and log in.
  2. Navigate to your Agent Dashboard.
  3. Select the property you’d like to update.

From here, you can edit your listing details, photos, and media uploads.

📂 Step 3: Upload Floor Plans to the Listing

  • Find the Media/Photos section in the listing editor.
  • Look for “Add Floor Plan” (this may appear alongside photos and videos).
  • Upload your prepared floor plan file.
  • Double-check orientation (portrait vs. landscape).
  • Save changes and preview your listing.

👉 For agents who also upload walkthroughs, see our step-by-step on How to Upload Video Tours to Apartments.com Listings.

💡 Step 4: Optimize Your Floor Plan for Engagement

Just uploading isn’t enough—make sure your floor plan works for you:

  • ✏️ Add captions like “Spacious Open Living Room Flow.”
  • 🔗 Link the floor plan to virtual tours when possible.
  • 📲 Test the display on mobile devices.
  • 📐 Offer multiple layouts (if the property has options).

👉 Related: How to Add Listing Videos to Homes.com Property Pages.

🚩 Common Mistakes to Avoid

❌ Uploading blurry or crooked floor plans
❌ Forgetting to label rooms
❌ Using colors that are too dark or confusing
❌ Not checking the preview on Homes.com

By avoiding these errors, your floor plans will shine ✨ and increase click-through rates.

📊 Why Floor Plans Help You Win More Deals

Floor plans aren’t just for buyers—they help sellers pick you as their agent. When homeowners see you offer photos, videos, and floor plans, you stand out. It shows you go the extra mile to market their property.

This creates a ripple effect:

  • More sellers trust you with their listings.
  • More buyers click on your Homes.com properties.
  • More deals close faster.

👉 Dive deeper into media strategy with How to Upload High-Quality Photos to Homes.com.

✅ Final Checklist Before Publishing

  • Floor plan is clear and labeled
  • File format supported (JPG/PNG/PDF)
  • Uploaded in the correct section of Homes.com
  • Optimized captions for SEO
  • Preview checked on desktop and mobile

Once everything is done—publish your listing and watch the engagement climb 🚀.

📌 Conclusion

Adding floor plans to Homes.com listings makes your property stand out, provides valuable context to buyers, and helps you win trust as an agent. Combine high-quality photos, video tours, and virtual walkthroughs with floor plans, and you’ll dominate the market.

🔥 CTA: Ready to Take Your Listings to the Next Level?

Share this post
Cloudpano

Choose The Right 360° Camera

Insta360 ONE RS 1-Inch 360 Edition

  • Compact, ready to go anywhere

  • Interchangeable lens that’s upgradeable

  • Dual 1-inch sensors for improved clarity and low light performance

  • Dynamic range and 6K 360° capture

  • 360° photo resolution at 21MP

Learn More

Insta360 X4

  • 8K 360° video recording for ultra-detailed visuals.

  • 4K single-lens mode for traditional wide-angle shots.

  • Invisible selfie stick effect for drone-like perspectives.

  • 2.5-inch touchscreen with Gorilla Glass protection.

  • Waterproof up to 33ft for underwater shooting.

Learn More

Ricoh Theta Z1

  • 360° photo resolution in 23MP

  • Slim design at 24 mm thick

  • Built-in image stabilization for smooth video capture.

  • Internal 19GB storage for photo and video storage.

  • Wireless connectivity for remote control and sharing.

Learn More

Ricoh Theta X

  • 60MP 360° still images for high-resolution photography.

  • 5.7K 360° video recording at 30fps.

  • 2.25-inch touchscreen for intuitive control.

  • USB Type-C port for fast charging and data transfer.

  • MicroSD card slot for expandable storage.

Learn More
Property Marketing
Allows potential buyers to explore properties in detail from anywhere, enhancing the real estate marketing process.
Automotive Spins
Create an interactive virtual showroom and engage affluent digital buyers with live 360º video calls, all through the CloudPano mobile app for a complete automotive sales solution.
Interactive Floor Plans
Create 2D and 3D floor plans with measurements in 4 minutes or less, all from your phone. Download the Floor Plan Scanner app and get your first scan free.

360 Virtual Tours With CloudPano.com. Get Started Today.

Try it free. No credit card required. Instant set-up.

Try it free
Latest posts

See our other posts

Interviews, tips, guides, industry best practices, and news.

MLS Virtual Tour Guide: How to Add a Virtual Tour to Your Listing Step-by-Step

This step-by-step guide shows real estate agents exactly how to add a virtual tour to an MLS listing. Learn why MLS virtual tours boost engagement, attract more buyers, and shorten time-on-market. Includes compliance tips, upload instructions, distribution strategies, and why CloudPano is the best tool for creating MLS-compliant 3D tours.
Read post

MLS Photo Upload Guide: How to Add Real Estate Photos Without Losing Quality

This pillar post teaches real estate agents and photographers how to upload high-quality property photos to the MLS without losing sharpness or vibrancy. It covers MLS photo size requirements, compression best practices, aspect ratios, and pro workflows to keep images crisp across Zillow, Realtor.com, and other listing platforms. With step-by-step tips and a bonus section on 360° tours, videos, and interactive floor plans, it’s designed to help you boost click-through rates, attract buyers, and speed up listing approvals.
Read post

How to Create One Link for All Your Property Media Across Platforms

Managing multiple links for photos, videos, and virtual tours across MLS, Zillow, and Realtor.com can be overwhelming. This guide shows agents and property marketers how to streamline everything into a single property media hub. Learn how to build one universal link that hosts photos, 3D tours, videos, and floor plans—boosting SEO, saving time, and improving the buyer experience.
Read post