


.png)


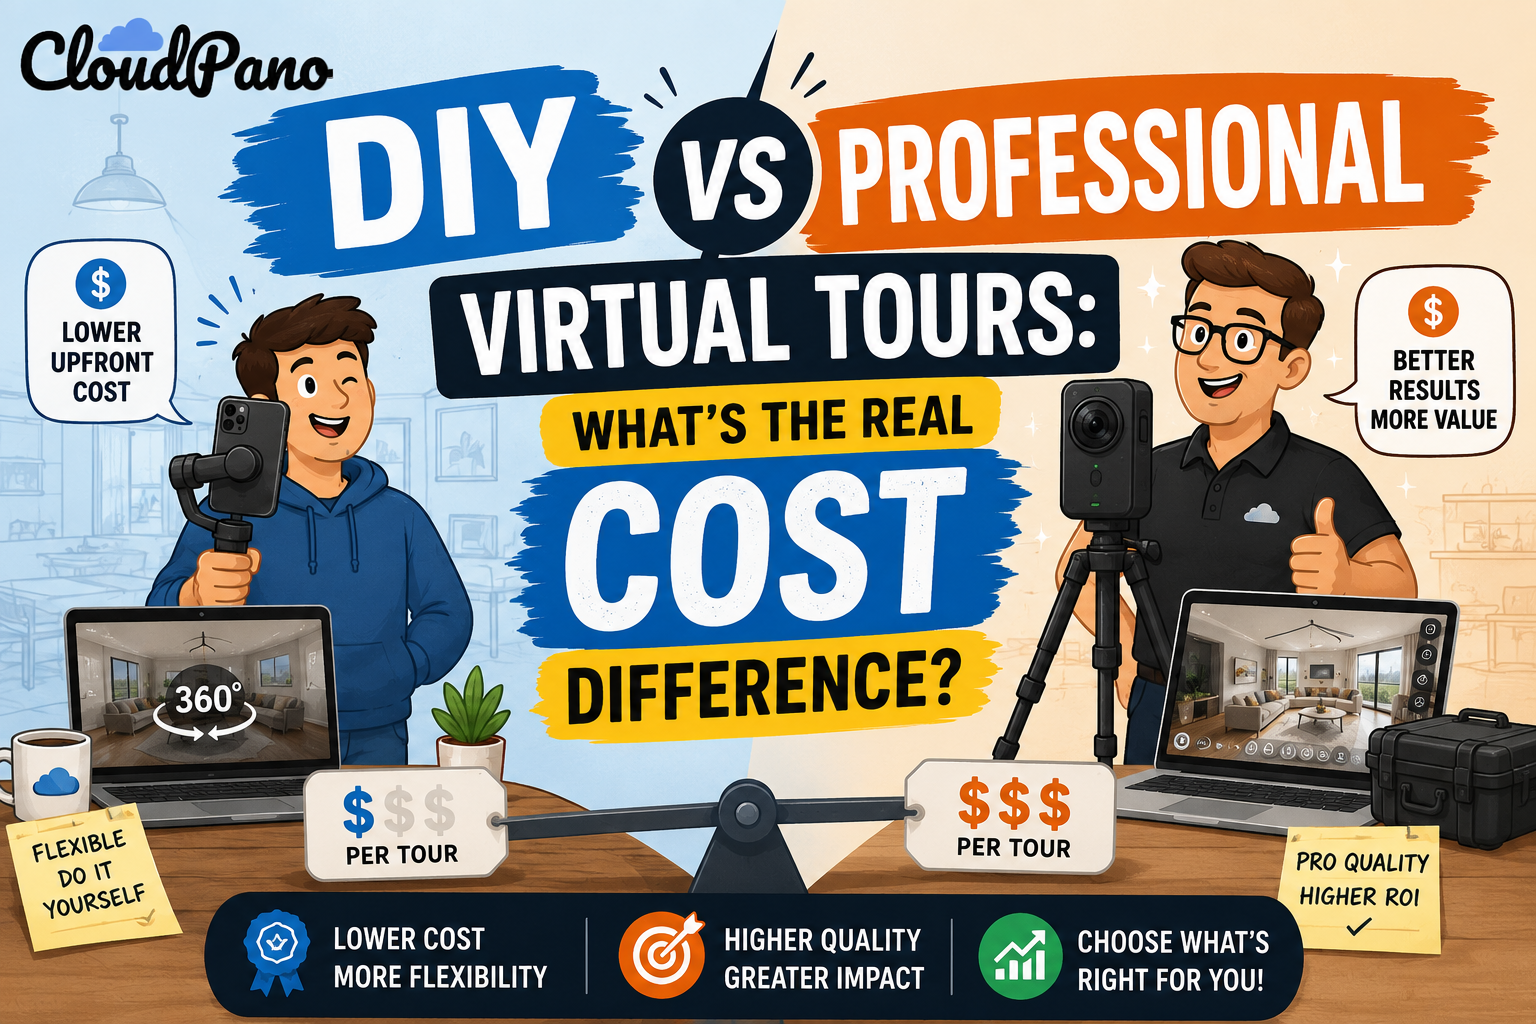
Every agent eventually asks the same question: should I just buy a 360 camera and shoot my own tours, or is it worth paying a professional every time? The honest answer depends on your listing volume, your tolerance for a learning curve, and how much you value your own time. Here's an objective breakdown of both paths, with real numbers to work from.
The DIY path starts with a hardware purchase. Consumer-grade 360 cameras suitable for real estate work generally run anywhere from a couple hundred dollars to around a thousand, depending on image quality and features. That's a one-time cost, but it's real money out the door before you've shot a single tour. A tripod, extra batteries, and storage add a bit more on top. If you want help narrowing down which model fits your budget and needs, B&H's Explora has detailed comparison guides across current consumer 360 camera options.
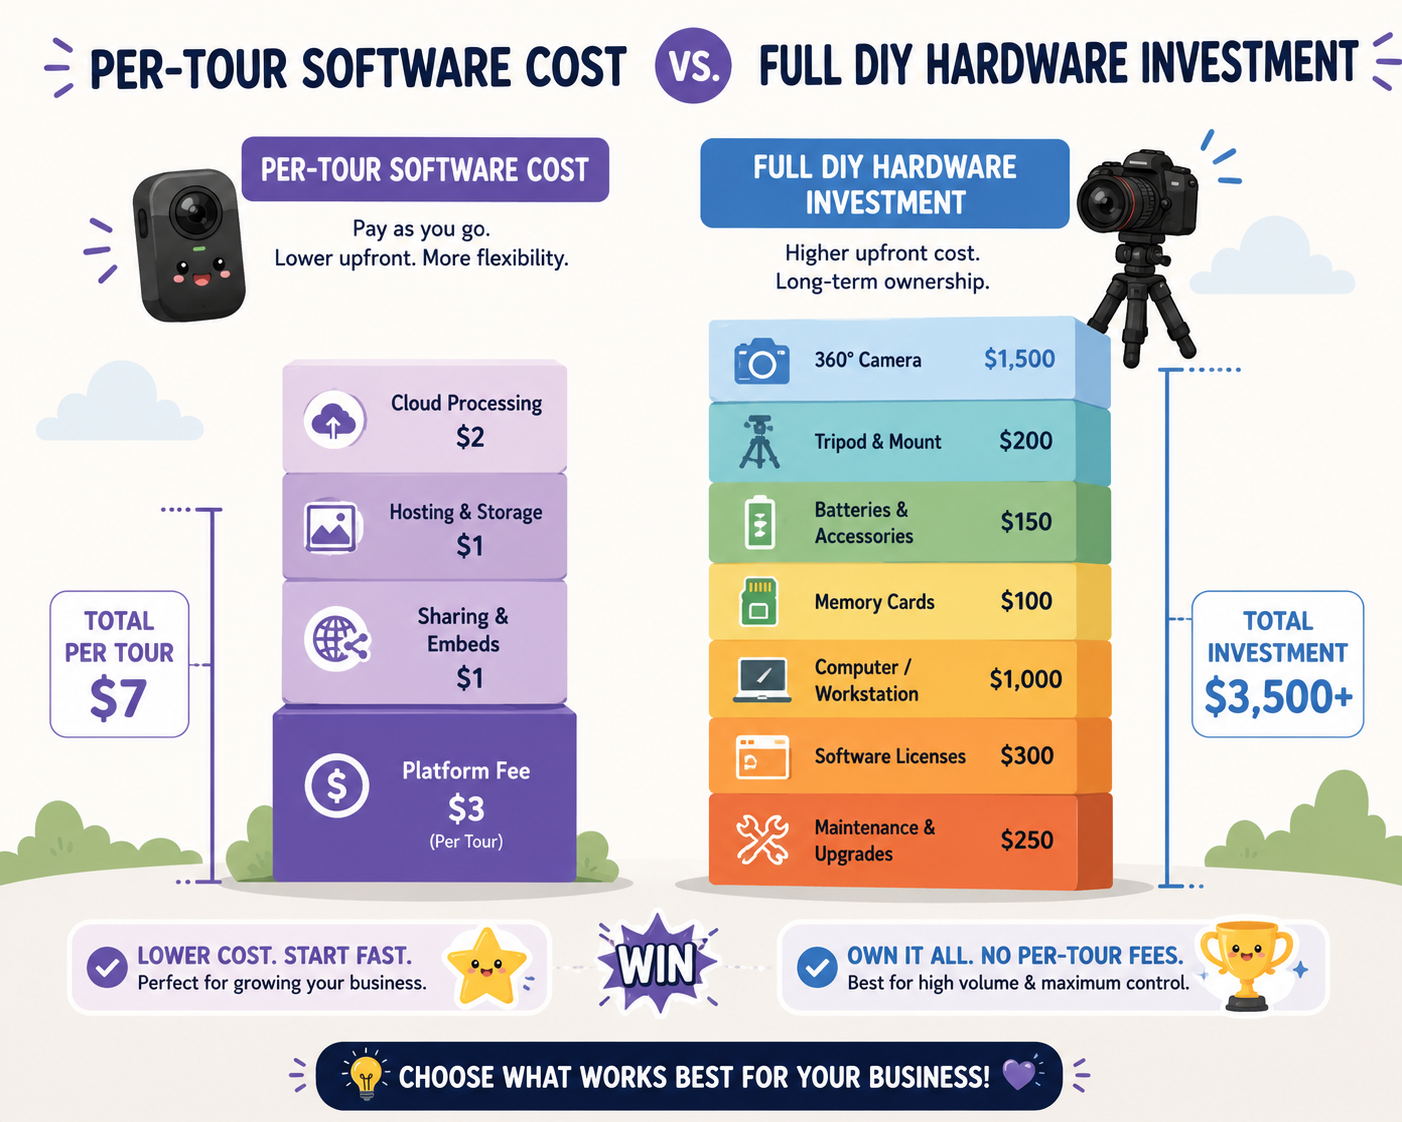
Hiring a professional flips that structure. There's no upfront hardware cost at all — you pay per shoot, typically as part of a photography package that includes the tour alongside standard listing photos. The per-shoot cost is higher than your own marginal cost per tour would be once you own the gear, but you're not carrying any equipment risk, and there's zero cost if you go a month without a listing that needs one.
In short: DIY trades a real upfront investment for a lower cost per tour down the line. Hiring a pro trades a higher per-tour cost for zero upfront risk.
Buying the camera is the easy part. Learning to capture consistently usable panoramas is where the real time investment shows up.
If you're using an auto-connect tool like TourFlash to skip manual hotspot linking, there's one specific skill you'll need to learn quickly: the line-of-sight capture rule. Every panorama needs a clear, unobstructed visual path to the next one in the sequence — meaning open doors, unobstructed hallways, and a sensible room-by-room shooting order. This isn't difficult once you've internalized it, but it does take a few shoots to build the habit. Early attempts often include a missed connection or two while you're still learning to think in terms of sightlines rather than just "did I get a good photo of this room."
Beyond the technical rule, there's also the general learning curve of panoramic capture itself — consistent tripod height, exposure settings that avoid harsh shadows or blown-out windows, and a shooting sequence that doesn't leave gaps. None of this requires professional-level skill, but it does require a few repetitions before it becomes second nature. Expect your first several DIY tours to take noticeably longer than they will once you've got a rhythm down.
This is the part worth being honest about. DIY tours carry real quality risks that a professional shoot is less likely to run into, mostly because a professional has already been through the learning curve.
Inconsistent capture. Tripod height that drifts room to room, or exposure settings that change unintentionally between shots, can make a DIY tour feel visually uneven compared to a professionally shot one.
Missed connections. This is the most common DIY mistake with auto-connect software specifically. Close a door out of habit, skip a transitional hallway shot, or shoot out of a logical sequence, and you can end up with a tour that has a gap where two sections don't link — something you often won't notice until you're reviewing the finished result.
Lighting mistakes. Real estate photography has its own lighting conventions — balancing interior light against window glare, avoiding harsh midday shadows — that take some trial and error to get right without professional experience or equipment.
None of these risks are disqualifying. They're the kind of mistakes that show up early and fade as you get more shoots under your belt. But they're worth factoring in, especially for listings where a polished first impression matters more than usual.
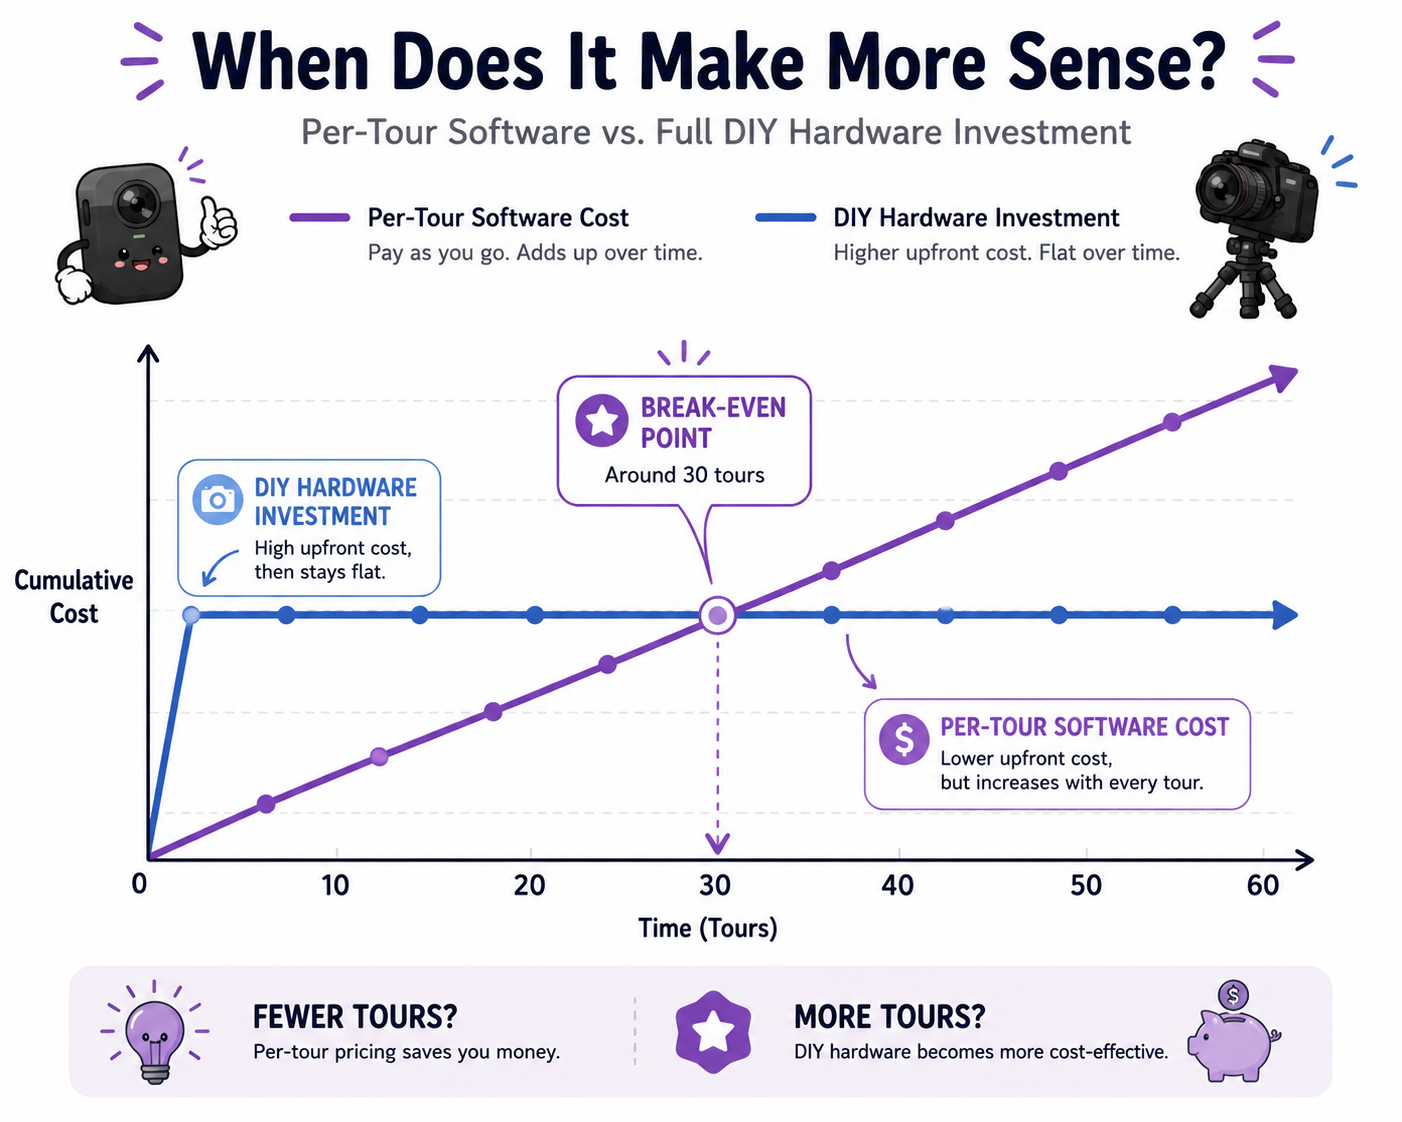
Here's a simplified way to estimate when DIY hardware starts paying for itself.
Say a consumer 360 camera runs roughly $400, and a professional charges roughly $100 per tour as part of a listing package (both numbers will vary depending on your market and camera choice, so treat this as illustrative rather than exact). If you're instead using per-tour pricing for occasional shooters with a service like TourFlash — where a run might cost a few dollars per tour once you own the camera — your ongoing DIY cost per listing becomes very small once the hardware is paid off.
A rough calculation:
Break-even point ≈ $400 ÷ ($100 − a few dollars) ≈ roughly 4-5 tours
In other words, if you're shooting more than about four or five virtual tours over the life of the camera, DIY likely comes out cheaper in raw dollar terms — before accounting for your own time. If you're doing one or two tours a year, the math tips the other way, since the upfront hardware cost doesn't get spread across enough listings to beat paying a professional each time.
If you're producing tours regularly — several listings a month, month after month — the math tends to favor DIY once you're past the break-even point, and the time investment pays off as your capture skills improve. The line-of-sight capture rule becomes second nature quickly at that volume, and the ongoing cost per tour stays low.
If your listing volume is low or unpredictable — a handful of tours a year, or only on your higher-end listings — hiring a professional is often the more sensible choice. You avoid the upfront hardware cost entirely, skip the learning curve, and get consistent quality from the very first shoot, which matters more when each tour is a rarer, higher-stakes event rather than routine work.
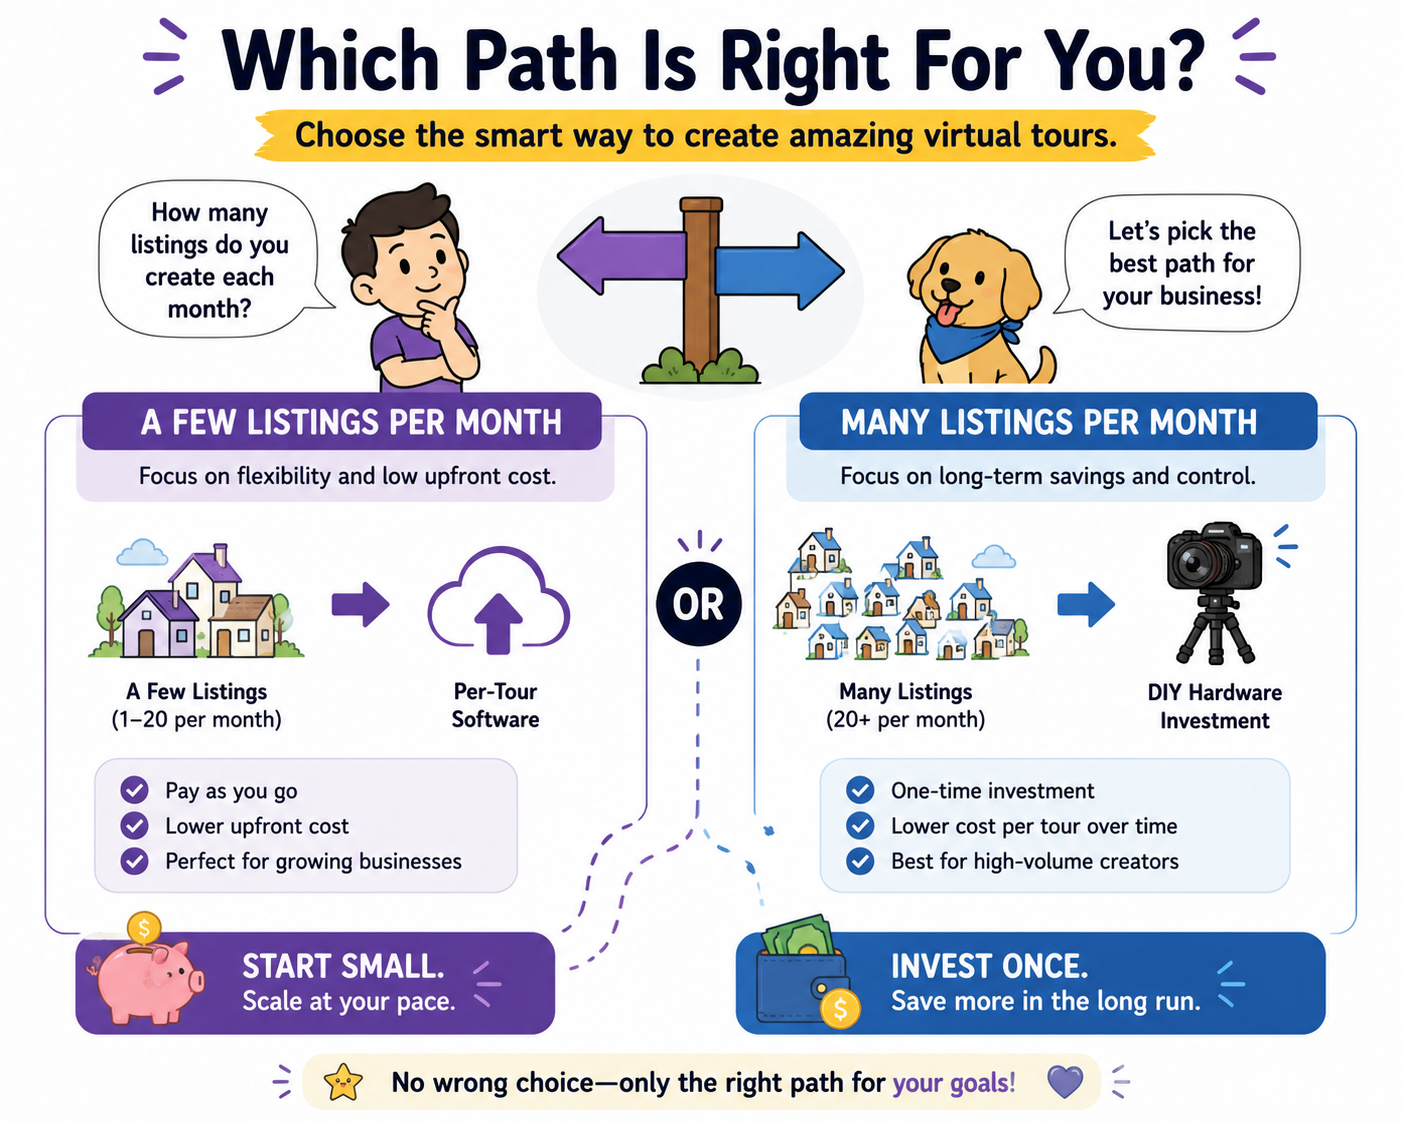
For agents who fall somewhere in between, it's worth considering a hybrid approach: hire a pro for your top-tier or particularly important listings, and handle routine or lower-stakes listings yourself once you've built up some capture experience. Reviewing general real estate photography standards from the PPA is a useful way to benchmark your own DIY results against professional expectations as you're deciding where that line should sit for your business.
Neither path is objectively better — it comes down to volume and how much you value your own time versus upfront cost. Low volume favors hiring out. Regular, ongoing listing activity tends to favor DIY once you clear the break-even point. Run your own numbers against your actual listing pace before deciding, rather than assuming one approach is universally the smarter move.


Compact, ready to go anywhere
Interchangeable lens that’s upgradeable
Dual 1-inch sensors for improved clarity and low light performance
Dynamic range and 6K 360° capture
360° photo resolution at 21MP

8K 360° video recording for ultra-detailed visuals.
4K single-lens mode for traditional wide-angle shots.
Invisible selfie stick effect for drone-like perspectives.
2.5-inch touchscreen with Gorilla Glass protection.
Waterproof up to 33ft for underwater shooting.

360° photo resolution in 23MP
Slim design at 24 mm thick
Built-in image stabilization for smooth video capture.
Internal 19GB storage for photo and video storage.
Wireless connectivity for remote control and sharing.

60MP 360° still images for high-resolution photography.
5.7K 360° video recording at 30fps.
2.25-inch touchscreen for intuitive control.
USB Type-C port for fast charging and data transfer.
MicroSD card slot for expandable storage.
.png)

.png)

Try it free. No credit card required. Instant set-up.






.svg)


.svg)