Color Accuracy in HDR-Merged Photos for Virtual Tours

Cloudpano
February 3, 2026
5 min read
Share this post

Color Accuracy in HDR-Merged Photos for Virtual Tours 🎨📸

When viewers explore a virtual tour, they expect the space to look real. If walls appear too blue, wood floors look orange, or lighting feels unnatural, trust drops instantly. That’s why Color Accuracy HDR Photos is one of the most important factors in delivering professional, believable virtual tours.

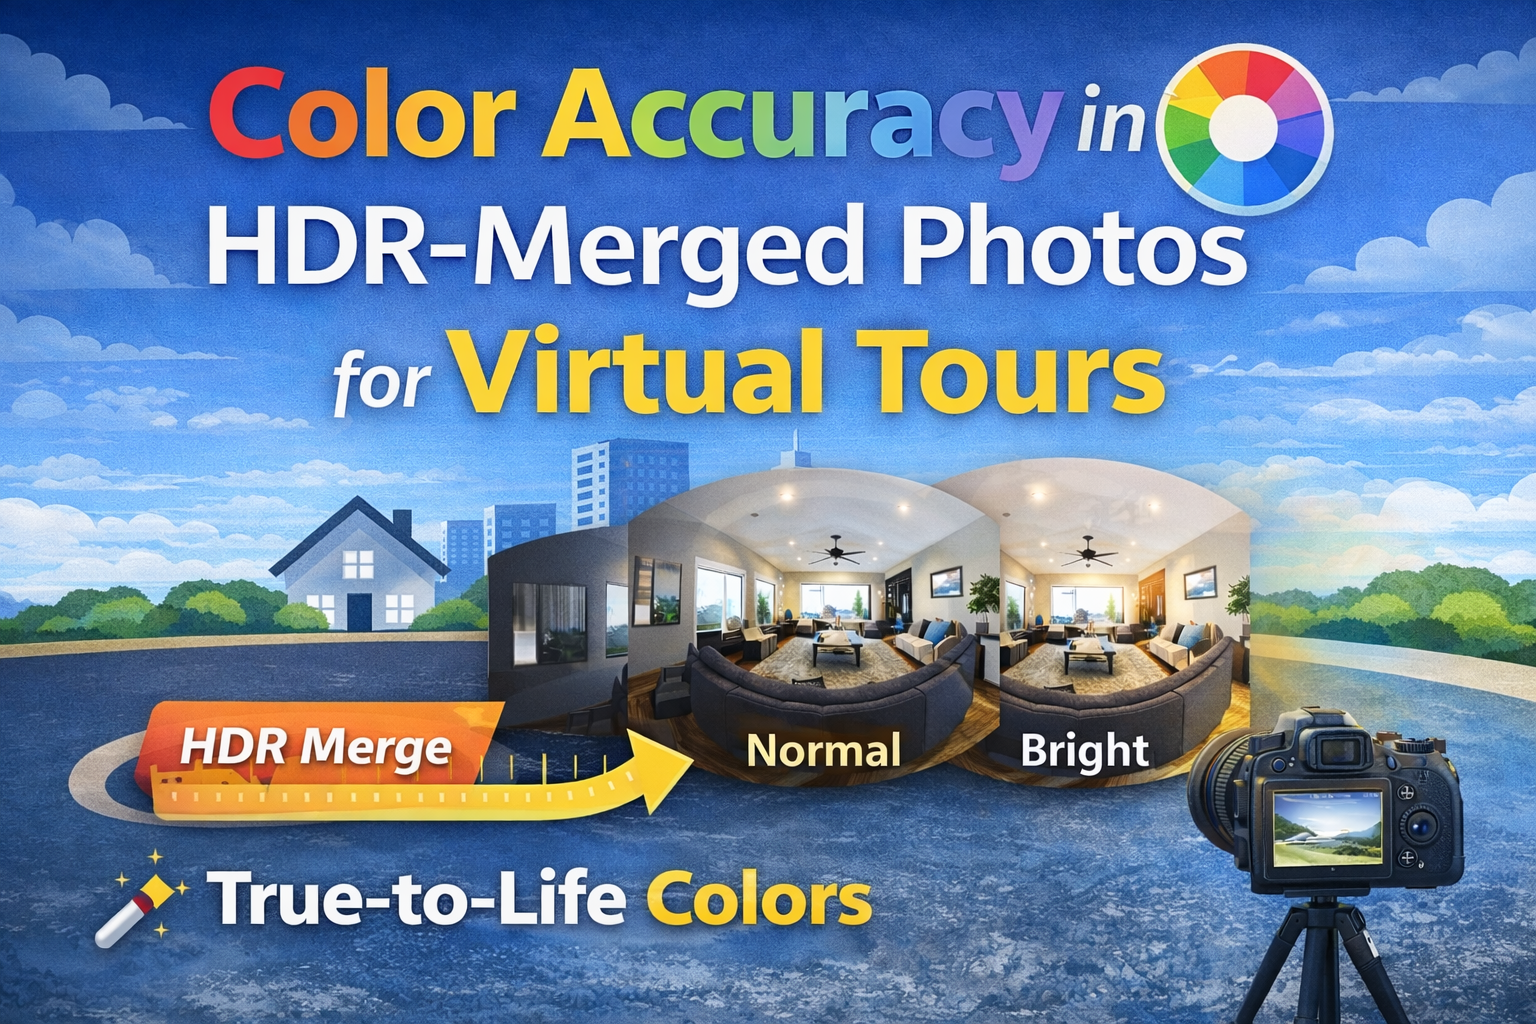
This guide explains how to achieve True-to-Life Colors Virtual Tours using proper capture, careful HDR merging, and smart editing decisions. Whether you create tours for real estate, hospitality, retail, or commercial spaces, strong color accuracy directly improves Virtual Tour Image Quality and viewer confidence.

Let’s break it down step by step. 🚀

Why Color Accuracy Matters in Virtual Tours 🏠

Virtual tours are immersive. Viewers don’t just glance at a single photo — they look around the entire space. That makes color problems more noticeable than in standard photography.

Poor color accuracy can cause:

  • Walls to look the wrong shade 🎨
  • Floors and furniture to appear unrealistic 🪵
  • Mixed lighting to create distracting color casts 💡
  • A space to feel less professional overall

Accurate color builds trust. Buyers, customers, and clients rely on virtual tours to make decisions. When colors feel natural and believable, the experience feels closer to being there in person.

Understanding HDR Merging for Virtual Tours 🌗

HDR Merging for Virtual Tours involves combining multiple exposures of the same scene to capture detail in both bright and dark areas. This improves lighting balance, but it can also introduce color issues if not handled carefully.

Each exposure in a bracketed set may record light differently:

  • Bright exposures can exaggerate warm tones
  • Dark exposures can deepen cool shadows
  • Mid exposures often have the most neutral color

When these are merged, the software blends brightness levels — but color blending isn’t always perfect. Without careful control, HDR merges can lead to color shifts, flat tones, or unnatural saturation.

Maintaining Color Accuracy HDR Photos means guiding the merge process rather than relying on automatic settings alone.

Step 1: Start with Consistent Camera Settings ⚙️

Good color begins at capture. Editing can fix many things, but starting clean makes everything easier.

Lock White Balance

Never use auto white balance when shooting bracketed exposures. Each exposure may shift color slightly, creating inconsistencies during HDR merging.

Instead, choose a fixed white balance that matches the dominant light source:

  • Daylight for window-lit interiors ☀️
  • Tungsten for warm interior lighting 💡
  • Custom white balance for mixed environments 🎯

Consistent white balance is the foundation of True-to-Life Colors Virtual Tours.

Keep ISO Low

High ISO can introduce color noise and reduce clarity. Use the lowest ISO possible for cleaner, more accurate color.

Use RAW Format

RAW files retain more color data than JPEGs. This extra information helps maintain smoother tones and better adjustments during HDR Photo Editing Tips.

Step 2: Be Mindful of Mixed Lighting 💡

Mixed lighting is one of the biggest threats to color accuracy.

Interior scenes often include:

  • Daylight from windows ☀️
  • Warm bulbs overhead 💡
  • Cool LED accent lights ❄️

Each light source has a different color temperature. When HDR merging blends exposures from different brightness levels, these color differences can become exaggerated.

To manage this:

  • Turn off unnecessary lights when possible
  • Match bulbs in the same room
  • Use subtle local adjustments during editing to balance color zones

Controlling mixed lighting helps ensure Virtual Tour Image Quality stays consistent from room to room.

Step 3: Use Natural HDR Merge Settings 🌤️

Aggressive HDR processing is a common cause of color distortion.

Overdone HDR can create:

  • Oversaturated walls
  • Gray or washed-out shadows
  • Artificial-looking highlights

When merging HDR photos:

  • Avoid extreme tone mapping
  • Keep saturation adjustments minimal
  • Preserve natural contrast

The goal of HDR Merging for Virtual Tours is balanced lighting, not dramatic effects. Subtle merges preserve True-to-Life Colors Virtual Tours.

Step 4: Correct White Balance During Editing 🎨

Even with good capture technique, minor color adjustments are almost always needed.

Use editing tools to:

  • Neutralize walls and ceilings
  • Remove green or magenta color casts
  • Ensure whites look clean but not blue

A good rule: whites should look neutral, not tinted. Once whites are correct, other colors usually fall into place.

This step is one of the most important HDR Photo Editing Tips for maintaining realistic tones.

Step 5: Balance Saturation Carefully 🌈

HDR merging can unintentionally boost color intensity. While vibrant images can look appealing, oversaturation makes spaces feel fake.

Watch for:

  • Overly orange wood tones
  • Neon-looking greenery 🌿
  • Deep blue shadows

Use global and local adjustments to fine-tune saturation. The aim is natural vibrancy, not exaggerated color.

Step 6: Maintain Consistency Across the Tour 🔄

Color accuracy isn’t just about a single panorama. In virtual tours, viewers move from scene to scene. Sudden shifts in color temperature or tone can be jarring.

To maintain consistency:

  • Use similar editing settings across all panoramas
  • Compare adjacent rooms side by side
  • Keep brightness and color balance aligned throughout the tour

Consistent color improves Virtual Tour Image Quality and makes tours feel professionally produced.

Step 7: Monitor Calibration Matters 🖥️

Editing on an uncalibrated monitor can lead to incorrect color adjustments.

If your screen is too warm, you may cool images too much. If it’s too cool, you may add unnecessary warmth.

Using a calibrated monitor helps ensure that Color Accuracy HDR Photos appear correct across devices and platforms.

Step 8: Avoid Over-Sharpening and Clarity Overuse ✨

Clarity and sharpening tools can alter perceived color by increasing contrast in edges.

Too much clarity can make:

  • Shadows appear darker and cooler
  • Highlights appear harsh and unnatural

Use these tools lightly to maintain smooth, natural transitions between tones.

Step 9: Watch for Color Banding 🌤️

Heavy edits or low-quality exports can create banding in gradients, especially in skies or softly lit walls.

To avoid this:

  • Export at high quality
  • Avoid extreme exposure adjustments
  • Maintain bit depth during editing

Smooth gradients contribute to strong True-to-Life Colors Virtual Tours.

Common Color Accuracy Mistakes to Avoid ❌

Overcorrecting Warm Interiors

Removing all warmth can make spaces feel sterile. Some warmth is natural and inviting.

Ignoring Window Light

Outdoor light should feel natural, not overly blue or gray.

Letting Shadows Go Too Cool

HDR merges often cool shadows. Add subtle warmth back if needed.

Mismatched Rooms

A kitchen that looks cool and a living room that looks warm can feel disconnected.

Avoiding these issues keeps HDR Merging for Virtual Tours visually cohesive.

Why True-to-Life Colors Improve Engagement 📈

Viewers subconsciously compare what they see in a virtual tour to real-world expectations.

Accurate color helps:

  • Build trust with buyers and clients 🤝
  • Make spaces feel more inviting 🏡
  • Improve perceived professionalism
  • Support better decision-making

High Virtual Tour Image Quality doesn’t just look good — it drives results.

The Future of Color Accuracy in HDR Imaging 🔮

HDR technology and software continue to improve. Modern tools offer:

  • Better color blending
  • Improved edge detection
  • More natural tone mapping

Even as technology evolves, the fundamentals remain the same: consistent capture, careful merging, and subtle editing.

Mastering Color Accuracy HDR Photos ensures your virtual tours remain competitive and professional for years to come.

Final Thoughts: Achieving True-to-Life Colors in Virtual Tours 🎯

Color accuracy is not an optional detail — it’s a core part of professional virtual tour creation.

By following strong HDR Photo Editing Tips and a careful approach to HDR Merging for Virtual Tours, you can consistently produce images that feel natural, balanced, and trustworthy.

Remember the formula:

📷 Capture with fixed white balance
🌤 Merge exposures gently
🎨 Correct color with subtle adjustments
🔄 Keep consistency across scenes

Do this, and your virtual tours will deliver the True-to-Life Colors Virtual Tours viewers expect — and that leads to stronger engagement, better impressions, and higher-quality results overall.

🚀 Your All-In-One Virtual Experience Stack Starts Here

Share this post
Cloudpano

Choose The Right 360° Camera

Insta360 ONE RS 1-Inch 360 Edition

  • Compact, ready to go anywhere

  • Interchangeable lens that’s upgradeable

  • Dual 1-inch sensors for improved clarity and low light performance

  • Dynamic range and 6K 360° capture

  • 360° photo resolution at 21MP

Learn More

Insta360 X4

  • 8K 360° video recording for ultra-detailed visuals.

  • 4K single-lens mode for traditional wide-angle shots.

  • Invisible selfie stick effect for drone-like perspectives.

  • 2.5-inch touchscreen with Gorilla Glass protection.

  • Waterproof up to 33ft for underwater shooting.

Learn More

Ricoh Theta Z1

  • 360° photo resolution in 23MP

  • Slim design at 24 mm thick

  • Built-in image stabilization for smooth video capture.

  • Internal 19GB storage for photo and video storage.

  • Wireless connectivity for remote control and sharing.

Learn More

Ricoh Theta X

  • 60MP 360° still images for high-resolution photography.

  • 5.7K 360° video recording at 30fps.

  • 2.25-inch touchscreen for intuitive control.

  • USB Type-C port for fast charging and data transfer.

  • MicroSD card slot for expandable storage.

Learn More
Property Marketing
Allows potential buyers to explore properties in detail from anywhere, enhancing the real estate marketing process.
Automotive Spins
Create an interactive virtual showroom and engage affluent digital buyers with live 360º video calls, all through the CloudPano mobile app for a complete automotive sales solution.
Interactive Floor Plans
Create 2D and 3D floor plans with measurements in 4 minutes or less, all from your phone. Download the Floor Plan Scanner app and get your first scan free.

360 Virtual Tours With CloudPano.com. Get Started Today.

Try it free. No credit card required. Instant set-up.

Try it free
Latest posts

See our other posts

Interviews, tips, guides, industry best practices, and news.

Property Manager Video Hub: Scaling Rental Visibility with AI Photo-to-Video Workflows

This article explains how property managers can use PhotoAIVideo to build a property manager video hub: a repeatable system for turning rental photos, amenity images, floor plans, exterior shots, and neighborhood visuals into reusable rental marketing videos. The main idea is that property managers do not just need more listing exposure. They need clearer visual answers that help renters decide whether to schedule a tour. PhotoAIVideo is positioned as a practical tool for creating: Unit availability videos Amenity highlight videos Neighborhood videos Tour reminder clips Leasing follow-up videos Owner marketing proof videos Social media rental teasers Application or availability reminder videos Key takeaways: Property managers already have the media they need; the challenge is organizing it and turning it into reusable video assets. A video hub helps teams create consistent videos across units, floor plans, amenities, communities, and owner updates. Rental videos can reduce friction by answering renter questions about layout, condition, amenities, parking, pet features, and community feel. One rental photo set can become multiple video outputs for listings, social media, email, text follow-up, tour reminders, and owner reporting. Photographers can sell AI rental video packages to property managers as an upsell. Brokerages with property management divisions can use the same workflow to standardize leasing content. The article ends with a step-by-step process, video hub framework, mistakes to avoid, visual recommendations, FAQs, and a CTA encouraging readers to use PhotoAIVideo to turn rental photos into a scalable video system for rental visibility.
Read post

YouTube Shorts Listing Teasers: The 3-Scene Structure for Higher Property Clicks

This article explains how real estate agents, photographers, brokerages, and property managers can use YouTube Shorts listing teasers to drive more property clicks and showing requests. The main idea is that a YouTube Short should not try to show the entire house. Instead, it should use a simple 3-scene structure: Scene 1: Hook — stop the scroll with the strongest property feature. Scene 2: Proof — show the visuals that support the hook. Scene 3: Click Path — tell the viewer what to do next. The article positions PhotoAIVideo as a practical tool for turning listing photos into short vertical videos for YouTube Shorts, Reels, open house promotion, and listing campaigns. Key takeaways: YouTube Shorts should create curiosity, not replace the full listing video. The strongest property feature should appear first, not necessarily the front exterior. Agents should build each Short around one click reason, such as backyard, kitchen, layout, neighborhood, open house, or price point. One listing can become multiple Shorts instead of one generic video. Photographers can offer YouTube Shorts teaser packs as a video upsell. Brokerages can standardize the 3-scene structure across agents. Property managers can use the same structure to promote rentals and tours. The article ends with practical scripts, visual recommendations, FAQs, a visual placement guide, and a CTA encouraging readers to use PhotoAIVideo to create YouTube Shorts listing teasers from property photos.
Read post

Video Retargeting for Listings: Turning Photo-Based AI Videos into Appointment Follow-Up

This article explains how Realtors, photographers, brokerages, and property managers can use photo-based AI videos as follow-up assets after someone shows interest in a listing. The main idea is that most real estate marketing focuses on getting the first click, but many buyers and sellers need multiple touchpoints before booking a showing or appointment. Video retargeting helps agents re-engage people who already clicked a listing, watched a Reel, opened an email, attended an open house, asked about a property, or went quiet after showing interest. PhotoAIVideo is positioned as a practical tool for turning listing photos into short follow-up videos, including: Feature reminder videos Layout explainer videos Neighborhood fit videos Open house recap videos Price update videos Seller proof videos Showing request videos Rental tour recovery videos Key takeaways: A first-touch listing video introduces the property, while a retargeting video answers the next likely question. Follow-up videos should be short, usually 10–30 seconds, and focused on one action. Agents should send different videos based on behavior, such as email clicks, open house attendance, listing views, or showing interest. A good video follow-up feels helpful, not pushy. Photographers can package retargeting video clips as an upsell. Brokerages can standardize video retargeting workflows across agents. Property managers can use the same strategy to recover rental leads and book tours. The article ends with a simple retargeting sequence, visual recommendations, FAQs, and a CTA encouraging readers to use PhotoAIVideo to turn listing photos into appointment-driving follow-up videos.
Read post