Step-by-Step Guide to Launching a Virtual Campus Tour with CloudPano

Coudpano
October 13, 2025
5 min read
Share this post

🎓 Step-by-Step Guide to Launching a Virtual Campus Tour with CloudPano 🌍

✨ The Future of Campus Visits Is Virtual

In 2025, universities are going digital faster than ever. Students are researching schools online, attending virtual orientations, and even exploring campuses through their phones.

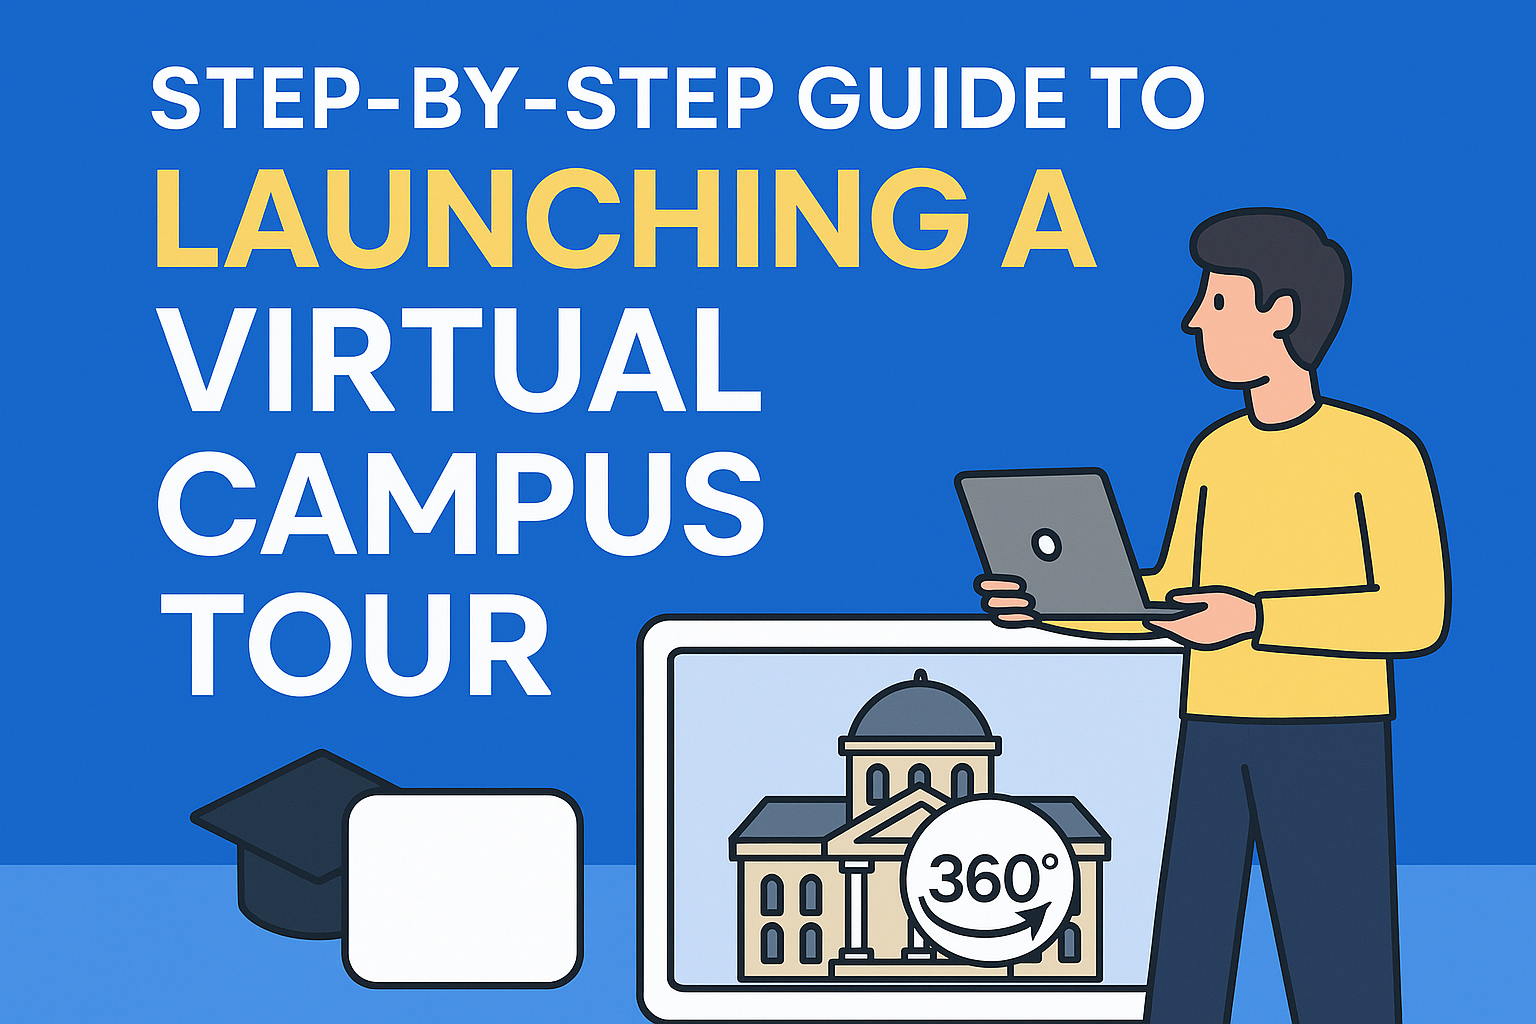
That’s where CloudPano, the #1 virtual tour platform for higher education, comes in. 🎥 With a real estate video app, agents can quickly produce professional listing videos that attract more buyers.

A virtual campus tour built on CloudPano allows your institution to open its doors to students 24/7, across the globe. 🌎 Whether it’s an international applicant or a local high school senior, anyone can walk through your campus, explore classrooms, and feel connected to your community — all from home. Learn more about their immersive university solutions here: CloudPano for Universities.

In this guide, you’ll learn exactly how to launch a professional, enrollment-boosting virtual campus tour with CloudPano — step-by-step. 🚀🏫 Transform how students explore your university — start creating interactive virtual tours in minutes.

Read: How Universities Use Virtual Tours to Stay Ahead in Digital Marketing

🧭 Step 1: Plan Your Tour Experience

Before you start taking photos or uploading media, you’ll want to define your tour’s goals and flow.

Ask yourself these questions:

  • 🎯 Who is the target audience? (prospective students, parents, donors, or all three?)
  • 🏫 What areas of campus do you want to highlight? (academic halls, dorms, student life spaces, etc.)
  • 💬 What key messages do you want to communicate? (culture, innovation, diversity, career readiness?)

🧠 Create a shot list:

Make a list of the must-see areas, such as:

  • Main campus entrance
  • Library and student center
  • Science and tech labs
  • Dormitories and dining halls
  • Sports and recreation facilities

💡 Pro Tip: Think about storytelling. Instead of just showing places, guide visitors through an emotional journey — from “Welcome” to “Imagine yourself here.”

📸 Step 2: Capture Stunning 360° Images and Videos

The foundation of your tour is great imagery.

To create immersive 360° views, you’ll need a 360° camera such as:

  • 📷 Insta360 X3
  • 📸 Ricoh Theta Z1
  • 🎥 GoPro Max

Each photo should represent a “scene” inside your CloudPano tour.

🎯 Tips for capturing high-quality shots:

  • Shoot in bright, natural light 🌞
  • Keep the camera at eye level (around 5 feet high)
  • Avoid clutter or movement in the scene
  • Capture from multiple angles for continuity

💬 If you don’t have a camera, CloudPano partners with photographers who can capture your campus professionally — so you can focus on strategy, not hardware.

🧰 Step 3: Upload Your Media to CloudPano

Once you have your 360° photos and videos, the next step is to upload them into CloudPano.

Here’s how simple it is:

  1. Log into your CloudPano dashboard.
  2. Click “Create New Tour.”
  3. Upload your 360° files directly from your computer.
  4. Watch as CloudPano automatically renders your campus scenes in beautiful 360° clarity.

💻 No software installation required — it’s all browser-based.

Within minutes, you’ll have your digital campus ready for editing and customization.

🎨 Step 4: Customize the Design and Branding

Now it’s time to make your tour look like your university.

CloudPano offers full branding control so you can customize everything from colors to logos. 🎨

🧩 Personalize Your Tour:

  • Add your university logo to the header.
  • Use your school colors to match your website.
  • Create a custom welcome screen with a message from the dean or admissions team.
  • Add background music for ambiance. 🎵

💡 Pro Tip: Use your branding consistently across all touchpoints — website, social media, and emails — so your virtual tour becomes part of your university’s digital identity.

🧭 Step 5: Organize Your Scenes and Add Navigation

Once your visuals are uploaded, you’ll structure your tour using CloudPano’s drag-and-drop interface.

Think of this step like building a campus map. 🗺️

  • Set the starting scene (like the campus entrance or aerial view).
  • Add scene transitions that guide users through buildings and outdoor spaces.
  • Label each scene clearly (e.g., “Library,” “Engineering Hall,” “Dining Center”).

You can even use directional arrows or mini-maps to help visitors navigate intuitively — making your virtual tour feel as natural as an in-person visit.

💬 The easier your tour is to explore, the more likely students are to stay engaged.

🔗 Step 6: Add Hotspots and Interactive Features

Here’s where CloudPano truly stands out. 🌟

Hotspots are clickable icons within your tour that reveal extra content — turning a simple walkthrough into an interactive experience.

🔥 Add hotspots for:

  • 📽️ Videos: Introduce departments, professors, or student ambassadors.
  • 📸 Images: Showcase campus life and student activities.
  • 🗣️ Voiceovers: Narrate the story of your campus as visitors move through scenes.
  • 🔗 Links: Direct users to “Apply Now” or “Book a Virtual Info Session.”
  • 📄 Pop-ups: Include program details or fast facts about tuition, rankings, and scholarships.

💡 Example: In the “Science Lab” scene, add a video of a professor explaining an experiment — or link to the program brochure right from the tour.*

This interactive storytelling keeps visitors curious, informed, and emotionally engaged. ❤️

💬 Step 7: Add Live Guided Tour Capability

CloudPano’s Live Video Chat feature takes your virtual tour from static to personalized.

With CloudPano Live, your admissions team can host one-on-one or group sessions inside the virtual tour.

🧑‍🏫 Here’s how it works:

  1. Schedule a session with a prospective student or family.
  2. Join the CloudPano Live interface.
  3. Walk them through campus, scene by scene, while chatting in real time.
  4. Answer questions and share your screen if needed.

It’s like a Zoom meeting inside a virtual campus — professional, engaging, and highly effective.

💬 Universities report higher conversion rates and more meaningful relationships when they use CloudPano Live for international and out-of-state recruitment.

📈 Step 8: Embed the Tour on Your Website

Once your tour looks perfect, you’ll want to share it with the world. 🌍

CloudPano makes embedding easy:

  • Copy the embed code from your dashboard.
  • Paste it onto your university’s admissions or “Visit Campus” page.
  • Done!

You can also share your tour via:

  • 📧 Email campaigns
  • 📱 Social media platforms (Facebook, Instagram, LinkedIn)
  • 📊 Digital ad landing pages
  • 🖨️ QR codes on brochures or posters

💡 Pro Tip: Add a “Take a Virtual Tour” button in your website’s header so visitors can find it instantly.

📊 Step 9: Track Performance and Analytics

CloudPano includes built-in analytics tools that give you deep insights into how your virtual tour is performing. 📊

You’ll see data like:

  • 👀 Number of visitors
  • ⏱️ Average time spent per scene
  • 🌎 Geographic distribution of visitors
  • 💬 Most-clicked hotspots

Use this data to:

  • Identify which areas attract the most interest.
  • Optimize marketing campaigns for high-performing regions.
  • Report ROI to stakeholders and admissions leadership.

💬 Example: If 70% of traffic comes from Asia, you can launch a regional recruitment campaign featuring your CloudPano tour in multiple languages.*

🌎 Step 10: Promote Your Virtual Tour Everywhere

Your virtual campus tour is a marketing asset — so don’t let it sit quietly on your website!

Here’s how to amplify its reach:

📣 Promotion Ideas:

  • Post a teaser video on Instagram or TikTok 🎥
  • Include the link in your admissions emails 📧
  • Share it with education agents and high schools 🏫
  • Highlight it during webinars and virtual open houses 💬
  • Add it to your Google Business profile for visibility 📍

💡 Students are 3x more likely to engage with visual content — make your virtual tour a central piece of your recruitment strategy.

🎓 Step 11: Repurpose Your Tour for Multiple Audiences

One CloudPano tour can serve many purposes.

You can easily duplicate or customize your existing tour for:

  • 🧑‍🎓 Undergraduate applicants
  • 🎓 Graduate programs
  • 🌍 International students
  • 💼 Donors and alumni
  • 🧑‍💻 Online learning programs

Each version can include unique messaging, videos, and CTAs.

💬 Example: Your donor version might include messages like “Your contributions made this new building possible,” while the student version focuses on campus life.*

This versatility means your investment in CloudPano pays off across departments. 💰

🧩 Step 12: Keep Your Tour Updated

Your campus evolves — and your virtual tour should too! 🌱

CloudPano makes it easy to add, replace, or update scenes anytime.
You can:

  • Add new construction projects 🏗️
  • Highlight seasonal events 🍂
  • Update dorms or dining areas 🏠
  • Replace outdated imagery

This keeps your tour fresh, relevant, and aligned with your university’s growth.

💡 Tip: Schedule quarterly reviews of your tour to ensure accuracy and freshness.*

❤️ Step 13: Celebrate Your Launch 🎉

Once your CloudPano tour goes live, celebrate it!

Announce your virtual campus launch through:

  • 🎥 A short promo video
  • 📢 Press releases
  • 💬 Social media campaigns
  • 📧 Email newsletters

Encourage current students and alumni to share it too — nothing spreads faster than pride in your university. 🏫💙

Read: CloudPano for Universities: The Future of College Admissions Marketing

🔮 The Future of Campus Visits Is Here

Virtual tours are no longer optional — they’re essential.

CloudPano gives universities the ability to:

  • 🌍 Reach students anywhere in the world
  • 🎓 Build stronger emotional connections
  • 💬 Host guided live sessions
  • 🧠 Gain data-driven insights

Whether you’re a small college or a global research institution, CloudPano makes it simple to showcase your campus beautifully and boost enrollment through immersive digital storytelling.

Your next class of students is online right now — make sure they can explore your campus anytime, anywhere.

Share this post
Coudpano

Choose The Right 360° Camera

Insta360 ONE RS 1-Inch 360 Edition

  • Compact, ready to go anywhere

  • Interchangeable lens that’s upgradeable

  • Dual 1-inch sensors for improved clarity and low light performance

  • Dynamic range and 6K 360° capture

  • 360° photo resolution at 21MP

Learn More

Insta360 X4

  • 8K 360° video recording for ultra-detailed visuals.

  • 4K single-lens mode for traditional wide-angle shots.

  • Invisible selfie stick effect for drone-like perspectives.

  • 2.5-inch touchscreen with Gorilla Glass protection.

  • Waterproof up to 33ft for underwater shooting.

Learn More

Ricoh Theta Z1

  • 360° photo resolution in 23MP

  • Slim design at 24 mm thick

  • Built-in image stabilization for smooth video capture.

  • Internal 19GB storage for photo and video storage.

  • Wireless connectivity for remote control and sharing.

Learn More

Ricoh Theta X

  • 60MP 360° still images for high-resolution photography.

  • 5.7K 360° video recording at 30fps.

  • 2.25-inch touchscreen for intuitive control.

  • USB Type-C port for fast charging and data transfer.

  • MicroSD card slot for expandable storage.

Learn More
Property Marketing
Allows potential buyers to explore properties in detail from anywhere, enhancing the real estate marketing process.
Automotive Spins
Create an interactive virtual showroom and engage affluent digital buyers with live 360º video calls, all through the CloudPano mobile app for a complete automotive sales solution.
Interactive Floor Plans
Create 2D and 3D floor plans with measurements in 4 minutes or less, all from your phone. Download the Floor Plan Scanner app and get your first scan free.

360 Virtual Tours With CloudPano.com. Get Started Today.

Try it free. No credit card required. Instant set-up.

Try it free
Latest posts

See our other posts

Interviews, tips, guides, industry best practices, and news.

AI Avatar Compliance and Best Practices for Real Estate Marketing

This article explores how real estate professionals can responsibly use AI avatars in property marketing while maintaining transparency and trust. It explains the importance of AI real estate compliance, including how agents should implement proper disclosure for AI videos and follow ethical AI marketing practices when using AI-generated presenters in listing videos. The guide walks through how AI avatars are created, how they can automate listing presentations, and how agents can integrate them into their marketing workflow without misleading buyers or violating advertising standards. By following clear best practices—such as accurate scripts, transparent disclosures, and consistent review of generated content—real estate teams can scale video marketing while protecting their reputation and building long-term client trust.
Read post

Managing Multiple AI Clones Inside One Real Estate Team

This article explains how real estate teams can successfully manage AI avatars across multiple agents to scale their marketing and listing presentations. It walks through the process of creating AI avatar clones, organizing them into a structured team avatar management system, and integrating them into a streamlined real estate AI workflow. The guide demonstrates how listing descriptions can quickly be converted into scripts, allowing AI avatars to present properties automatically in listing videos. By combining automation with personalization, brokerages can maintain individual agent branding while producing high-quality marketing content faster than ever. The article also highlights how photographers and real estate media companies can resell AI avatar presentations as an additional service, creating new revenue streams while helping agents generate engaging listing videos without filming themselves.
Read post

Stock AI Avatars vs Custom Realtor Clones: Which Should You Use?

This article explores the key differences between stock AI avatars and custom realtor clones, helping brokerages decide which option fits their marketing strategy. It explains how AI-powered presenters allow agents to transform listing photos and scripts into engaging property videos without filming new content. The guide compares the benefits of stock avatars—such as speed and scalability—with the advantages of custom realtor clones that strengthen personal branding and client trust. Through a clear realtor avatar comparison, the article shows how brokerages can implement a balanced AI clone strategy that combines both approaches to scale real estate marketing efficiently. By leveraging AI avatars, agents and marketing teams can produce more listing videos, increase engagement, and streamline content creation across multiple properties.
Read post