


.png)


If you've ever scrolled past a listing video that jumps from a bathroom to the backyard and then to a random hallway with no rhyme or reason, you already know why a property walkthrough video needs a plan.
A good real estate video maker can give you professional camera movements and a library of transitions, but none of that matters if the video itself doesn't flow like a real visit to the home. The goal of a walkthrough video isn't to show every room in a random order — it's to recreate the feeling of walking through the front door and discovering the property room by room, much like a buyer would in person.
The good news is that you don't need a film degree, a gimbal, or hours of editing to get this right. With a clear shot plan and the right tool, you can turn a folder of listing photos into a polished property walkthrough video quickly and efficiently.
This guide breaks down how to structure that flow, how long each section should run, which camera movements work best in different spaces, and which common mistakes to avoid.
Every strong property walkthrough video follows a logical path because that's how people naturally experience a home. Buyers don't want to feel like they're being teleported from room to room — they want the video to feel like they're walking through the property themselves, one space at a time.
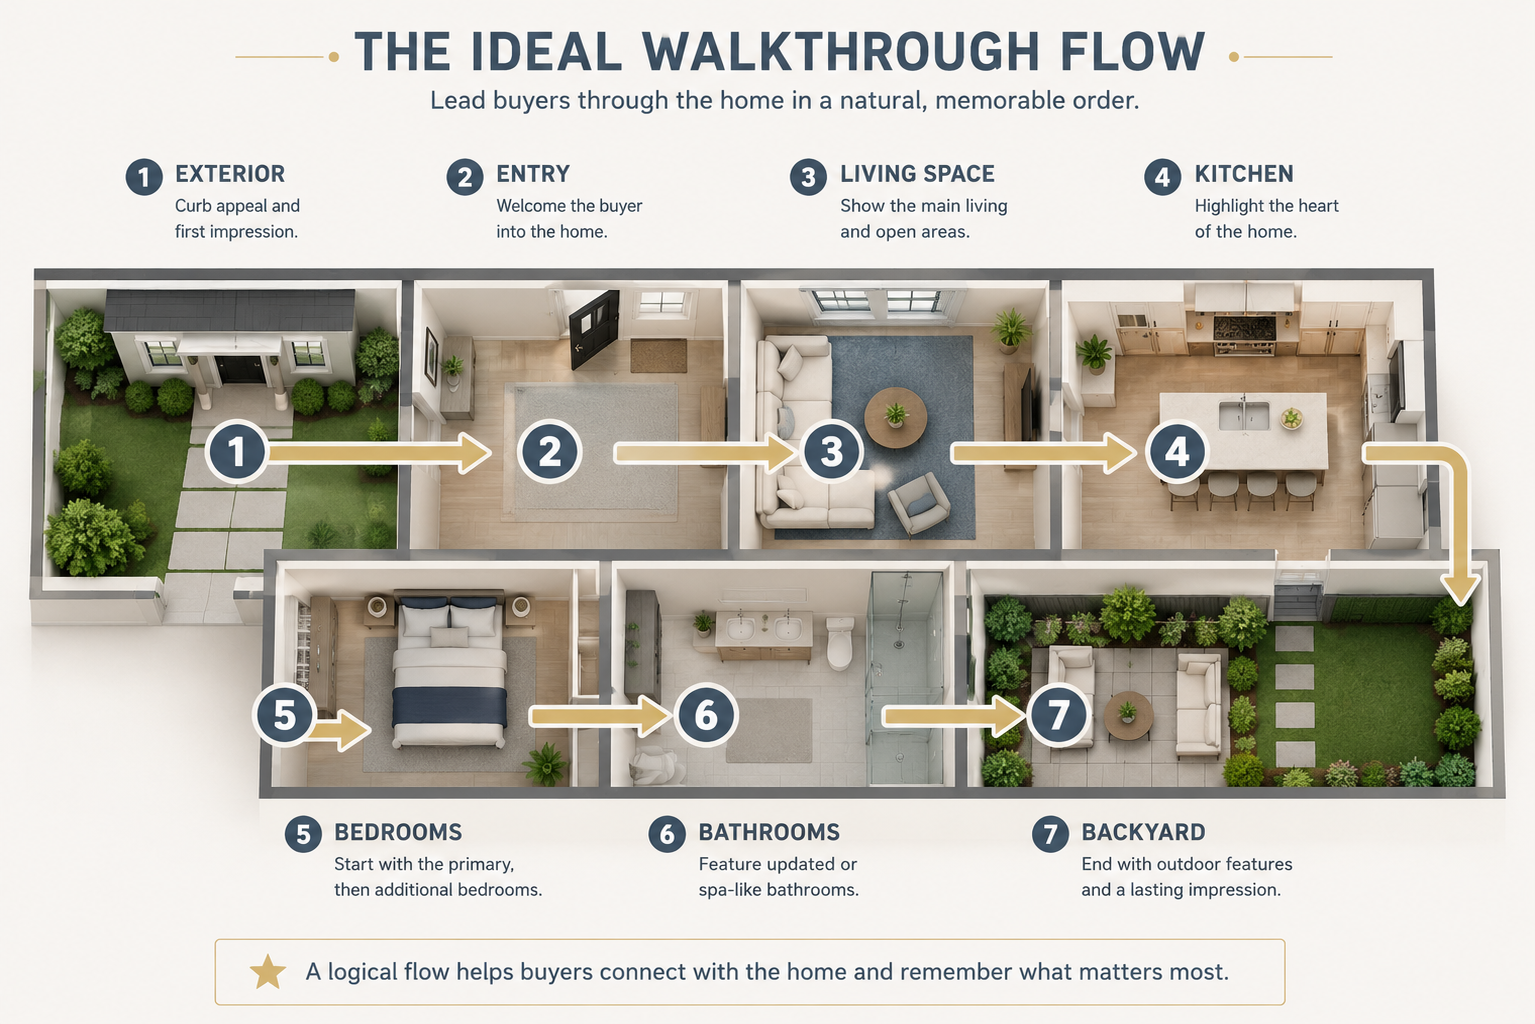
A dependable sequence looks like this:
This sequence follows a natural progression: first impression, orientation, everyday living spaces, and then more private areas of the home.
Jumping between unrelated rooms or floors can make the video harder to follow. Ideally, viewers shouldn't need captions explaining where they are — the progression of the video should make it clear.
Pacing is where many otherwise good listing videos fall apart. It's tempting to give every room equal screen time, but not every space deserves the same amount of attention.
A hallway or small guest bathroom, for example, probably doesn't need as much screen time as a renovated kitchen or spacious primary suite.
As a general guideline:
Total runtime matters just as much as individual shot length.
For many standard residential listings, keeping the video relatively concise can help maintain viewer attention. Larger or luxury properties may justify a longer walkthrough because there are more spaces and features worth highlighting.
If you're looking at a 30-photo shoot and wondering how to fit everything into one video, the answer isn't necessarily to shorten every clip. Instead, consider removing repetitive or less important images and giving the strongest rooms more time to stand out.
This is where a real estate video maker can bring static listing photos to life. Different camera movements can create different visual effects, so it's worth matching the movement to the space you're showcasing.
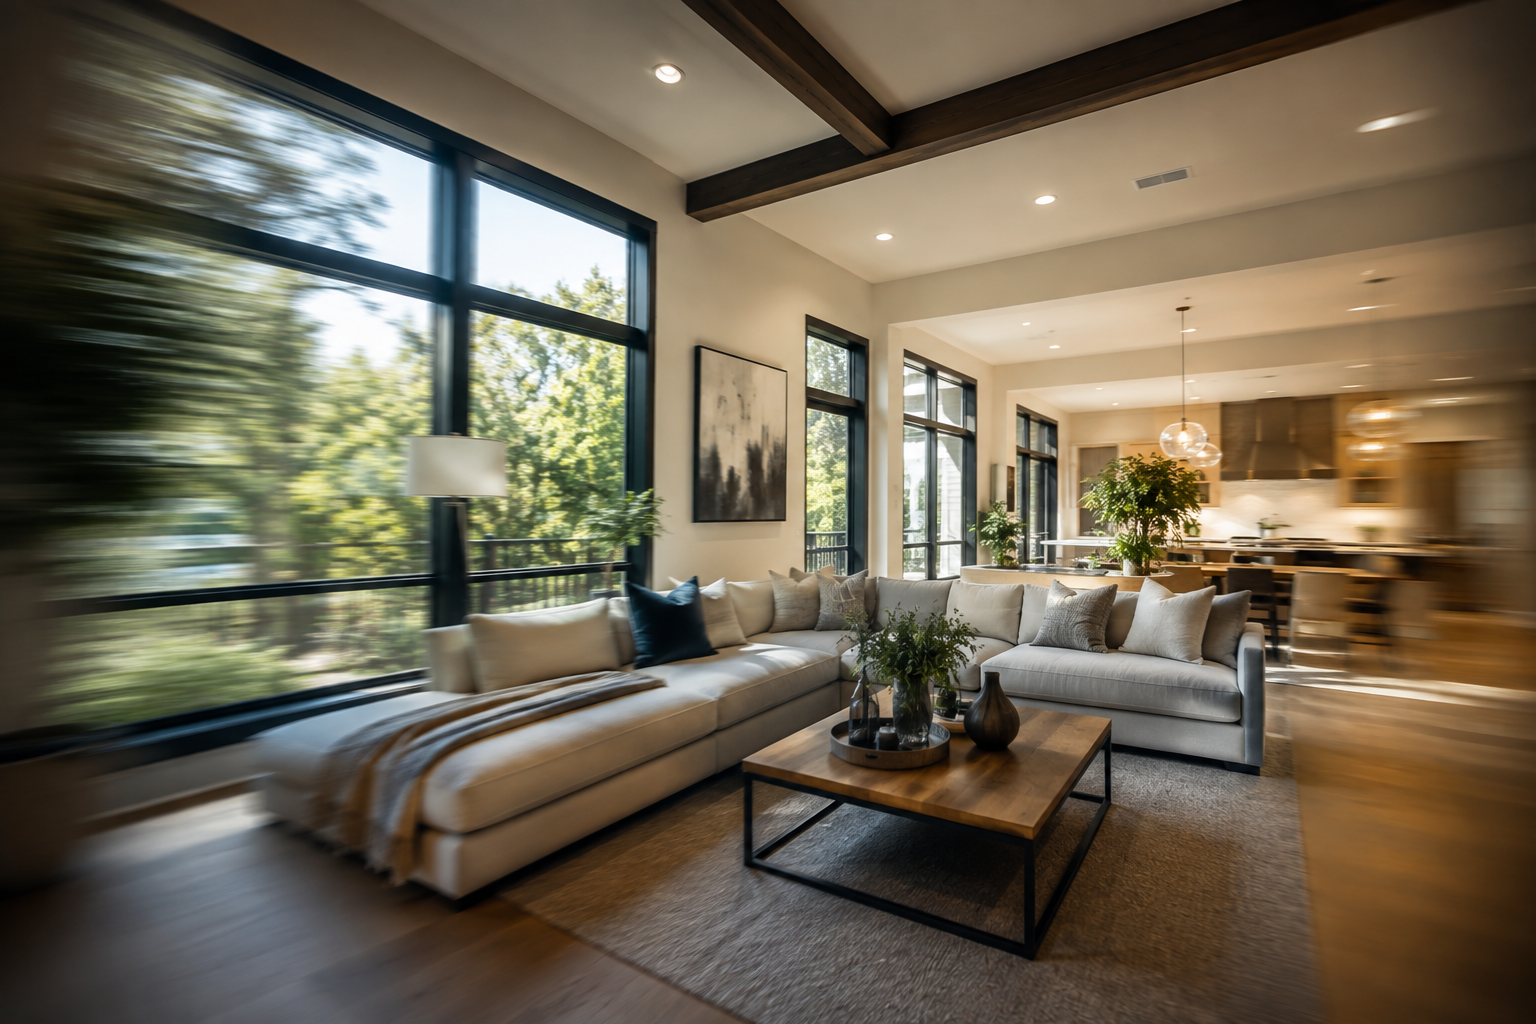
One mistake to avoid is using exactly the same movement on every image.
A video made entirely of pans or zooms can quickly feel repetitive, even when the individual clips look good. Mixing movements thoughtfully — perhaps a pan across the living room, a tilt in the foyer, and an orbit around the kitchen island — can make the walkthrough more visually interesting without making it feel chaotic.
Movement should also remain smooth and consistent. Abrupt changes in speed or overly dramatic motion can distract from the property rather than enhance it.
Most properties have one or two features that deserve extra attention — perhaps a renovated kitchen, a backyard oasis, abundant natural light, a fireplace, or an impressive view.
Your walkthrough should emphasize those features rather than treating every room equally.
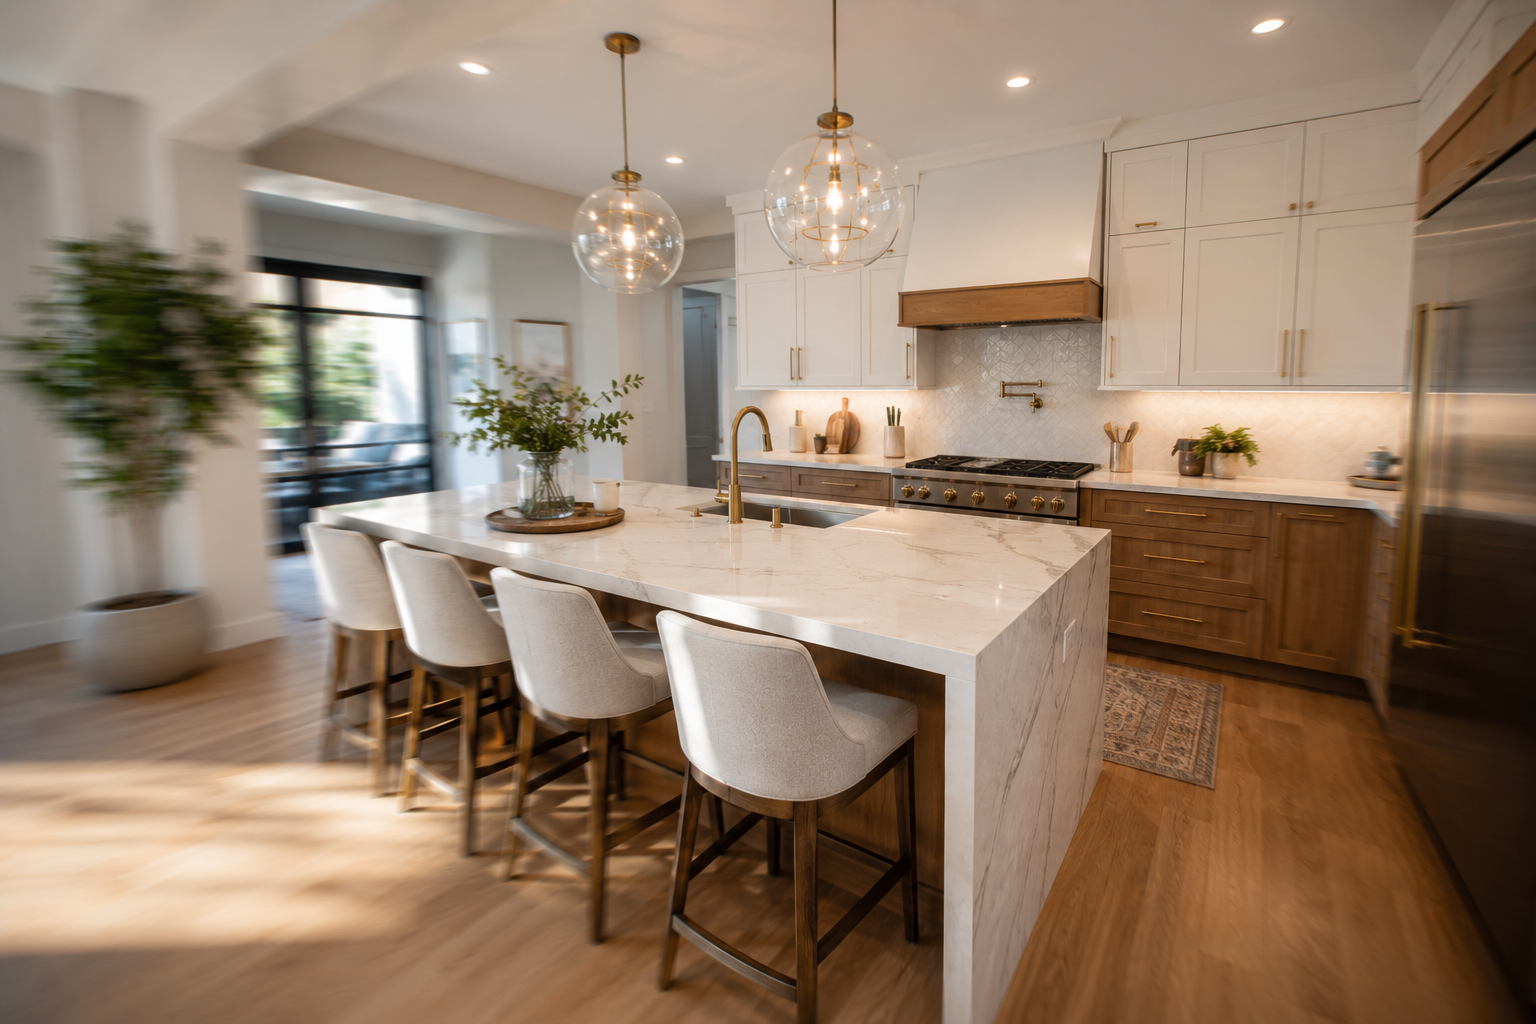
A few ways to do this include:
This is also why strong listing photography matters. If your original photos emphasize the property's best angles and features, your finished video has better material to work with.
Camera movement and pacing create the foundation of a walkthrough video. Music, branding, and captions provide the finishing touches.
Music should complement the property without becoming a distraction. Light, modern tracks can work well for contemporary listings, while softer instrumental music may suit luxury or family-oriented properties. The tempo should also feel appropriate for the pace of the video.
Branding can help turn a generic property video into a recognizable part of your overall marketing. A consistent intro or outro featuring your logo, name, and contact information helps viewers associate the listing with your business.
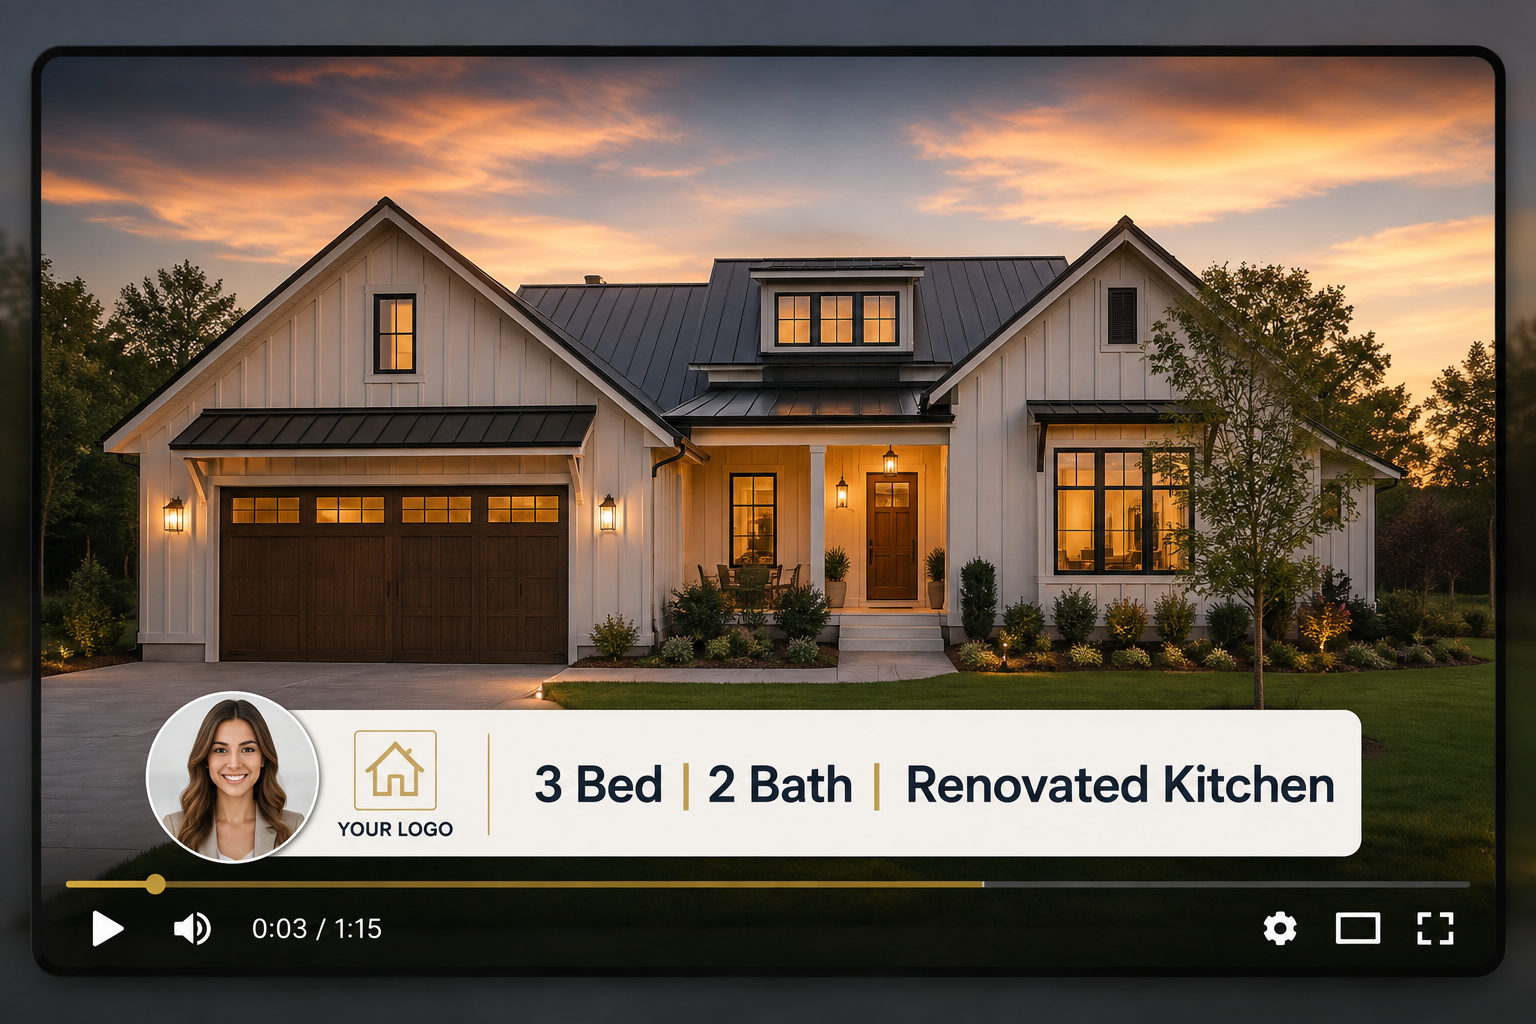
Captions can also make the video more useful when it's viewed without sound. Simple on-screen information such as the address, number of bedrooms and bathrooms, or standout features can give viewers important context while they watch.
For example:
3 Beds | 2 Baths | Renovated Kitchen
Keeping text concise helps ensure that it supports the visuals rather than competing with them.
Creating this type of walkthrough traditionally required filming equipment, editing software, and considerably more production time. AI-powered real estate video tools can now use existing listing photos as the foundation for a property video.
Platforms such as PhotoAIVideo are designed around this workflow. You upload your listing photos and use the platform's available tools to turn those images into video using different camera movements and presentation options.
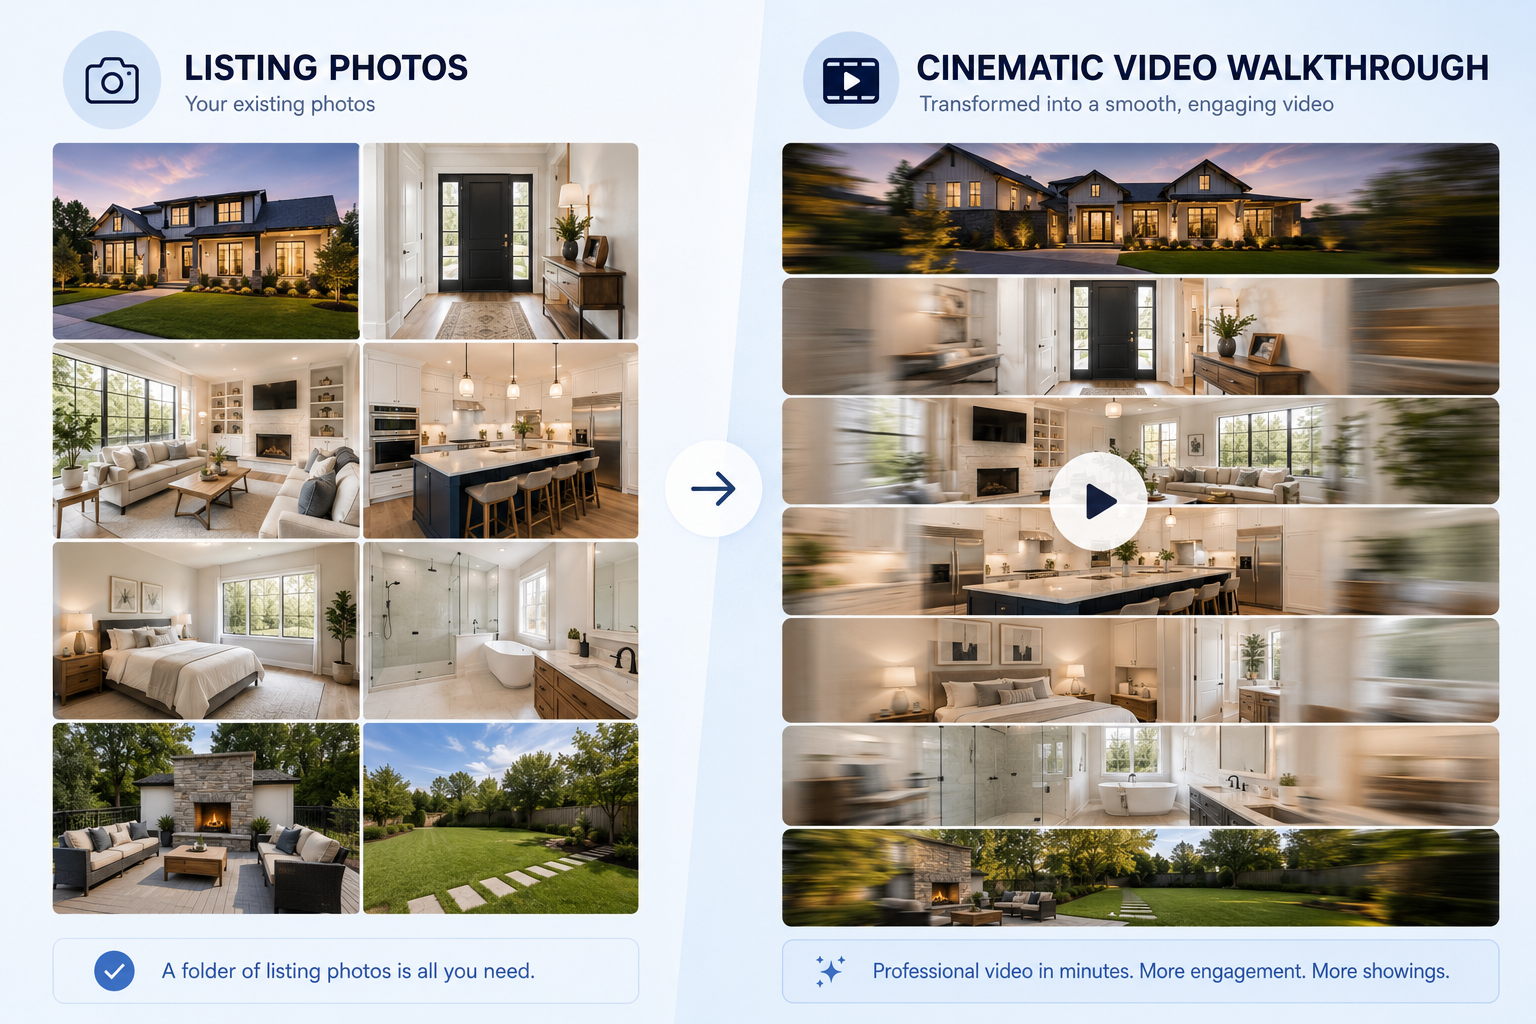
You can also see how PhotoAIVideo's walkthrough video creation process works to get a better idea of how listing photos can be transformed into a property walkthrough.
This can significantly reduce the amount of manual editing involved. Instead of building every movement and transition from scratch, agents can start with their existing listing photography and create an additional marketing asset from the same material.
Depending on the features available in your plan, you can then add elements such as branding, music, or other customization.
For agents managing multiple active listings, reducing the amount of manual production involved can make video easier to incorporate into a regular marketing workflow.
Even with good tools, a few recurring mistakes can reduce the effectiveness of a listing video:
Avoiding these issues can make even a relatively simple walkthrough feel more deliberate and professional.
How long should a real estate walkthrough video be?
There's no single ideal length for every property. The right duration depends on the home's size, number of important spaces, platform, and intended audience. In general, the goal should be to show enough of the property to create a clear impression without making the video feel repetitive.
Do I need professional video equipment to make a walkthrough video?
Not necessarily. Photo-to-video tools can create property videos from existing listing images, eliminating the need for a separate video shoot in some situations.
Professional equipment and videography can still be valuable when you need custom cinematography, drone footage, continuous physical walkthroughs, or a more bespoke production.
What's the ideal room order for a property walkthrough video?
A logical sequence is to begin with the exterior and curb appeal, move through the entry and main living areas, continue into the kitchen, bedrooms, and bathrooms, and finish with the backyard or other outdoor features.
The exact sequence should still reflect the property's actual layout.
Should I add music to my listing video?
Music can add energy and polish, but it should complement rather than overpower the property. Keep it subtle, particularly if your video also includes narration, voiceover, or on-screen information.
A strong property walkthrough video comes down to a handful of repeatable decisions: a logical room order, thoughtful pacing, camera movements that serve a purpose, and enough branding and polish to make the finished video feel intentional rather than like a random photo slideshow.
You also don't have to build everything manually.
A real estate video maker designed for this workflow can help transform your existing listing photos into a more dynamic marketing asset, while still giving you room to add your own branding and presentation style.
PhotoAIVideo offers plans starting with a free option, so you can experiment with your next listing photos and see how they look as a property walkthrough video.


Compact, ready to go anywhere
Interchangeable lens that’s upgradeable
Dual 1-inch sensors for improved clarity and low light performance
Dynamic range and 6K 360° capture
360° photo resolution at 21MP

8K 360° video recording for ultra-detailed visuals.
4K single-lens mode for traditional wide-angle shots.
Invisible selfie stick effect for drone-like perspectives.
2.5-inch touchscreen with Gorilla Glass protection.
Waterproof up to 33ft for underwater shooting.

360° photo resolution in 23MP
Slim design at 24 mm thick
Built-in image stabilization for smooth video capture.
Internal 19GB storage for photo and video storage.
Wireless connectivity for remote control and sharing.

60MP 360° still images for high-resolution photography.
5.7K 360° video recording at 30fps.
2.25-inch touchscreen for intuitive control.
USB Type-C port for fast charging and data transfer.
MicroSD card slot for expandable storage.
.png)

.png)

Try it free. No credit card required. Instant set-up.






.svg)


.svg)