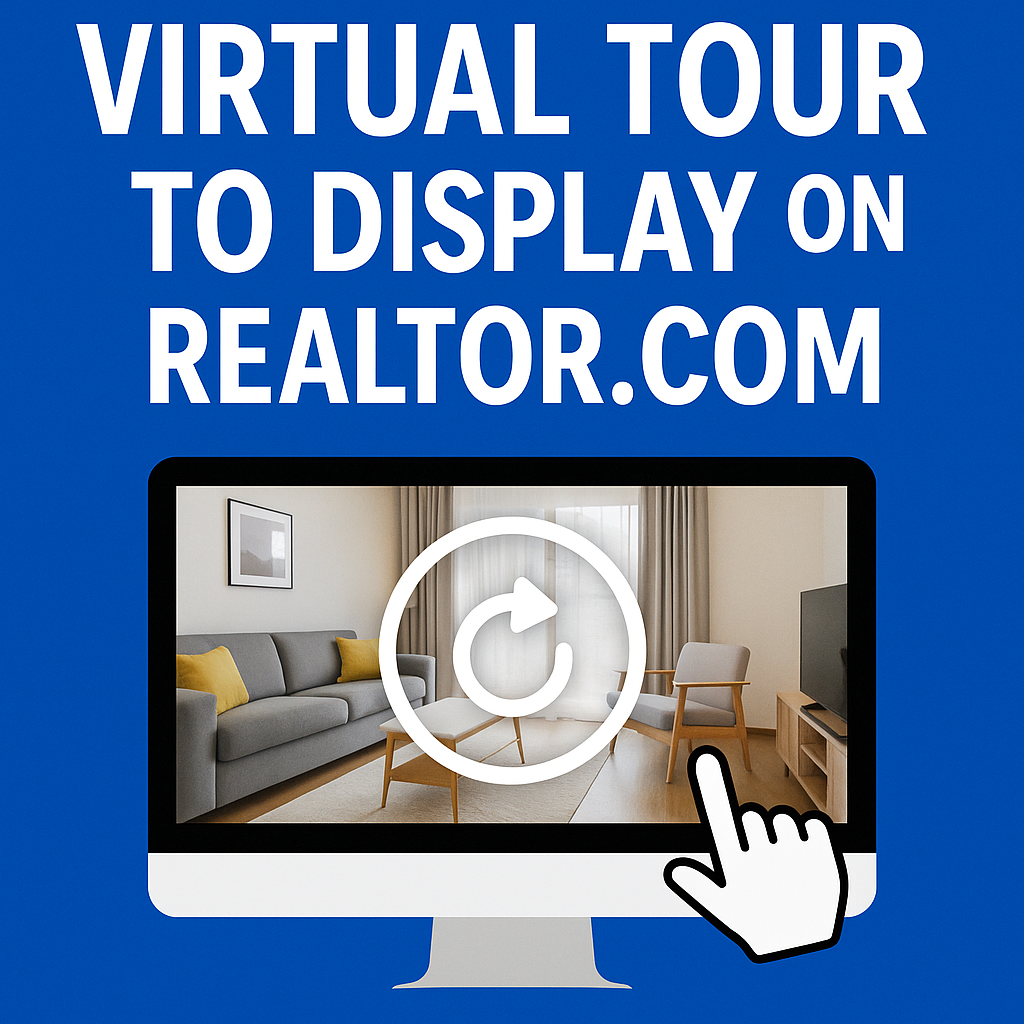
🌀 How to Get Your Virtual Tour to Display on Realtor.com
When buyers shop for homes online, they don’t just want photos — they want to experience the property. That’s why adding a virtual tour to your Realtor.com listing is one of the fastest ways to increase engagement and boost buyer inquiries. 📈
In this guide, you’ll learn exactly how to get your virtual tour to display on Realtor.com, how MLS settings affect it, and pro tips for optimizing your tour for maximum impact.
🔍 Why Virtual Tours Are a Must-Have on Realtor.com
Virtual tours give buyers the freedom to explore a home on their own schedule, without needing an in-person showing. Benefits include:
- 🏠 24/7 property access from anywhere in the world
- 💡 A better sense of space and layout than photos alone
- ⏱ Faster decision-making for serious buyers
- 📊 More time spent on your listing = higher engagement scores
🛠 Step 1: Check Your MLS Syndication Settings
Most Realtor.com listings are populated through MLS data feeds. If your MLS supports virtual tours, the link you upload in your MLS backend can automatically display on Realtor.com — but only if syndication is turned ON for that media type.
Action steps:
- Log into your MLS dashboard
- Open your active listing
- Locate the “Virtual Tour URL” or “Unbranded Tour Link” field
- Paste your tour’s public URL (ensure it’s unbranded per MLS rules)
- Confirm Realtor.com is checked in your MLS syndication options
📚 Related read: How to Add a Virtual Tour to Your MLS Listing (Step-by-Step Guide)
🖥 Step 2: Add the Virtual Tour Directly to Realtor.com (If Needed)
If your MLS doesn’t pass virtual tour data to Realtor.com, you can manually upload:
- Log into your Realtor.com Agent or Broker Dashboard
- Go to “Listings” and select the property
- Click “Add Media”
- Choose “Add Virtual Tour” and paste your tour URL
- Save changes and preview the listing
🎥 Step 3: Optimize Your Virtual Tour for Better Engagement
Simply adding the tour isn’t enough — you want it to capture and hold attention.
- Start with the best angle — begin in the main living space
- Add navigation hotspots to guide buyers
- Use high-resolution 360° images for clarity
- Highlight unique features (fireplace, views, kitchen upgrades)
🌐 Step 4: Promote Your Realtor.com Listing Externally
Once your virtual tour is live, drive more eyeballs to it:
- Share the Realtor.com link on Facebook, Instagram, and LinkedIn 📲
- Include it in your next email newsletter 📧
- Embed it on your personal website or blog 🌐
💡 Tip: Pair your virtual tour with a floor plan to give buyers a complete view. Check out: How to Post a Floor Plan on Realtor.com Property Pages
📊 Step 5: Monitor and Improve
Realtor.com provides listing performance analytics so you can see:
- How many buyers click into your virtual tour
- Average time spent on the tour
- Where they drop off
If numbers are low:
- Update your thumbnail image to be more inviting
- Rearrange scenes to show the most desirable features first
- Shorten the tour to keep buyers engaged
🧠 Pro Tips for Getting Tours Seen
- ✅ Use a mobile-friendly virtual tour platform like CloudPano
- ✅ Make sure the link is unbranded for MLS compliance
- ✅ Add the same tour link in both MLS and Realtor.com for backup
- ✅ Include a call to action inside your tour (e.g., “Book a showing”)
🏆 Why This Works
Buyers on Realtor.com are often in the final stage of their home search. By giving them an interactive, self-guided way to explore, you:
- Reduce wasted showings
- Qualify serious buyers faster
- Increase the chances of offers coming in sooner
📢 Ready to Upgrade All Your Listing Media?
Here are tools to help you get more from every property listing:


.png)


.png)


.png)

.png)


