


.png)

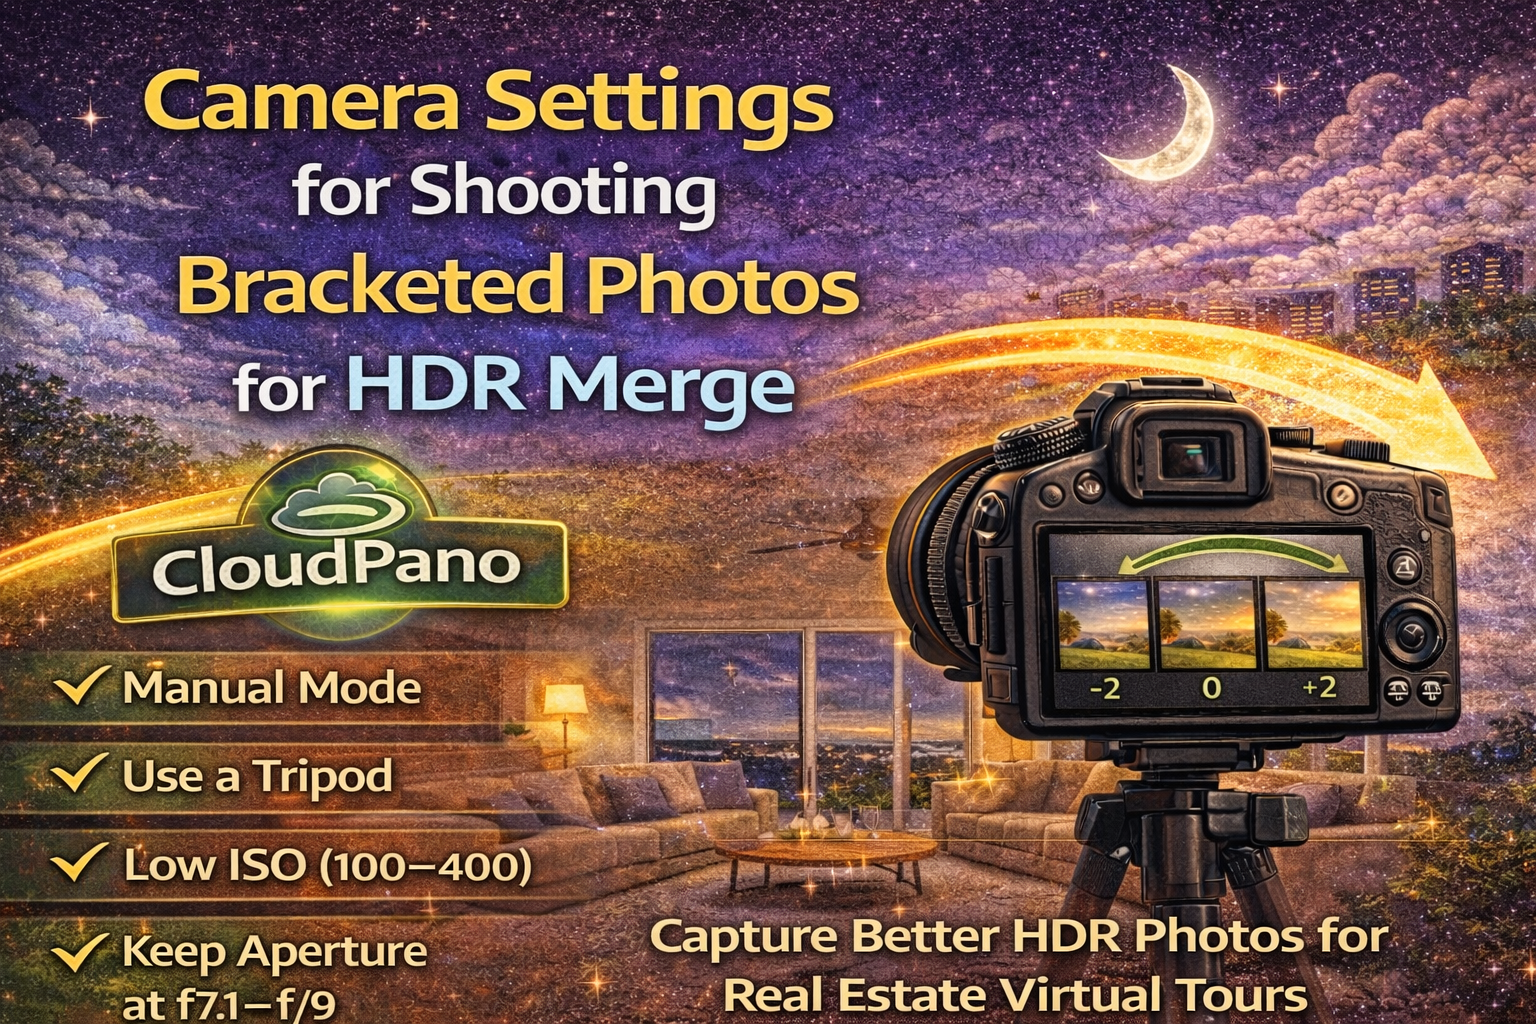
Creating professional virtual tours starts long before editing. The quality of your final images depends heavily on how you capture your photos in the field. When using HDR techniques, proper bracketing and camera setup make all the difference.
This CloudPano HDR photo guide explains the best HDR bracketed photo settings CloudPano photographers should use, along with practical HDR merge camera tips CloudPano users rely on. If you want consistent, natural-looking panoramas, mastering real estate photography settings HDR CloudPano workflows is essential.
Let’s walk through it step by step. 🚀
Real estate interiors often include bright windows, dark shadows, and mixed lighting — all in the same room. A single exposure cannot capture that full range of light.
That’s where shooting bracketed photos CloudPano workflows come in. By capturing multiple exposures at different brightness levels, you gather all the tonal information needed for a clean HDR merge.
Bracketing allows you to:
✔ Preserve window detail
✔ Reveal shadow detail
✔ Maintain natural contrast
✔ Create balanced lighting
Without proper bracketing, HDR editing becomes difficult and results may look unnatural.
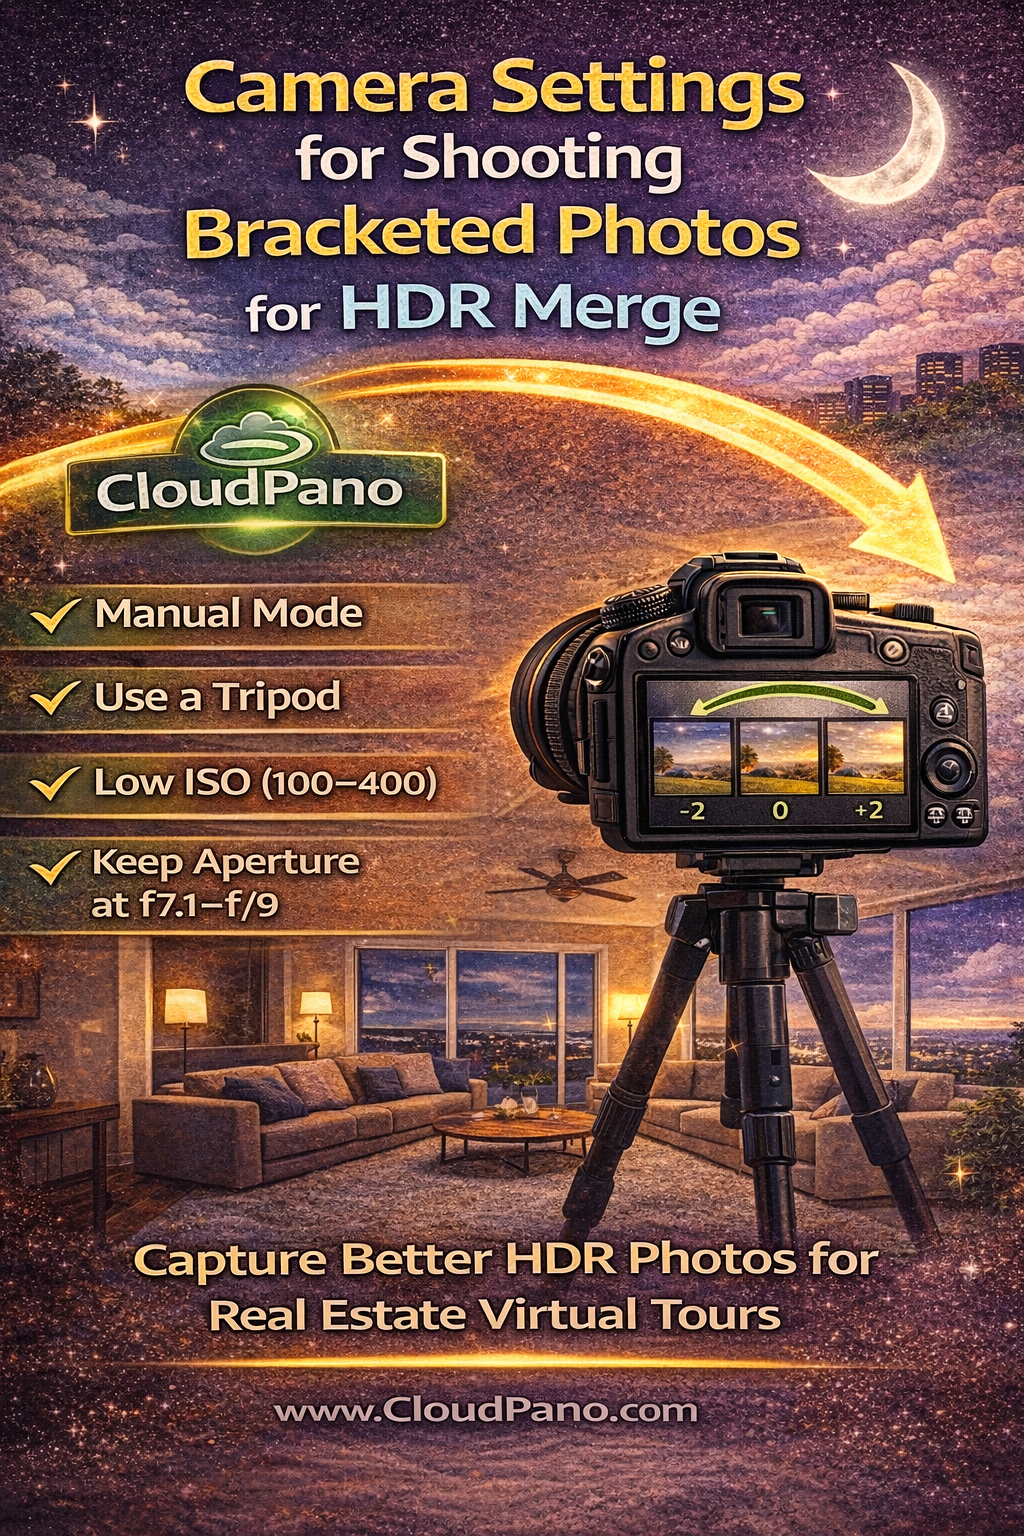
The most important rule of HDR merge camera tips CloudPano photographers follow is using a tripod.
Bracketing requires multiple shots of the same scene. Even small movements between exposures can cause:
• Blurry edges
• Ghosting artifacts
• Poor alignment
A stable tripod ensures each bracket aligns perfectly, making the HDR merge process smooth and professional.
Manual mode gives you full control over exposure variables, which is critical when shooting bracketed photos CloudPano.
When bracketing for HDR:
• Keep aperture constant
• Keep ISO constant
• Only change shutter speed
This ensures depth of field and image noise remain consistent across exposures. Varying shutter speed adjusts brightness without changing image quality.
Aperture controls depth of field. In real estate photography, you want everything sharp from foreground to background.
Best practice:
📌 Use f/7.1 to f/9
These settings provide strong sharpness without introducing diffraction softness. Keeping aperture fixed ensures each exposure in your bracket series has the same focus and depth.
This is a core part of real estate photography settings HDR CloudPano professionals use.
ISO affects image brightness and noise. For HDR bracketing:
📌 Keep ISO as low as possible (ISO 100–400)
Low ISO ensures cleaner shadow detail and reduces noise in darker exposures. Since HDR merging brightens shadow areas, starting with low noise files leads to better final quality.
This is one of the most important HDR bracketed photo settings CloudPano users follow.
In HDR bracketing, shutter speed is the setting that varies to create multiple exposures.
A typical 3-shot bracket might include:
• A dark exposure (fast shutter)
• A medium exposure
• A bright exposure (slow shutter)
For higher-contrast scenes, 5 or even 7 brackets may be necessary. Using slower shutter speeds for brighter exposures is safe as long as you’re on a tripod.
This approach ensures full tonal coverage for HDR merge camera tips CloudPano workflows.
The number of bracketed shots depends on scene contrast.
General guidelines:
• 3 brackets – Standard interiors
• 5 brackets – Rooms with bright windows
• 7+ brackets – Extreme contrast or sunset views
More brackets capture more light data, giving you smoother HDR merges and more natural-looking results in your CloudPano HDR photo guide workflow.
Auto white balance can shift color between exposures, creating color mismatches when merging HDR.
Instead:
📌 Set a fixed white balance (Daylight or custom Kelvin)
Consistency helps maintain accurate color and avoids extra correction during editing. This is a key step in shooting bracketed photos CloudPano correctly.
Use manual focus once you’ve locked focus for the scene. Autofocus can shift slightly between exposures, leading to inconsistent sharpness.
Steps:
Sharpness consistency is crucial for professional real estate photography settings HDR CloudPano workflows.
Some cameras offer automatic HDR modes. Avoid these when creating professional virtual tours.
Why?
• Limited control over exposure range
• Compressed output files
• Less editing flexibility
Manual bracketing provides higher-quality source files and better results in post-production.
Even pressing the shutter button can cause slight camera movement. To prevent this:
• Use a remote shutter release
• Use a 2-second timer
• Use camera app control if available
These small steps ensure sharp exposures across your HDR bracketed photo settings CloudPano workflow.
When capturing images for CloudPano tours, consistency is key.
For each panorama position:
✔ Keep camera level
✔ Maintain the same bracket settings
✔ Avoid changing ISO or aperture mid-tour
Consistent capture makes stitching and HDR merging smoother and supports the best CloudPano HDR photo guide results.
Rooms often contain daylight and artificial light. This creates different color temperatures.
While HDR helps balance brightness, you should also:
• Turn on all interior lights for consistency
• Avoid mixing drastically different bulbs
• Adjust white balance later if needed
These steps help produce cleaner real estate photography settings HDR CloudPano results.
Don’t rely solely on the camera preview. Use the histogram to ensure:
• The darkest exposure protects highlights
• The brightest exposure captures shadow detail
If highlights are clipped in the darkest bracket, add another darker shot. Proper exposure coverage is vital for HDR merge camera tips CloudPano.
Using the same camera settings for every property builds a repeatable workflow.
Benefits include:
• Faster HDR merging
• Consistent image quality
• Less correction needed later
Consistency is a major advantage of mastering HDR bracketed photo settings CloudPano techniques.
🚫 Handholding bracketed shots
🚫 Changing aperture between exposures
🚫 Using high ISO
🚫 Relying on in-camera HDR
🚫 Using auto white balance
Avoiding these mistakes ensures professional-quality shooting bracketed photos CloudPano workflows.
HDR editing can only do so much if the original photos are poorly captured. Strong camera technique is the foundation of every great virtual tour.
By following these HDR merge camera tips CloudPano, mastering real estate photography settings HDR CloudPano, and using proper HDR bracketed photo settings CloudPano, you set yourself up for clean merges, natural lighting, and professional results.
Great HDR starts in-camera — and when you capture properly, your CloudPano tours will look brighter, sharper, and more realistic from the very first upload.

Compact, ready to go anywhere
Interchangeable lens that’s upgradeable
Dual 1-inch sensors for improved clarity and low light performance
Dynamic range and 6K 360° capture
360° photo resolution at 21MP

8K 360° video recording for ultra-detailed visuals.
4K single-lens mode for traditional wide-angle shots.
Invisible selfie stick effect for drone-like perspectives.
2.5-inch touchscreen with Gorilla Glass protection.
Waterproof up to 33ft for underwater shooting.

360° photo resolution in 23MP
Slim design at 24 mm thick
Built-in image stabilization for smooth video capture.
Internal 19GB storage for photo and video storage.
Wireless connectivity for remote control and sharing.

60MP 360° still images for high-resolution photography.
5.7K 360° video recording at 30fps.
2.25-inch touchscreen for intuitive control.
USB Type-C port for fast charging and data transfer.
MicroSD card slot for expandable storage.
.png)
.png)

Try it free. No credit card required. Instant set-up.


