MLS Virtual Tour Guide: How to Add a Virtual Tour to Your Listing Step-by-Step

Cloudpano
August 17, 2025
5 min read
Share this post

🏡 MLS Virtual Tour Guide: Step-by-Step on Adding a Virtual Tour to Your Listing

In today’s fast-paced real estate market, virtual tours on the MLS are no longer optional — they’re essential. 🖥️✨ When buyers browse listings on the MLS (Multiple Listing Service), Zillow, Realtor.com, or Redfin, they’re more likely to stop and explore a property with an interactive 3D tour.

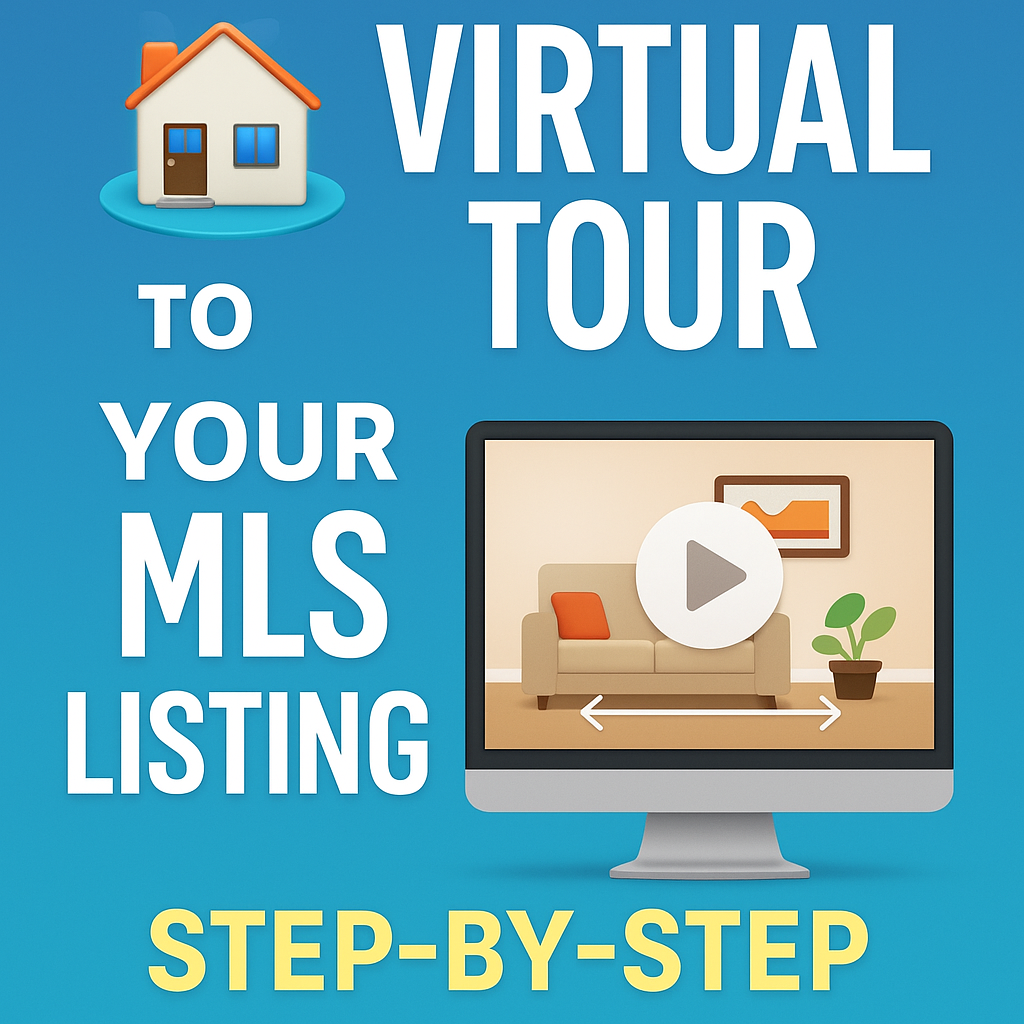
If you want your listing to stand out, adding a virtual tour to your MLS entry is one of the most impactful moves you can make. Done right, it boosts engagement, pre-qualifies buyers, and helps homes sell faster.

🌟 Why MLS Virtual Tours Are a Game-Changer

The MLS feeds directly into major portals like Zillow, Trulia, Realtor.com, and Redfin. A listing with a 360° or 3D tour immediately grabs more attention and increases time spent viewing.

📊 Benefits of MLS Virtual Tours:

  • 🖱️ Higher Engagement – Buyers explore listings at their own pace, anywhere.
  • Saves Time – Pre-qualifies buyers before showings.
  • 💰 Increases Perceived Value – Premium visuals position your listing above the competition.
  • 🌍 Wider Reach – Attracts out-of-town and international buyers.

👉 Related Read: [How to Make Sure Your Virtual Tour Shows on All Listing Sites]

🛠 Step 1: Create a Stunning Virtual Tour

Before uploading to the MLS, you need a tour that meets platform standards. Tools like CloudPano make this easy:

  • Upload 360° photos
  • Connect rooms with hotspots
  • Add floor plans or dollhouse views
  • Export MLS-compliant links

💡 Pro Tip: Always use high-resolution images so the MLS doesn’t downscale them too much.

👉 Related Read: [How to Meet Photo and Video Requirements Across MLS and Major Real Estate Sites]

📤 Step 2: Locate the “Virtual Tour” Field in Your MLS

Every MLS has its own setup, but most follow this structure:

  1. Log into your MLS dashboard (Matrix, Flexmls, Paragon, etc.).
  2. Edit your listing.
  3. Look for fields labeled:
    • “Virtual Tour URL”
    • “Branded Tour Link” / “Unbranded Tour Link”
  4. Paste your CloudPano unbranded link (to stay MLS-compliant).

⚠️ MLS Compliance Reminder: Avoid logos, agent contact info, or outside branding in MLS versions.

👉 Related Read: [How to Optimize Real Estate Media for Faster Listing Approval]

🌐 Step 3: Test Before Publishing

Before hitting save, check your virtual tour:
✅ Open in an incognito browser window
✅ Test on desktop & mobile
✅ Check load speed + image clarity

👉 Related Read: [How to Fix Common Photo Upload Problems on MLS, Zillow, and Realtor.com]

📈 Step 4: Maximize MLS Distribution

Once published, your MLS tour will automatically appear on:

  • Zillow
  • Realtor.com
  • Homes.com
  • Redfin
  • Brokerage websites & IDX feeds

🌟 Pro Strategy: Pair your MLS listing with a property website showcasing your tour, photos, and details. CloudPano’s Property Website Creator makes this seamless.

👉 Related Read: [How to Create One Link for All Your Property Media Across Platforms]

🎯 Step 5: Promote Your Virtual Tour Outside the MLS

MLS syndication is powerful, but you can go further by:

  • Sharing the link on Facebook, Instagram, LinkedIn
  • Sending the tour to your buyer email list
  • Embedding it in your email signature

👉 Related Read: [How to Add Captions and Tags to Property Photos for Better SEO]

🚀 Why CloudPano Is Perfect for MLS Virtual Tours

Compared to Matterport, Kuula, and Zillow 3D Home, CloudPano offers:

  • ✅ No hardware lock-in (works with any 360 camera)
  • ✅ Unlimited MLS-compliant tours
  • ✅ Instant unbranded links
  • ✅ White-label options for off-MLS marketing

Agents love CloudPano for its ease of use and MLS compliance mode.

📋 Quick MLS Virtual Tour Upload Checklist

  • Create a high-quality 360° tour
  • Export MLS-compliant unbranded link
  • Locate & fill the MLS “Virtual Tour URL” field
  • Test on desktop & mobile
  • Promote beyond MLS for extra reach

📢 Final Thoughts

Adding a virtual tour to your MLS listing is about more than tech — it’s about creating an immersive buyer experience that increases offers and reduces time-on-market.

With CloudPano, you can create tours in minutes, upload to the MLS, and watch your listings outperform the competition.

🔥 Call-to-Action

Ready to stand out on the MLS? 🚀

Share this post
Cloudpano

Choose The Right 360° Camera

Insta360 ONE RS 1-Inch 360 Edition

  • Compact, ready to go anywhere

  • Interchangeable lens that’s upgradeable

  • Dual 1-inch sensors for improved clarity and low light performance

  • Dynamic range and 6K 360° capture

  • 360° photo resolution at 21MP

Learn More

Insta360 X4

  • 8K 360° video recording for ultra-detailed visuals.

  • 4K single-lens mode for traditional wide-angle shots.

  • Invisible selfie stick effect for drone-like perspectives.

  • 2.5-inch touchscreen with Gorilla Glass protection.

  • Waterproof up to 33ft for underwater shooting.

Learn More

Ricoh Theta Z1

  • 360° photo resolution in 23MP

  • Slim design at 24 mm thick

  • Built-in image stabilization for smooth video capture.

  • Internal 19GB storage for photo and video storage.

  • Wireless connectivity for remote control and sharing.

Learn More

Ricoh Theta X

  • 60MP 360° still images for high-resolution photography.

  • 5.7K 360° video recording at 30fps.

  • 2.25-inch touchscreen for intuitive control.

  • USB Type-C port for fast charging and data transfer.

  • MicroSD card slot for expandable storage.

Learn More
Property Marketing
Allows potential buyers to explore properties in detail from anywhere, enhancing the real estate marketing process.
Automotive Spins
Create an interactive virtual showroom and engage affluent digital buyers with live 360º video calls, all through the CloudPano mobile app for a complete automotive sales solution.
Interactive Floor Plans
Create 2D and 3D floor plans with measurements in 4 minutes or less, all from your phone. Download the Floor Plan Scanner app and get your first scan free.

360 Virtual Tours With CloudPano.com. Get Started Today.

Try it free. No credit card required. Instant set-up.

Try it free
Latest posts

See our other posts

Interviews, tips, guides, industry best practices, and news.

Bracketing Photography for Beginners

This beginner-friendly bracketing photography tutorial explains how exposure bracketing works and why it’s essential for capturing detail in high-contrast scenes. Readers learn when to use bracketing, how to set it up on their camera, how many exposures to shoot, and why using a tripod improves results. The guide also covers common beginner mistakes and how bracketing supports HDR photography and better editing flexibility.
Read post

Manual vs Auto Bracketing: Which Is Better?

This guide compares manual vs auto bracketing to help photographers understand the strengths and limitations of each method. It explains how both techniques capture multiple exposures, when to use each, and how they affect speed, control, consistency, and HDR workflows. Readers learn which method is better for beginners, professionals, real estate photography, landscapes, and extreme lighting situations. The article provides practical advice for choosing the right bracketing approach based on shooting conditions.
Read post

How to Use Auto Exposure Bracketing (AEB)

This guide explains how to use auto exposure bracketing (AEB) to capture multiple exposures of the same scene for better dynamic range and HDR photography. Readers learn what AEB is, how it works, when to use it, and how to set it up for consistent results. The article covers EV spacing, tripod use, ideal camera settings, and common mistakes to avoid, making it a beginner-friendly yet practical resource for improving exposure in high-contrast lighting situations.
Read post