.png)

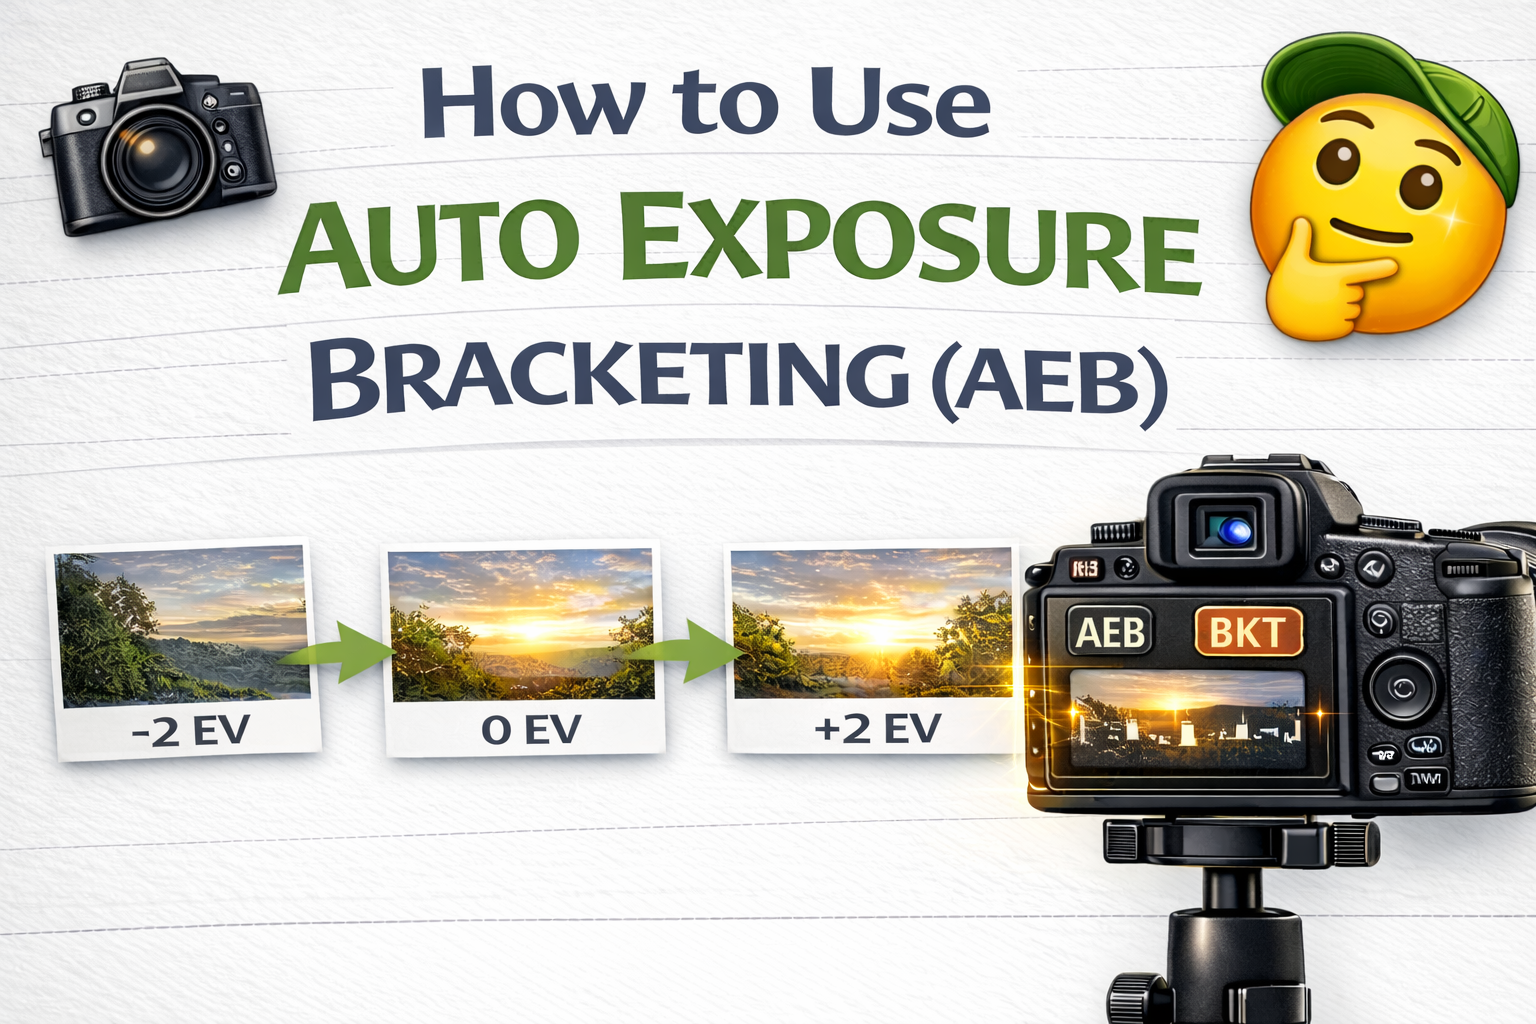
A Simple Guide to Mastering Auto Exposure Bracketing for Better Photos
If you’ve ever struggled to photograph a scene with bright highlights and deep shadows, you’re not alone. Cameras have limits — and tricky lighting can make it nearly impossible to capture everything correctly in one shot.
That’s where auto exposure bracketing comes in.
Auto exposure bracketing (AEB) is a powerful camera feature that helps you capture multiple exposures of the same scene automatically. Those exposures can then be blended into a balanced HDR image or used to ensure you never miss the perfect shot.
In this guide, you’ll learn what AEB is, how it works, when to use it, and how to set it up for clean, professional results. Let’s break it down. 🚀
Auto exposure bracketing is a camera function that takes several photos in a row at different brightness levels with one press of the shutter.
Instead of guessing the correct exposure, your camera captures a sequence like this:
📷 One darker image (to preserve highlights)
📷 One normal exposure
📷 One brighter image (to reveal shadow detail)
This ensures you capture the full range of light in a scene — something a single exposure often can’t do.
Real-world scenes often have a wide dynamic range. That means parts of the image are very bright while others are very dark.
Without auto exposure bracketing, you might end up with:
❌ Blown-out skies or windows
❌ Shadows with no detail
❌ Flat, lifeless images
AEB solves this by giving you multiple exposures to work with, allowing you to create a well-balanced final photo.
When AEB is turned on, your camera automatically changes exposure between shots.
Usually:
✔ Aperture stays the same
✔ ISO stays the same
✔ Shutter speed changes
This keeps depth of field and noise consistent while only brightness varies.
You press the shutter once, and your camera rapidly captures the full bracket sequence.
AEB stands for Auto Exposure Bracketing.
Some cameras may label it differently, such as:
• Exposure Bracketing
• Bracket
• BKT
But they all refer to the same function.
AEB is most useful in high-contrast lighting situations.
Great scenarios for auto exposure bracketing include:
🏠 Real estate interiors with bright windows
🌄 Landscapes at sunrise or sunset
🏙 Cityscapes with bright lights and dark streets
🏛 Architecture with strong shadows
🌳 Forest scenes with dappled sunlight
Whenever a scene has both very bright and very dark areas, AEB helps capture all the detail.
Most cameras let you choose how many shots are in a bracket sequence.
Common options:
📸 3 shots (standard)
📸 5 shots (better for interiors)
📸 7+ shots (extreme contrast)
For most photographers, 3–5 exposures are ideal.
When setting up auto exposure bracketing, you’ll see EV values.
EV stands for Exposure Value. It determines how much brighter or darker each bracketed shot is.
Examples:
±1 EV = small exposure differences
±2 EV = larger exposure differences
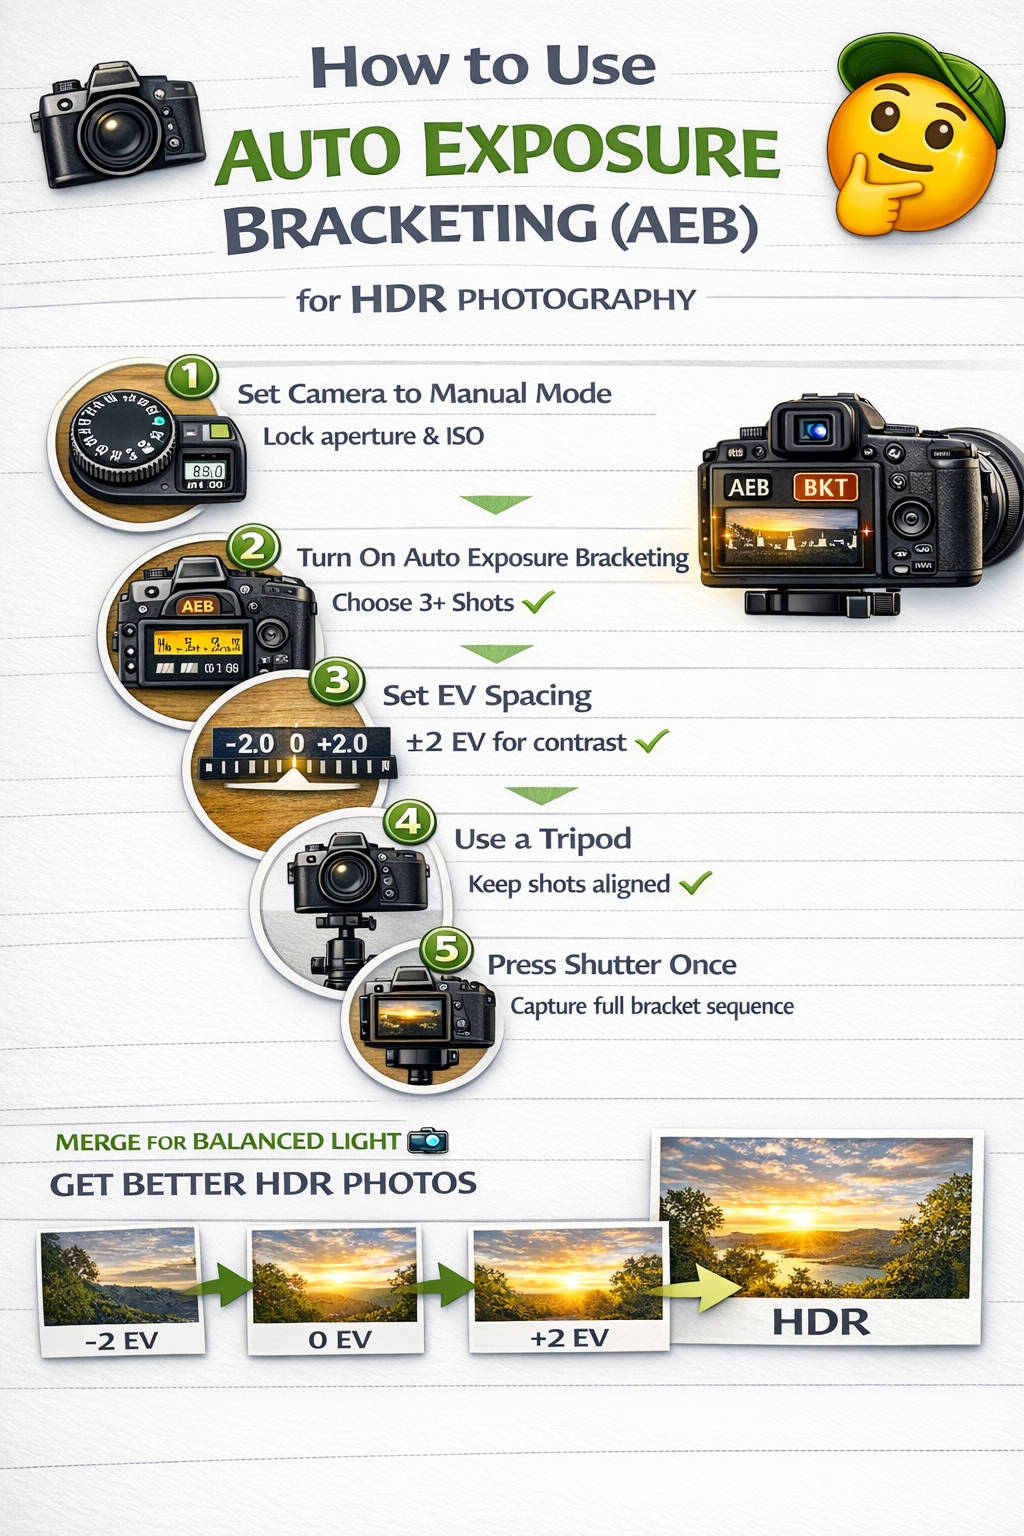
For HDR photography, ±2 EV spacing is often a great starting point.
Lock in your aperture and ISO. This ensures consistency across shots.
Find AEB in your camera menu or quick settings.
Select 3 or 5 exposures for most scenes.
Choose ±2 EV for strong lighting contrast.
Stability ensures all exposures align perfectly.
Your camera will automatically capture the entire bracket sequence.
That’s it — you’ve used auto exposure bracketing.
Although AEB can be used handheld, a tripod greatly improves results.
It helps:
✔ Keep images aligned
✔ Prevent motion blur
✔ Allow slower shutter speeds
✔ Produce cleaner HDR merges
Tripods are especially important for real estate and landscape photography.
Manual bracketing requires you to change settings between each shot — slow and inconsistent.
Auto exposure bracketing automates the process, ensuring perfect exposure spacing every time.
Faster. Easier. More reliable.
Some cameras offer Auto HDR, which merges exposures in-camera.
However:
❌ Less control
❌ Lower quality
❌ Limited editing flexibility
Using auto exposure bracketing and merging later in editing software produces far better results.
Adds noise that HDR makes worse.
Creates inconsistent depth of field.
Causes blur in slower exposures.
Slows editing without improving results.
Avoiding these mistakes ensures clean, professional outcomes.
✔ ISO 100–400
✔ Aperture f/7.1–f/9 for interiors
✔ Tripod for stability
✔ ±2 EV spacing
✔ RAW format
These settings support strong HDR merges.
After shooting with auto exposure bracketing, you can:
✔ Merge photos into HDR
✔ Blend exposures manually
✔ Choose the best single exposure
AEB gives you creative flexibility in post-processing.
No. While AEB is often used for HDR, it also helps ensure you never miss correct exposure.
Even if you don’t merge images, one of the bracketed shots might be perfect on its own.
Learning how to use auto exposure bracketing is one of the easiest ways to improve your photography.
It helps you:
✔ Capture more dynamic range
✔ Handle difficult lighting
✔ Create better HDR images
✔ Avoid exposure mistakes
Once you start using AEB regularly, you’ll wonder how you ever shot without it.
Because when lighting gets tricky, auto exposure bracketing makes things simple.

Compact, ready to go anywhere
Interchangeable lens that’s upgradeable
Dual 1-inch sensors for improved clarity and low light performance
Dynamic range and 6K 360° capture
360° photo resolution at 21MP

8K 360° video recording for ultra-detailed visuals.
4K single-lens mode for traditional wide-angle shots.
Invisible selfie stick effect for drone-like perspectives.
2.5-inch touchscreen with Gorilla Glass protection.
Waterproof up to 33ft for underwater shooting.

360° photo resolution in 23MP
Slim design at 24 mm thick
Built-in image stabilization for smooth video capture.
Internal 19GB storage for photo and video storage.
Wireless connectivity for remote control and sharing.

60MP 360° still images for high-resolution photography.
5.7K 360° video recording at 30fps.
2.25-inch touchscreen for intuitive control.
USB Type-C port for fast charging and data transfer.
MicroSD card slot for expandable storage.
.png)
.png)

Try it free. No credit card required. Instant set-up.