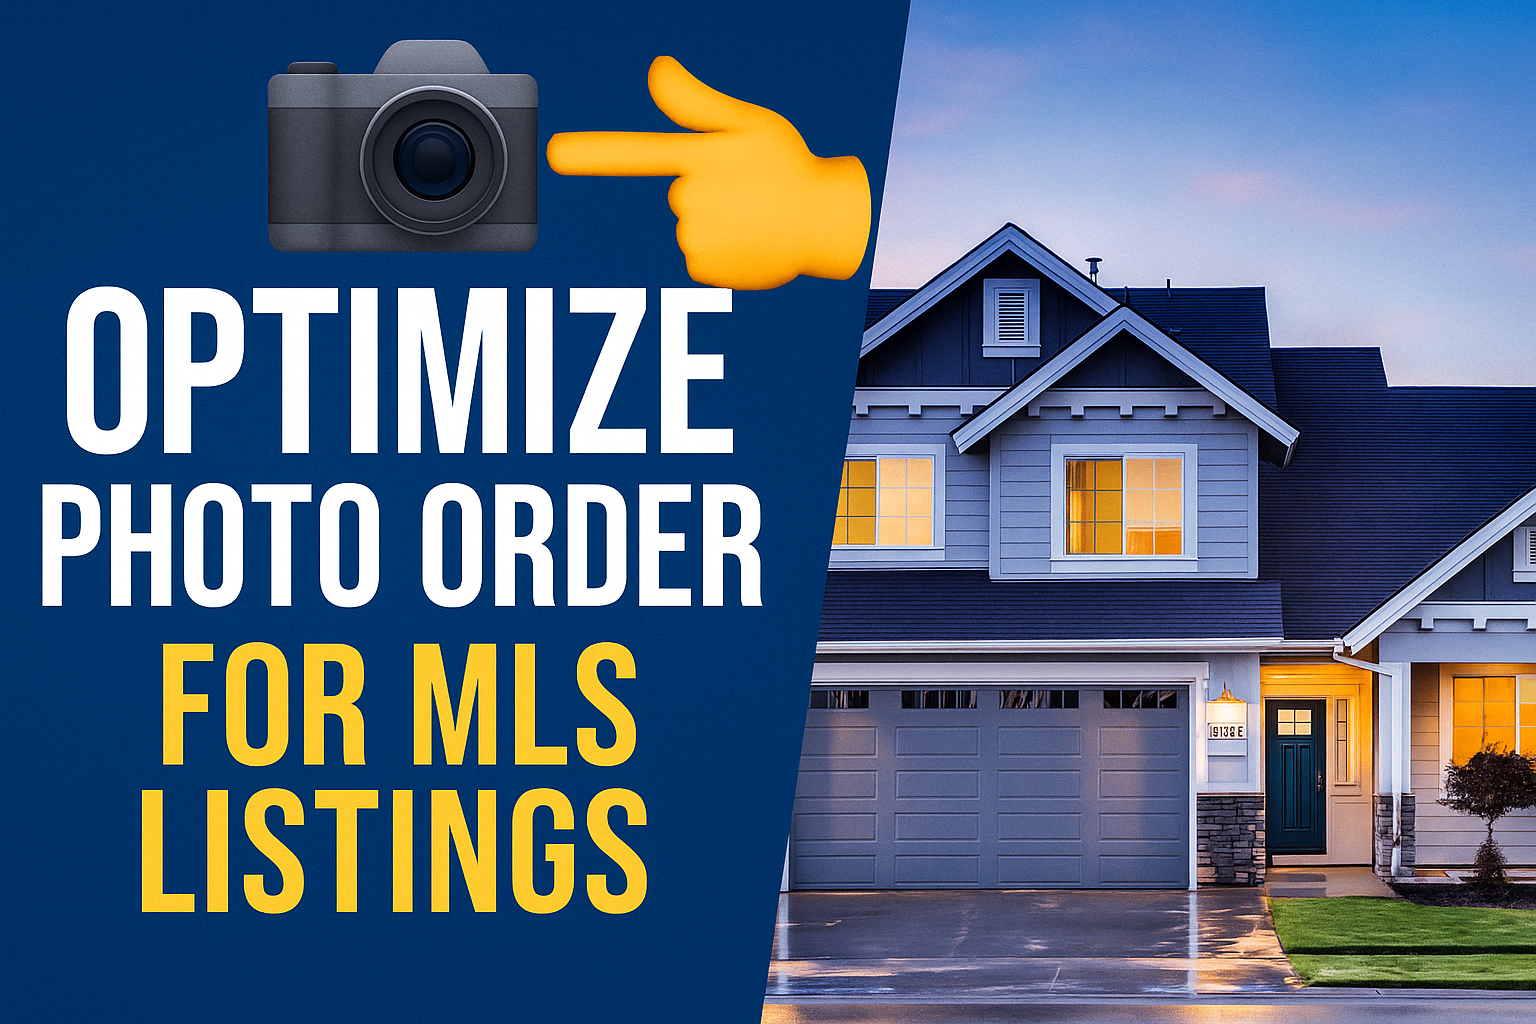
📸 How to Optimize MLS Photo Order to Get More Clicks (Step-by-Step Guide)
In today’s competitive housing market, the way you arrange your MLS listing photos is just as important as the photos themselves. Buyers scrolling through MLS search results make split-second decisions — often within the first 3–5 images.
That means MLS photo order can make or break engagement. Get it right, and your listing gets more clicks, more views, and more showing requests. Get it wrong, and potential buyers may scroll past without ever giving your property a chance.
This guide walks you step-by-step through how to optimize your MLS photo order to grab attention, keep buyers engaged, and close faster.
🎯 Why MLS Photo Order Matters
Think of your photo order as your property’s first showing. If buyers land on a cluttered laundry room as their first impression, you’ve already lost them.
Most MLS platforms display the first photo as the primary image in search results. That first impression can directly influence clicks, time on page, and showing requests.
Optimizing MLS photo order helps you:
- Hook buyer attention in the first image 🪝
- Tell a clear property story through visuals 📖
- Highlight high-value selling features ✨
- Prevent early disengagement 😴
📌 Step 1: Lead With the Hero Shot
Your first MLS photo must be the “money shot” — the exterior image that stops scrolling in its tracks.
Best practices for your MLS hero shot:
- Use a wide-angle, well-lit exterior image
- Enhance skies with sky replacement (if needed)
- Ensure curb appeal: clean yard, no cars in the driveway
💡 Pro Tip: To keep your hero images sharp after uploading, see our guide: How to Upload Real Estate Photos to MLS Without Losing Quality.
🏡 Step 2: Showcase the Big Four Interiors
After the hook, deliver instant proof of value. The next 3–5 photos should highlight:
- Living room or main gathering space 🛋️
- Kitchen 🍽️
- Master bedroom 🛏️
- Master bathroom 🛁
These are the most buyer-focused areas and drive emotional connection.
📏 Step 3: Sequence Like a Walkthrough
Buyers want a logical flow. Arrange your MLS photos like an in-person showing:
Exterior → Entryway → Living areas → Kitchen → Bedrooms → Bathrooms → Backyard
This guided path keeps buyers engaged and reduces confusion.
💡 Want more engagement? Add an interactive tour. Check our tutorial: How to Add a Virtual Tour to Your MLS Listing.
🚫 Step 4: Delay the “Buzzkill” Photos
Laundry rooms, garages, or small utility spaces? Place them at the end of the sequence. Showing them too early kills momentum.
✈️ Step 5: Add Drone & Neighborhood Photos
Drone shots are powerful — but place them strategically. Insert them after the interior walkthrough to provide scale and showcase neighborhood amenities.
For more details, read: How to Add Drone Footage to MLS Property Pages.
📊 Step 6: Track MLS Engagement
MLS platforms often provide view and click-through analytics. Test different hero shots or adjust order to see what drives more inquiries.
💡 Bonus: Align Photos, Tours & Floor Plans
A winning strategy is matching your MLS photo order with your 360° virtual tour and floor plan. This consistency gives buyers clarity and confidence.
Example: Kitchen photo → Kitchen in the floor plan → Kitchen in the virtual tour.
Read Here: How to Upload and Arrange Photos for Apartments.com
📈 Buyer Psychology at Work
This strategy taps into the primacy effect: people are most influenced by what they see first. A strong hero image earns the click; a logical, story-driven order keeps buyers engaged — increasing the chance of a showing.
🏆 Why Use CloudPano for MLS Photo Order
CloudPano makes photo order optimization seamless:
- Interactive 360° tours that sync with your MLS sequence
- Clickable hotspots to guide buyers
- Fast, MLS-compliant virtual tour links
- Crisp, high-resolution hosting with zero quality loss
Where MLS platforms limit your control, CloudPano gives you full visual storytelling power.
🚀 Final MLS Listing Tips
- Lead with emotion: First photo should spark curiosity
- Stay logical: Arrange like a guided tour
- Check mobile: Over 60% of MLS traffic comes from phones
📢 Call to Action
🔥 Ready to make your MLS listings irresistible?
👉 Start your MLS upgrade today and make every listing a click-magnet!


.png)


.png)


.png)

.png)


