MLS Photo Upload Guide: How to Add Real Estate Photos Without Losing Quality

Cloudpano
August 17, 2025
5 min read
Share this post

📸 MLS Photo Upload Guide: How to Add Real Estate Photos Without Losing Quality

When it comes to selling a property fast and for top dollar, one rule stands above the rest: your photos are the first showing.

If your MLS photos are sharp, vibrant, and professionally optimized, buyers will click, view, and book tours. But if they look blurry, pixelated, or compressed after upload, you’ve already lost attention before the showing even begins.

The frustrating truth? Many real estate professionals upload beautiful, high-resolution photos to the MLS, only to see them appear soft, washed-out, or distorted once they syndicate across Zillow, Realtor.com, Redfin, and other real estate sites.

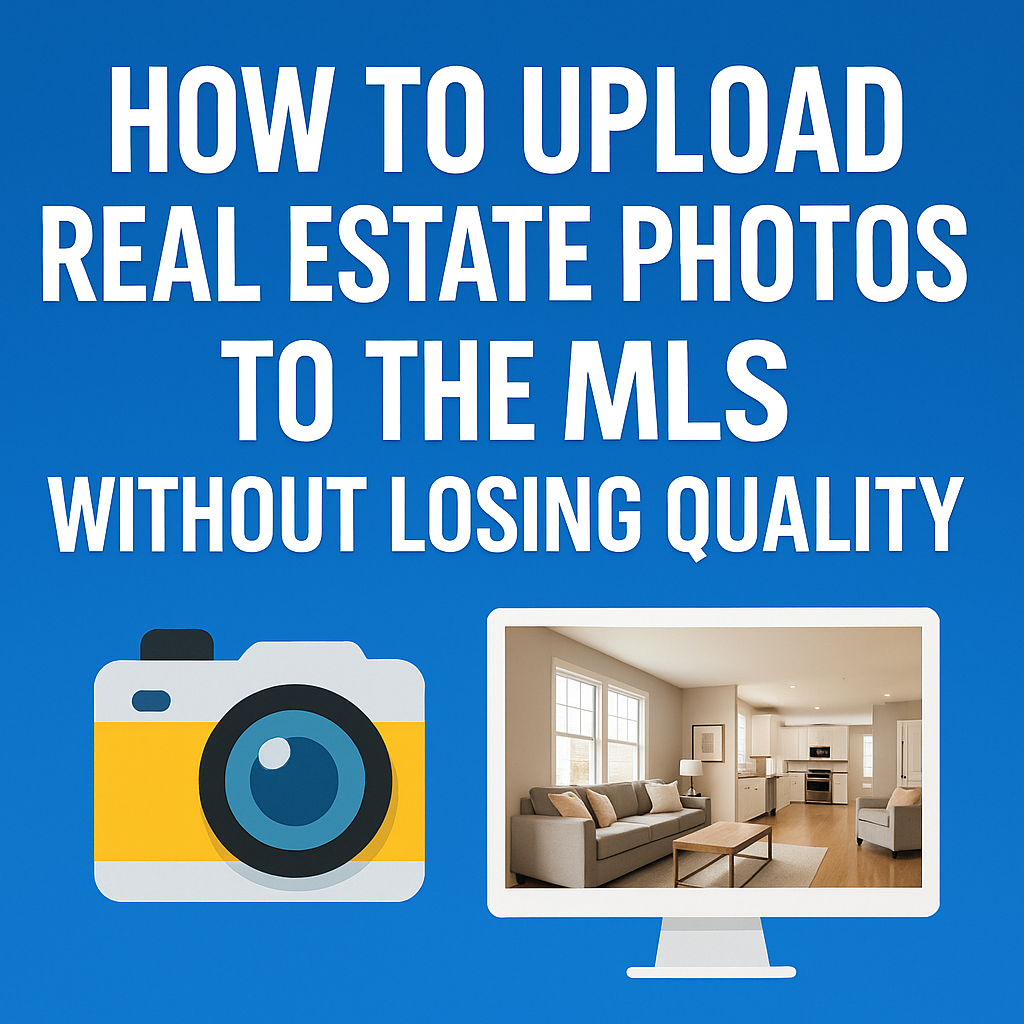
This guide shows you how to upload photos to the MLS without losing quality — so your listings stand out everywhere they appear.

🏆 Why MLS Photo Quality Matters for Listings

In today’s market, buyers scroll through dozens of listings in seconds. On MLS feeds and syndicated sites, your images have just milliseconds to win attention.

✅ High-quality MLS photos:

  • Grab attention instantly
  • Increase click-through rates on Zillow, Realtor.com, and more
  • Justify higher asking prices
  • Build your professional reputation

❌ Low-quality MLS photos:

  • Signal “cut corners” to buyers and agents
  • Reduce listing engagement
  • Hurt your brand as a serious real estate professional

Related read: How to Optimize Real Estate Media for Faster Listing Approval

📂 Step 1: Start With the Highest Resolution Possible

The saying is true: garbage in, garbage out. If you don’t start with strong photo files, no upload strategy can save them.

Pro tips for MLS-ready originals:

  • Shoot in RAW format whenever possible
  • Export JPEGs at 3000px wide or larger before resizing
  • Avoid pre-compressing photos too much before upload

📌 Remember: you can always downsize, but you can’t scale up without losing sharpness.

⚙️ Step 2: Understand Your MLS Photo Requirements

Every MLS sets rules for maximum photo dimensions, file sizes, and formats. If you exceed them, the MLS auto-resizes or compresses images — often with poor results.

Typical MLS photo requirements:

  • Dimensions: 2048 × 1536 px (some allow up to 4096 × 3072 px)
  • File size: usually capped at 10–15 MB per photo
  • Format: JPEG is standard across most MLSs

📌 Always check your MLS documentation or call support to confirm exact requirements before exporting.

Related read: How to Meet Photo and Video Requirements Across MLS and Major Real Estate Sites

🖼 Step 3: Resize Without Losing Detail

The sweet spot: large enough to look crisp on desktop, small enough to meet MLS limits.

Best practices for resizing:

  • Resize to just under your MLS’s maximum resolution
  • Export at 80–90% JPEG quality (this keeps detail intact while shrinking file size)
  • Avoid “over-compression,” which causes blocky artifacts

🔄 Step 4: Maintain a Consistent Aspect Ratio

Most MLS systems display photos at a 4:3 aspect ratio. If you upload panoramas or odd crops, your images may stretch, distort, or show black bars.

✅ Best practice:

  • Shoot and export in the MLS’s native ratio
  • Keep ratios consistent across the gallery

This creates a polished, professional-looking listing gallery.

🚀 Step 5: Use a Professional MLS Upload Workflow

Here’s what many agents don’t realize: MLS portals often recompress images during upload.

To prevent unnecessary quality loss:

  • Upload from desktop rather than mobile
  • Pre-optimize photos before the MLS touches them
  • Use professional tools like CloudPano to create both high-resolution stills and 360° virtual tours in MLS-compliant formats

Related read: How to Make Sure Your Virtual Tour Shows on All Listing Sites

🔍 Step 6: Preview Before Publishing

Before submitting your listing, always:

  • View your uploaded photos in the MLS portal
  • Compare them side-by-side with your originals
  • Check both desktop and mobile displays

If you see degradation, tweak compression settings and re-upload until you’re satisfied.

💡 Bonus Tip: Go Beyond Static Photos

Many MLS platforms now allow rich media to boost engagement:

🌀 360° Virtual Tours (simple with CloudPano)
🎥 Cinematic property videos (perfect for social media & MLS add-ons)
📐 Interactive floor plans (help buyers visualize space instantly)

These upgrades increase time-on-page and differentiate your listings from others relying on still photos alone.

📊 Real-World Example

Before:

  • 8MB photo uploaded directly to MLS
  • Auto-compressed → softer edges, dull colors

After:

  • Resized to MLS max resolution
  • Exported at 90% quality
  • Uploaded with pro workflow
  • Crisp, vibrant, MLS-optimized

📈 The result? More clicks, more showings, and faster offers.

📢 Final Thoughts

Uploading to the MLS without losing quality is about controlling resolution, compression, and workflow. When you optimize images before upload, your listings shine on MLS, Zillow, Realtor.com, and everywhere else.

💡 Want to go further? Combine professional stills with immersive virtual tours and videos to maximize engagement and close deals faster.

🚀 Call to Action – Elevate Your MLS Listings Today!

👉 Start today and make your MLS listings stand out everywhere buyers are searching.

Share this post
Cloudpano

Choose The Right 360° Camera

Insta360 ONE RS 1-Inch 360 Edition

  • Compact, ready to go anywhere

  • Interchangeable lens that’s upgradeable

  • Dual 1-inch sensors for improved clarity and low light performance

  • Dynamic range and 6K 360° capture

  • 360° photo resolution at 21MP

Learn More

Insta360 X4

  • 8K 360° video recording for ultra-detailed visuals.

  • 4K single-lens mode for traditional wide-angle shots.

  • Invisible selfie stick effect for drone-like perspectives.

  • 2.5-inch touchscreen with Gorilla Glass protection.

  • Waterproof up to 33ft for underwater shooting.

Learn More

Ricoh Theta Z1

  • 360° photo resolution in 23MP

  • Slim design at 24 mm thick

  • Built-in image stabilization for smooth video capture.

  • Internal 19GB storage for photo and video storage.

  • Wireless connectivity for remote control and sharing.

Learn More

Ricoh Theta X

  • 60MP 360° still images for high-resolution photography.

  • 5.7K 360° video recording at 30fps.

  • 2.25-inch touchscreen for intuitive control.

  • USB Type-C port for fast charging and data transfer.

  • MicroSD card slot for expandable storage.

Learn More
Property Marketing
Allows potential buyers to explore properties in detail from anywhere, enhancing the real estate marketing process.
Automotive Spins
Create an interactive virtual showroom and engage affluent digital buyers with live 360º video calls, all through the CloudPano mobile app for a complete automotive sales solution.
Interactive Floor Plans
Create 2D and 3D floor plans with measurements in 4 minutes or less, all from your phone. Download the Floor Plan Scanner app and get your first scan free.

360 Virtual Tours With CloudPano.com. Get Started Today.

Try it free. No credit card required. Instant set-up.

Try it free
Latest posts

See our other posts

Interviews, tips, guides, industry best practices, and news.

Best File Formats for Dealership Inventory Images (JPEG vs PNG)

This comprehensive guide explains the best image format for dealership inventory by comparing JPEG vs PNG for car photos. Learn how file format impacts website speed, image quality, SEO performance, and CRM compatibility. Discover why most dealerships should use optimized JPEG images for daily inventory listings, when PNG makes sense, and how AI-generated studio images can be exported efficiently for faster sales and better online presentation.
Read post

How AI Automatically Adds Realistic Shadows to Vehicle Images

This in-depth guide explains how AI car photo shadow generation automatically adds realistic shadows to vehicle images. Learn how AI detects vehicle angles, lighting direction, and ground contact points to create studio-quality shadows without manual editing. Discover how dealerships can use automated shadow generation to improve image consistency, increase perceived value, and create high-converting inventory photos at scale.
Read post

How to Create a Clean White Studio Background for Car Photos Using AI

This comprehensive guide explains how to create a white studio background for car photos using AI. Learn how AI automotive background removal detects vehicles, removes distracting lot backgrounds, and generates clean white studio environments with realistic shadows and lighting. Discover how saved background presets, bulk processing, and high-resolution exports help dealerships produce consistent inventory photos that increase trust, boost click-through rates, and drive faster vehicle sales.
Read post