How to Upload Real Estate Photos to the MLS Without Losing Quality (Step-by-Step Guide)

Cloudpano
October 7, 2025
5 min read
Share this post

How to Upload Real Estate Photos to the MLS Without Losing Quality (Step-by-Step Guide) 📸✨

Introduction: Why Photo Quality on MLS Matters 🏡

First impressions sell homes. On the MLS (Multiple Listing Service), your property photos are often the first touchpoint a buyer has with your listing. Grainy, compressed, or poorly uploaded images can instantly turn away potential buyers—even if the property is amazing.

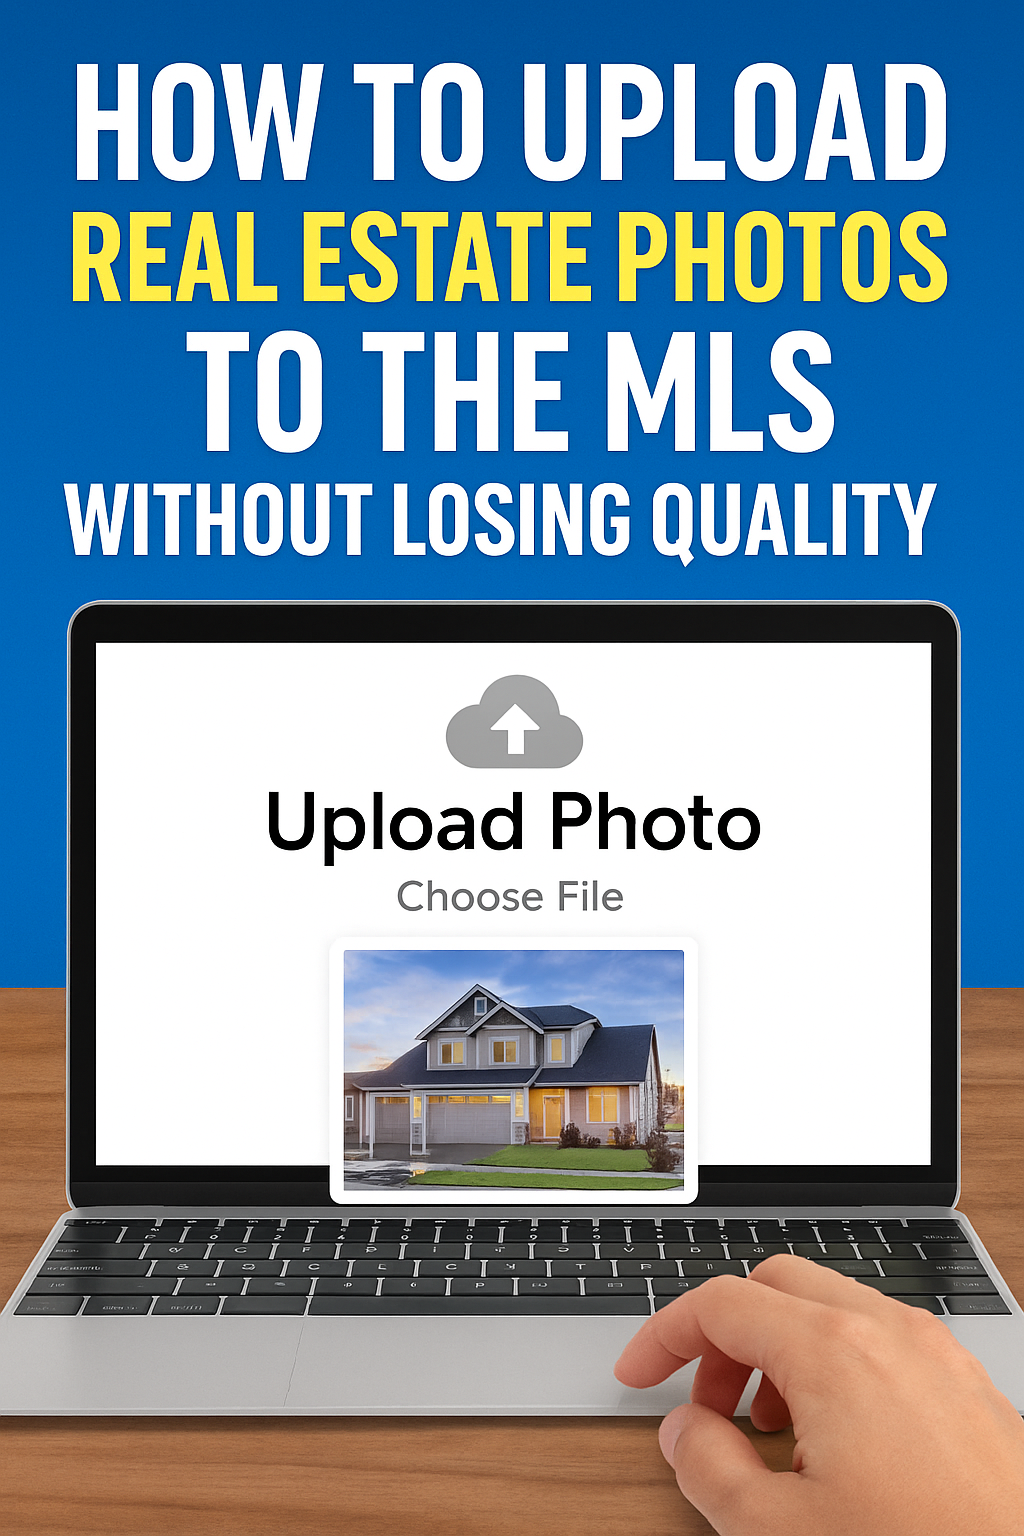
This step-by-step guide will show you how to upload real estate photos to the MLS without losing quality so your listings stand out, attract more buyers, and close faster. Along the way, we’ll link to helpful MLS optimization resources and other guides for agents and property managers.

Step 1: Prepare Your Images Before Uploading 🖼️

Before you even log into your MLS dashboard, make sure your images are optimized for the web without sacrificing resolution.

File Format: Use JPEG or PNG (depending on MLS rules).
Resolution: At least 3000px on the long side for clarity.
Compression: Avoid over-compressing. Use tools like TinyPNG or Lightroom export settings.

👉 Related read: [How to Optimize Realtor.com Photo Galleries to Attract More Buyers]

Step 2: Understand Your MLS Upload Requirements 📝

Every MLS has specific rules for media uploads—maximum size, dimensions, and number of files. Some may automatically compress your photos (which hurts quality).

⚡ Pro Tip: Check if your MLS allows high-resolution uploads and confirm the pixel limits before you resize your images.

📌 Related article: [How to Upload Photos to Trulia That Stand Out]

Step 3: Upload Photos in the Right Order 🔄

Did you know? MLS platforms often auto-pull the first photo as the thumbnail for Realtor.com, Zillow, Trulia, and syndication partners. That means your cover photo must be the best shot (usually the exterior front of the property).

Organize your photos like this:

  1. Hero exterior shot 🌟
  2. Wide-angle living room
  3. Kitchen (bright, clean, inviting)
  4. Primary bedroom & ensuite
  5. Backyard or outdoor space

📖 Helpful guide: [How to Upload and Arrange Photos for Apartments.com]

Step 4: Avoid MLS Auto-Compression Tricks 🛠️

Here’s where many agents get frustrated: MLS systems often shrink or compress images to save server space. This reduces sharpness. To fight this:

  • Resize images slightly below the MLS max limit before uploading.
  • Use consistent aspect ratios (16:9) to avoid black bars or cropping.
  • Upload in sequence rather than dragging multiple files at once (some MLS platforms batch-compress).

💡 Pro Resource: [How to Add a Floor Plan to Trulia Property Pages]

Step 5: Enhance Your MLS Listing With Rich Media 🎥🏠

Photos are essential, but today’s buyers expect more. Supplement your photo gallery with:

  • Virtual Tours: Let buyers “walk through” online. [How to Add a Virtual Tour to Your Trulia Listing]
  • 3D Tours: Perfect for Apartments.com or Zillow. [How to Add a 3D Tour to Apartments.com Listings]
  • Video Tours: Engage buyers on mobile. [How to Upload Video Tours to Apartments.com Listings]

By combining photos with interactive tours, you’ll not only maintain quality—you’ll elevate the entire listing experience.

Step 6: Double-Check on Syndication Sites 🔍

After uploading to the MLS, always check:

  • Realtor.com
  • Zillow
  • Trulia
  • Apartments.com

Sometimes the MLS looks perfect, but syndication partners downgrade the images. If so, re-upload through the platform directly or adjust sizing.

👉 Related: [How to Add a Floor Plan to Apartments.com Property Pages]

Step 7: Continuous Optimization for Better Results 🚀

Uploading is just the start. Make sure to:

  • Refresh photos seasonally (spring vs. winter looks).
  • Test different cover shots for click-through rate.
  • Monitor image load speeds on mobile.

Buyers click faster on listings with sharp, engaging visuals—and you’ll outshine competitors who neglect quality.

📌 See also: [How to Upload Real Estate Photos That Stand Out on MLS Listings]

Conclusion: Winning With Quality Photos 🌟

When you upload real estate photos to the MLS without losing quality, you’re doing more than just showing off a property—you’re building trust, creating excitement, and attracting buyers who are ready to act.

By preparing your images properly, following MLS requirements, and adding complementary media like 3D tours and videos, you’ll position your listings for maximum visibility and faster sales.

✅ Call-to-Action (CTA)

Take your MLS listings to the next level today:

Share this post
Cloudpano

Choose The Right 360° Camera

Insta360 ONE RS 1-Inch 360 Edition

  • Compact, ready to go anywhere

  • Interchangeable lens that’s upgradeable

  • Dual 1-inch sensors for improved clarity and low light performance

  • Dynamic range and 6K 360° capture

  • 360° photo resolution at 21MP

Learn More

Insta360 X4

  • 8K 360° video recording for ultra-detailed visuals.

  • 4K single-lens mode for traditional wide-angle shots.

  • Invisible selfie stick effect for drone-like perspectives.

  • 2.5-inch touchscreen with Gorilla Glass protection.

  • Waterproof up to 33ft for underwater shooting.

Learn More

Ricoh Theta Z1

  • 360° photo resolution in 23MP

  • Slim design at 24 mm thick

  • Built-in image stabilization for smooth video capture.

  • Internal 19GB storage for photo and video storage.

  • Wireless connectivity for remote control and sharing.

Learn More

Ricoh Theta X

  • 60MP 360° still images for high-resolution photography.

  • 5.7K 360° video recording at 30fps.

  • 2.25-inch touchscreen for intuitive control.

  • USB Type-C port for fast charging and data transfer.

  • MicroSD card slot for expandable storage.

Learn More
Property Marketing
Allows potential buyers to explore properties in detail from anywhere, enhancing the real estate marketing process.
Automotive Spins
Create an interactive virtual showroom and engage affluent digital buyers with live 360º video calls, all through the CloudPano mobile app for a complete automotive sales solution.
Interactive Floor Plans
Create 2D and 3D floor plans with measurements in 4 minutes or less, all from your phone. Download the Floor Plan Scanner app and get your first scan free.

360 Virtual Tours With CloudPano.com. Get Started Today.

Try it free. No credit card required. Instant set-up.

Try it free
Latest posts

See our other posts

Interviews, tips, guides, industry best practices, and news.

Property Manager Video Hub: Scaling Rental Visibility with AI Photo-to-Video Workflows

This article explains how property managers can use PhotoAIVideo to build a property manager video hub: a repeatable system for turning rental photos, amenity images, floor plans, exterior shots, and neighborhood visuals into reusable rental marketing videos. The main idea is that property managers do not just need more listing exposure. They need clearer visual answers that help renters decide whether to schedule a tour. PhotoAIVideo is positioned as a practical tool for creating: Unit availability videos Amenity highlight videos Neighborhood videos Tour reminder clips Leasing follow-up videos Owner marketing proof videos Social media rental teasers Application or availability reminder videos Key takeaways: Property managers already have the media they need; the challenge is organizing it and turning it into reusable video assets. A video hub helps teams create consistent videos across units, floor plans, amenities, communities, and owner updates. Rental videos can reduce friction by answering renter questions about layout, condition, amenities, parking, pet features, and community feel. One rental photo set can become multiple video outputs for listings, social media, email, text follow-up, tour reminders, and owner reporting. Photographers can sell AI rental video packages to property managers as an upsell. Brokerages with property management divisions can use the same workflow to standardize leasing content. The article ends with a step-by-step process, video hub framework, mistakes to avoid, visual recommendations, FAQs, and a CTA encouraging readers to use PhotoAIVideo to turn rental photos into a scalable video system for rental visibility.
Read post

YouTube Shorts Listing Teasers: The 3-Scene Structure for Higher Property Clicks

This article explains how real estate agents, photographers, brokerages, and property managers can use YouTube Shorts listing teasers to drive more property clicks and showing requests. The main idea is that a YouTube Short should not try to show the entire house. Instead, it should use a simple 3-scene structure: Scene 1: Hook — stop the scroll with the strongest property feature. Scene 2: Proof — show the visuals that support the hook. Scene 3: Click Path — tell the viewer what to do next. The article positions PhotoAIVideo as a practical tool for turning listing photos into short vertical videos for YouTube Shorts, Reels, open house promotion, and listing campaigns. Key takeaways: YouTube Shorts should create curiosity, not replace the full listing video. The strongest property feature should appear first, not necessarily the front exterior. Agents should build each Short around one click reason, such as backyard, kitchen, layout, neighborhood, open house, or price point. One listing can become multiple Shorts instead of one generic video. Photographers can offer YouTube Shorts teaser packs as a video upsell. Brokerages can standardize the 3-scene structure across agents. Property managers can use the same structure to promote rentals and tours. The article ends with practical scripts, visual recommendations, FAQs, a visual placement guide, and a CTA encouraging readers to use PhotoAIVideo to create YouTube Shorts listing teasers from property photos.
Read post

Video Retargeting for Listings: Turning Photo-Based AI Videos into Appointment Follow-Up

This article explains how Realtors, photographers, brokerages, and property managers can use photo-based AI videos as follow-up assets after someone shows interest in a listing. The main idea is that most real estate marketing focuses on getting the first click, but many buyers and sellers need multiple touchpoints before booking a showing or appointment. Video retargeting helps agents re-engage people who already clicked a listing, watched a Reel, opened an email, attended an open house, asked about a property, or went quiet after showing interest. PhotoAIVideo is positioned as a practical tool for turning listing photos into short follow-up videos, including: Feature reminder videos Layout explainer videos Neighborhood fit videos Open house recap videos Price update videos Seller proof videos Showing request videos Rental tour recovery videos Key takeaways: A first-touch listing video introduces the property, while a retargeting video answers the next likely question. Follow-up videos should be short, usually 10–30 seconds, and focused on one action. Agents should send different videos based on behavior, such as email clicks, open house attendance, listing views, or showing interest. A good video follow-up feels helpful, not pushy. Photographers can package retargeting video clips as an upsell. Brokerages can standardize video retargeting workflows across agents. Property managers can use the same strategy to recover rental leads and book tours. The article ends with a simple retargeting sequence, visual recommendations, FAQs, and a CTA encouraging readers to use PhotoAIVideo to turn listing photos into appointment-driving follow-up videos.
Read post