How to Optimize and Upload Photos to MLS Listings for Maximum Impact

Cloudpano
November 5, 2025
5 min read
Share this post

📸 How to Optimize and Upload Photos to MLS Listings for Maximum Impact

When buyers browse homes online, whether through Zillow, Trulia, or Realtor.com, the photos they see are almost always pulled directly from the MLS. That makes your MLS photo upload not just a back-office step—it’s your first and most important marketing move.

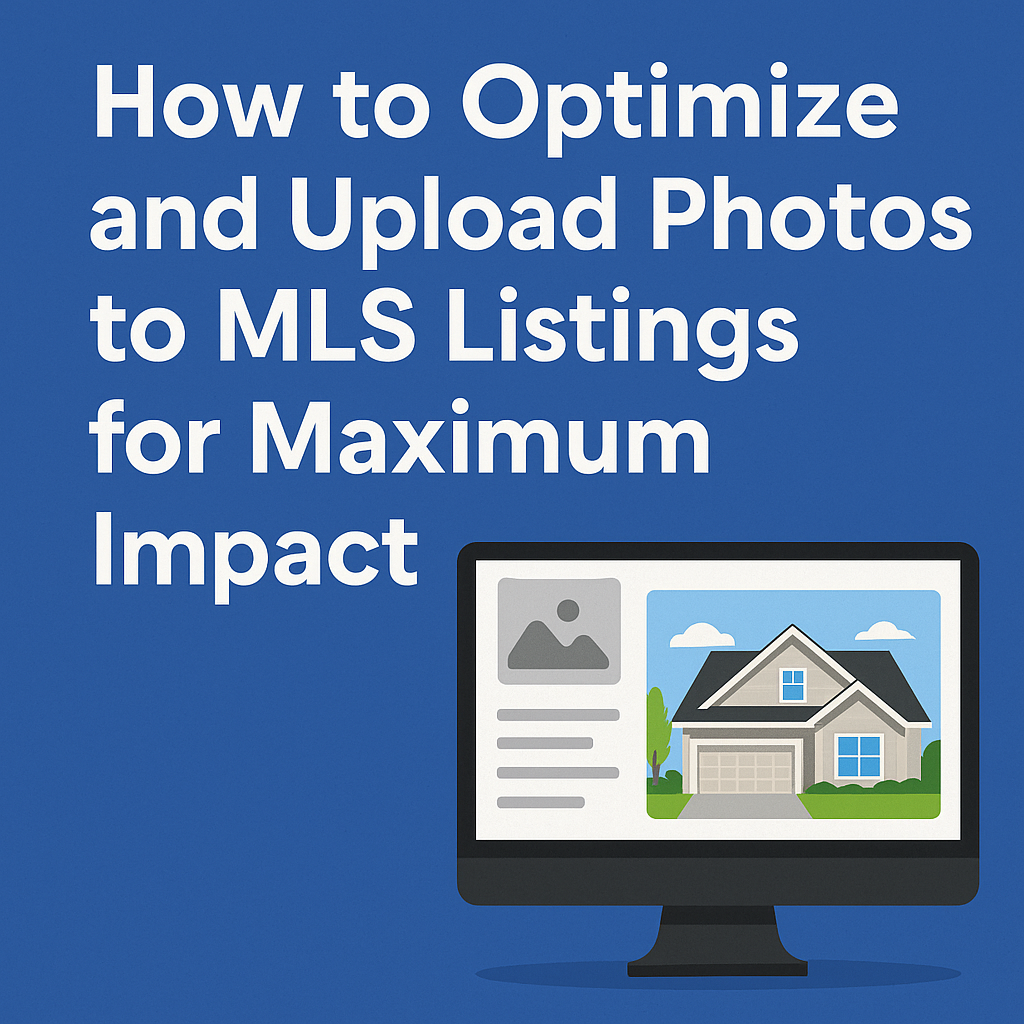
With thousands of properties competing for attention, your MLS photos must stop the scroll, capture attention, and make buyers click through. This guide shows you exactly how to optimize and upload photos to your MLS listings for maximum visibility across every major portal.

💡 Why MLS Photos Matter

High-quality photos on your MLS listing can:

  • 📈 Increase click-through rates on syndicated sites like Trulia & Zillow
  • 🏠 Boost buyer inquiries and showing requests
  • ⏱ Keep potential buyers viewing your property longer
  • 💰 Lead to faster and higher offers

Your MLS is the source of truth. If you optimize photos at the MLS level, your listing will shine everywhere.

🛠 Step 1: Understand How MLS Syndication Works

  • Most MLS platforms syndicate listing photos directly to Trulia, Zillow, Realtor.com, and brokerage websites.
  • Uploading your photos correctly to the MLS ensures they appear on every connected platform.
  • If your MLS has syndication issues, you can still update photos manually on portals, but starting at the MLS guarantees consistency.

📷 Step 2: Prepare High-Quality Images Before Uploading

Before adding photos to your MLS:

  • Resolution: At least 1920 x 1080 pixels
  • File Type: JPG for maximum compatibility
  • Orientation: Horizontal (landscape) for uniform galleries
  • Lighting: Use natural light; avoid harsh shadows
  • Editing: Adjust brightness and contrast subtly—avoid heavy filters

🖥 Step 3: Upload Photos in the MLS Dashboard

  1. Log into your MLS dashboard.
  2. Select your active listing.
  3. Navigate to the Media/Photos section.
  4. Upload your photos in the order you want buyers to see them.
  5. Save changes and confirm syndication is enabled.

💡 Pro Tip: Check how the photos look not only in your MLS portal, but also on Zillow or Trulia once syndication pushes through.

🎯 Step 4: Arrange Photos to Tell a Story

Your photo order should lead buyers through the home naturally:

  1. Exterior hero shot 🌳
  2. Living room 🛋
  3. Kitchen 🍳
  4. Dining area 🍽
  5. Bedrooms 🛏
  6. Bathrooms 🚿
  7. Backyard or special features 🌅

✍ Step 5: Add Captions (If Your MLS Allows It)

Not every MLS includes captions, but when available, use them to highlight key features:

  • “Newly renovated kitchen with quartz countertops”
  • “Private backyard with mature landscaping”
  • “Open floor plan perfect for entertaining”

⚡ Step 6: Enhance Your MLS Listing With Media Add-Ons

Many MLS platforms now let you upload more than photos:

  • Virtual Tours (360°/3D): Showcase the entire space interactively.
  • Walkthrough Videos: Help buyers visualize flow and layout.
  • Floor Plans: Increase clarity and stand out in search results.

📚 Related guides:

  • How to Add a Virtual Tour to Your MLS Listing (Step-by-Step)
  • How to Upload Videos to MLS Listings
  • How to Add Floor Plans to MLS

📊 Step 7: Monitor and Refine Using MLS Reports

Most MLS systems provide analytics such as:

  • Photo views
  • Click-through rates
  • Time on listing

If engagement drops, update your hero shot or reorder your gallery.

🧠 Pro Tips for MLS Photos

✅ Use twilight shots for curb appeal
✅ Stage main rooms for lifestyle appeal
✅ Mix wide shots with detail close-ups
✅ Update photos seasonally

📌 Final Thoughts

Uploading standout photos to the MLS is more than a technical step—it’s the foundation of your digital marketing strategy. Since MLS photos feed Trulia, Zillow, and beyond, optimizing your gallery at the MLS level ensures every buyer sees your property at its very best.

📢 Ready to Upgrade All Your Listing Media?

Here are tools to help you take your MLS listings further:

Share this post
Cloudpano

Choose The Right 360° Camera

Insta360 ONE RS 1-Inch 360 Edition

  • Compact, ready to go anywhere

  • Interchangeable lens that’s upgradeable

  • Dual 1-inch sensors for improved clarity and low light performance

  • Dynamic range and 6K 360° capture

  • 360° photo resolution at 21MP

Learn More

Insta360 X4

  • 8K 360° video recording for ultra-detailed visuals.

  • 4K single-lens mode for traditional wide-angle shots.

  • Invisible selfie stick effect for drone-like perspectives.

  • 2.5-inch touchscreen with Gorilla Glass protection.

  • Waterproof up to 33ft for underwater shooting.

Learn More

Ricoh Theta Z1

  • 360° photo resolution in 23MP

  • Slim design at 24 mm thick

  • Built-in image stabilization for smooth video capture.

  • Internal 19GB storage for photo and video storage.

  • Wireless connectivity for remote control and sharing.

Learn More

Ricoh Theta X

  • 60MP 360° still images for high-resolution photography.

  • 5.7K 360° video recording at 30fps.

  • 2.25-inch touchscreen for intuitive control.

  • USB Type-C port for fast charging and data transfer.

  • MicroSD card slot for expandable storage.

Learn More
Property Marketing
Allows potential buyers to explore properties in detail from anywhere, enhancing the real estate marketing process.
Automotive Spins
Create an interactive virtual showroom and engage affluent digital buyers with live 360º video calls, all through the CloudPano mobile app for a complete automotive sales solution.
Interactive Floor Plans
Create 2D and 3D floor plans with measurements in 4 minutes or less, all from your phone. Download the Floor Plan Scanner app and get your first scan free.

360 Virtual Tours With CloudPano.com. Get Started Today.

Try it free. No credit card required. Instant set-up.

Try it free
Latest posts

See our other posts

Interviews, tips, guides, industry best practices, and news.

How Photographers Can Sell AI Listing Videos to Their Agent Clients

AI technology is transforming real estate media — and photographers who adapt early have a major competitive advantage. This in-depth guide explains how to sell AI listing videos to agent clients by positioning them as a premium marketing upgrade rather than a technical novelty. The article walks through practical sales strategies, pricing models, subscription opportunities, and common objections, while showing how AI-powered talking head videos can increase average order value and create recurring revenue. Readers will learn how to package AI listing videos into photo bundles, monthly content plans, and brokerage-wide solutions that elevate their services from simple media delivery to full marketing automation. If you’re a photographer looking to future-proof your business and increase profitability, this guide provides a clear roadmap to selling AI listing videos effectively.
Read post

How to Build a Recurring Revenue Stream Using AI Avatar Videos

AI avatar videos are transforming how real estate media professionals build stable, scalable businesses. In this comprehensive guide, we break down how to turn one-off video projects into a predictable recurring revenue real estate media model using AI-powered talking head technology. Instead of selling per-listing shoots, you’ll learn how to package automated listing videos, market updates, and branded content into monthly subscription offers that increase client retention and lifetime value. The article explores practical use cases, pricing strategies, workflow automation, competitive advantages, and common objections — all designed to help photographers, videographers, and marketing agencies shift from transactional income to recurring revenue. If you’re ready to move from freelancer to scalable media platform, this guide outlines a clear roadmap for building consistent monthly income in real estate marketing.
Read post

How to Create an AI Avatar Listing Video From One Headshot (Step-by-Step)

Learn how to create an AI avatar listing video from a single professional headshot using simple, step-by-step software tools. This guide walks real estate agents, brokers, and photographers through the exact process of turning one static image into a talking AI avatar that delivers listing presentations automatically. Discover how AI avatar listing videos save time, boost engagement, improve consistency across marketing channels, and help agents scale their video content without recording new footage. Perfect for anyone looking to modernize their real estate marketing with AI-powered automation.
Read post