.png)

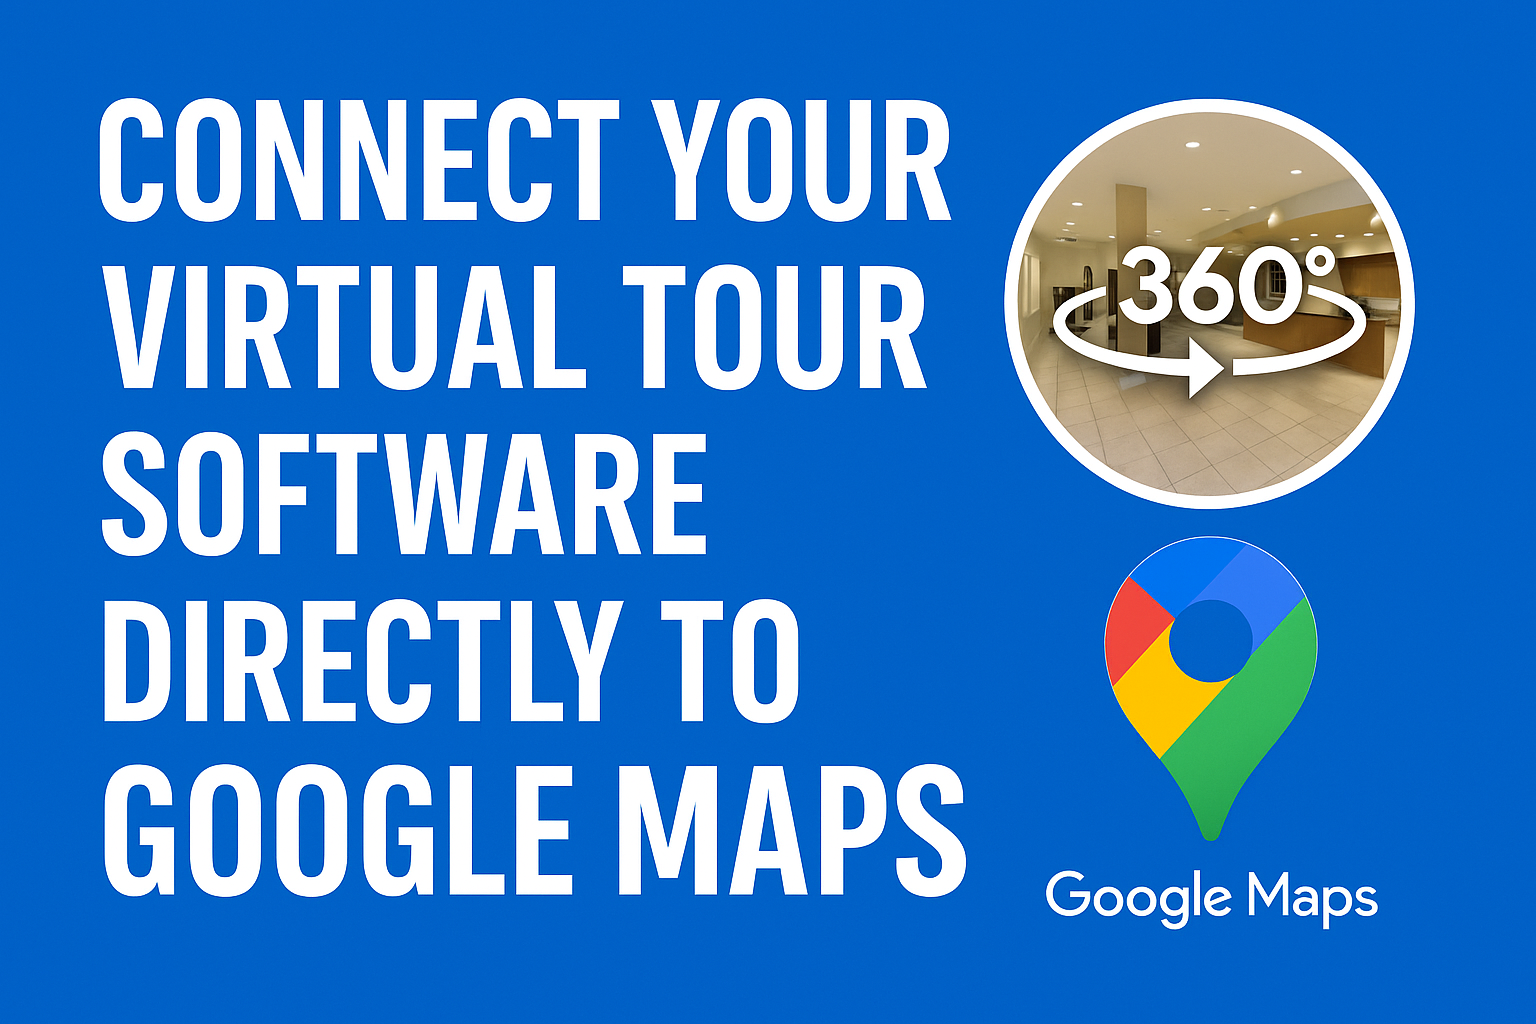
If you’ve ever wondered how to get your virtual tours onto Google Maps so customers can explore your space from anywhere, this guide is for you. 📸✨
Whether you run a photography business, manage real estate listings, or promote local attractions, connecting your virtual tour software directly to Google Maps can instantly boost visibility, engagement, and trust. 🚀 Start your Google Street View business today — turn local maps into profit!
In 2025, the process is easier than ever — thanks to platforms like CloudPano, which offer direct integrations with Google Street View. You don’t need to be a tech genius or an editor; you just need the right workflow. Let’s dive in step-by-step. 🚀 With a real estate video app, agents can quickly produce professional listing videos that attract more buyers.
Google Maps isn’t just for directions anymore — it’s one of the world’s biggest visual discovery platforms. Over 1 billion users browse it every month to explore businesses, neighborhoods, and tourist spots.
By uploading a 360° virtual tour, you give visitors an immersive experience before they arrive. It helps them:
And when your tour appears in Google Maps and your Google Business Profile, you’ll notice higher engagement and longer on-page time — two signals that can improve local SEO rankings.
Read: Make Money Helping Local Businesses with Google Maps and Street View
Before connecting your virtual tour software to Google Maps, make sure you have a few essentials ready:
You’ll need a camera capable of capturing spherical photos — meaning every direction, top to bottom. Great options for 2025 include:
You’ll publish your virtual tour to Google Street View, so make sure your Google account is connected to your Google Business Profile (formerly Google My Business).
Not all tour builders connect directly to Google. You’ll want one that can — and CloudPano is one of the best options. It handles:
If your tour software doesn’t have a Google integration, you can still export your 360° photos and upload them manually using Street View Studio, but that’s much slower.
Start by capturing panoramic shots of your space.
Each 360° photo will become a node users can “stand” in as they click through your virtual tour.
If you’re using a camera like Ricoh Theta Z1 or Insta360 X3, you can even capture directly via your phone app, previewing your shots before saving.
Next, upload your photos into your chosen virtual tour software — in this case, CloudPano.
You can then:
💡 Pro Tip: Keep your filenames organized (e.g., “FrontEntrance.jpg”, “Lobby.jpg”) — it helps with linking and clarity later.
Now the magic happens — you’ll link your Google account so your virtual tour software can publish directly to Google Maps Street View.
Here’s how it works in CloudPano:
This connection allows CloudPano to send your images and metadata straight to Google’s servers — no manual uploads, no GPS headaches.
To make sure Google correctly tags your virtual tour to the right business, fill in your location details inside the tour settings.
You’ll need:
This step ensures your tour appears under your official listing rather than as an independent contributor upload.
Once your tour is complete and connected, click Publish to Google Street View.
Your virtual tour software will:
Depending on Google’s queue, it can take anywhere from a few minutes to a few hours for your tour to appear live.
When ready, you’ll see it show up under “See Inside” on your Google Business Profile or directly in Google Maps Street View.
🎉 Congratulations! You just connected your virtual tour software to Google Maps.
Don’t stop at uploading — maximize visibility!
Here’s how to optimize your virtual tour once it’s live:
Within CloudPano, you can customize how your tour appears in search results. Use your target keyword naturally (e.g., “360 Virtual Tour of Houston Bakery”).
Google favors consistent branding. Embedding your Street View tour on your site strengthens the link between your Maps listing and website.
Create short clips or GIFs from your tour and post them on Instagram, LinkedIn, and Facebook. Add your Google Maps link for traffic.
Ask customers to explore your Street View and leave a review directly from it — it’s an easy way to improve your local SEO ranking.
Businesses change — layouts, interiors, new signs, and seasonal décor. Keep your 360° tour updated at least once per year (or after major renovations).
Google rewards fresh, accurate imagery because it enhances user trust. CloudPano makes re-publishing fast — simply update your photos and click Republish to Street View.
🕓 Tip: Schedule quarterly check-ins if you manage multiple client locations.
Read: Google Maps + Street View: A Side Hustle You Can Start from Home
Once your tour is on Google Maps, extend its reach with AI tools:
AI tools transform your basic Street View uploads into a complete marketing system, helping you convert more viewers into leads.
Virtual tours aren’t just for real estate anymore. In 2025, just about any business can benefit:
By connecting to Google Maps, each of these industries gains credibility and improves local search ranking.
If your upload doesn’t appear correctly on Google Maps:
Most issues resolve themselves after Google completes verification.
While there are multiple ways to upload to Street View, CloudPano simplifies everything:
You can use CloudPano to handle both Google Maps publishing and custom tour hosting — giving you a full ecosystem for client delivery.
If you’re a photographer or marketer, connecting virtual tours to Google Maps can become a profitable service offering.
Here’s how to monetize it:
Clients love it because they see results — higher visibility, more engagement, and increased foot traffic.
AI and automation are redefining how virtual tours connect to Google Maps.
We’re moving toward a world where:
By mastering the upload process today, you position yourself as a pioneer in this growing industry.
Connecting your virtual tour software directly to Google Maps is one of the smartest ways to increase brand visibility, build trust, and attract customers in 2025.
It’s quick, professional, and scalable — especially with tools like CloudPano that handle the heavy lifting.
With one workflow you can:
Here’s your action plan:
Your space deserves to be seen — and now the world can explore it in full 360°. 🌍✨

Compact, ready to go anywhere
Interchangeable lens that’s upgradeable
Dual 1-inch sensors for improved clarity and low light performance
Dynamic range and 6K 360° capture
360° photo resolution at 21MP

8K 360° video recording for ultra-detailed visuals.
4K single-lens mode for traditional wide-angle shots.
Invisible selfie stick effect for drone-like perspectives.
2.5-inch touchscreen with Gorilla Glass protection.
Waterproof up to 33ft for underwater shooting.

360° photo resolution in 23MP
Slim design at 24 mm thick
Built-in image stabilization for smooth video capture.
Internal 19GB storage for photo and video storage.
Wireless connectivity for remote control and sharing.

60MP 360° still images for high-resolution photography.
5.7K 360° video recording at 30fps.
2.25-inch touchscreen for intuitive control.
USB Type-C port for fast charging and data transfer.
MicroSD card slot for expandable storage.
.png)
.png)

Try it free. No credit card required. Instant set-up.