.png)

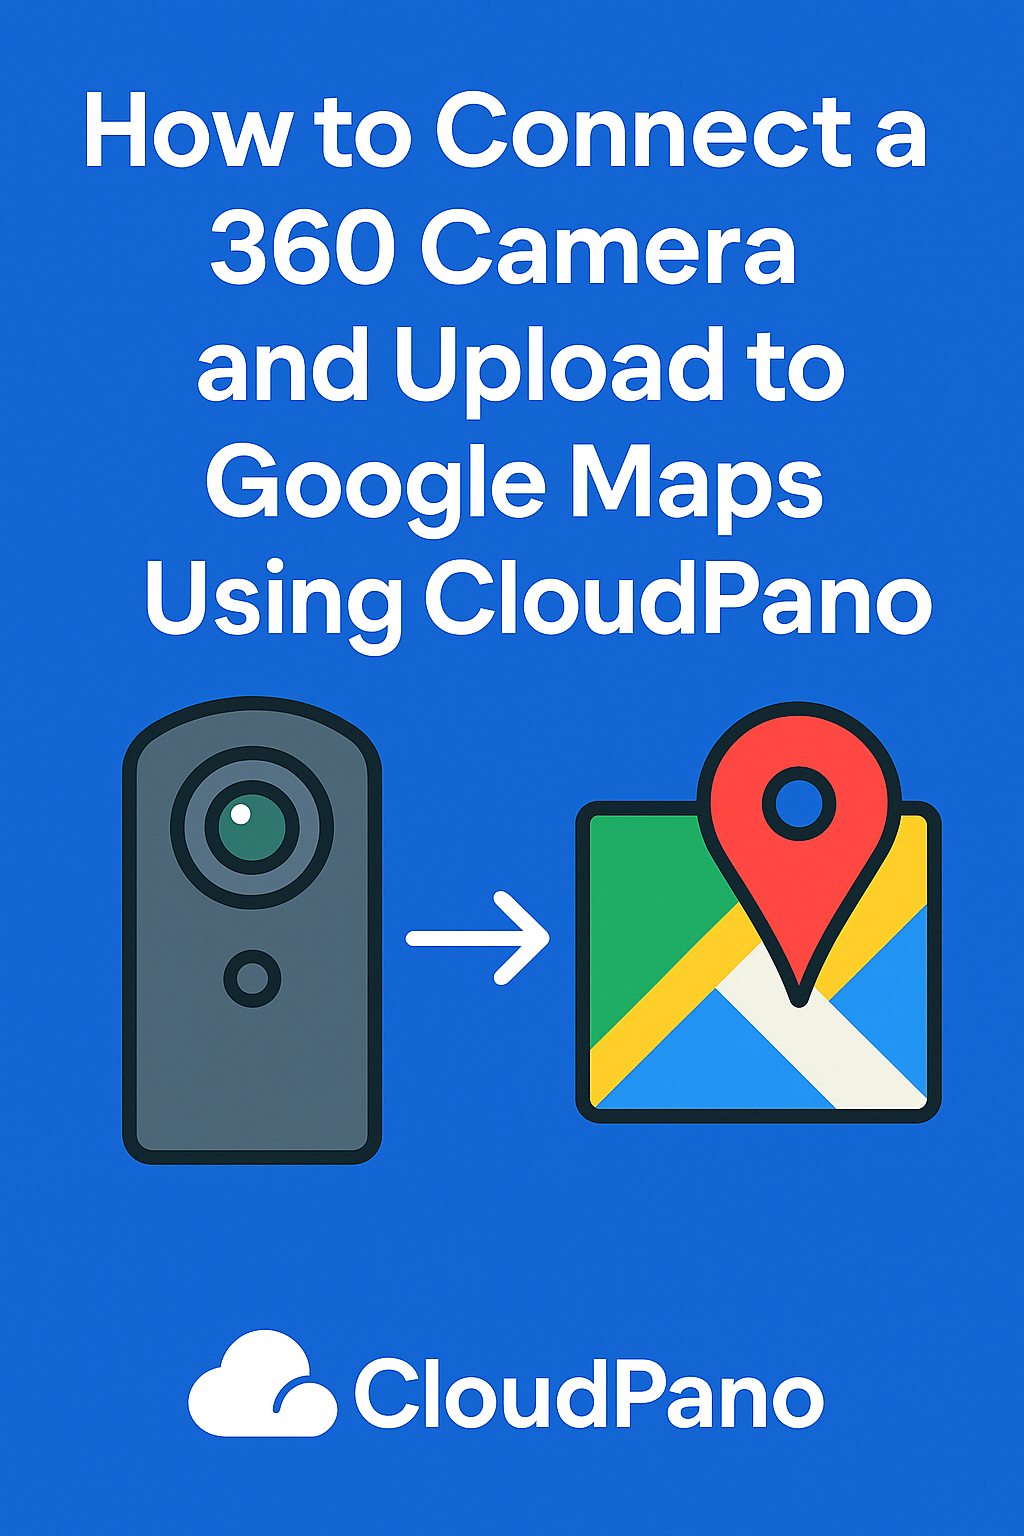
Ever wanted to see your 360° photos live on Google Maps for millions to explore? 🌎
With CloudPano, you can connect your 360° camera, create immersive tours, and publish them directly to Google Street View in just a few clicks. 🎯 Turn your camera skills into cash — start your Google Street View agency now!
This powerful feature allows photographers, real estate pros, and universities to showcase spaces globally — without needing complicated software or coding. A real estate video app makes it easy for agents to turn listing photos into high-quality videos that boost MLS visibility.
In this step-by-step guide, you’ll learn exactly how to connect a 360° camera and upload to Google Maps using CloudPano, so your virtual tours can be discovered anywhere in the world. ✨Our virtual home staging solution helps properties stand out and attract more qualified buyers.
Before diving into the “how,” let’s talk about why this matters.
Publishing your 360° tours on Google Maps helps you:
💬 When users can walk through your space virtually, they’re far more likely to visit in person or make a purchase.
Read: Turn Google Street View Into a Lead-Gen Tool for Your Business
To connect your camera to CloudPano and Google Maps, you’ll need a Street View-compatible 360° camera.
Here are some top options trusted by professionals:
💡 If your camera can capture equirectangular images (2:1 ratio, 360° x 180°), it’s ready for CloudPano!
Now it’s time to capture your environment.
Set up your camera at key points throughout your location — entrances, rooms, and pathways. Each photo will become one “scene” inside your CloudPano virtual tour.
💬 If you’re shooting indoors, adjust exposure and white balance to match natural lighting.
Each 360° image you take will become a doorway into your digital world. 🌐
Once you’ve captured your photos, head over to CloudPano.com and log in.
CloudPano works directly from your web browser — no software installation required.
Here’s how to get started:
CloudPano will automatically process your uploads into interactive, scrollable 360° environments.
💡 Pro Tip: Upload high-resolution images for the sharpest results — CloudPano optimizes performance automatically!
To upload your tour to Google Maps, you’ll need to link your Google account to CloudPano.
Here’s how:
Once connected, you’ll see confirmation inside your dashboard — your CloudPano and Google Maps accounts are now synced! 🔐
💬 This integration is officially approved by Google’s Street View API — meaning your content is secure and compliant.
Each 360° photo needs to be accurately placed on the map so users can navigate your tour properly on Street View.
If your 360° camera already includes GPS metadata (like the Insta360 X3 or Ricoh Theta Z1), CloudPano will automatically detect the coordinates.
Otherwise, you can manually geotag each photo:
💡 Tip: Start with an exterior shot (like your building entrance) and connect indoor scenes logically from there.
This ensures Google displays your tour in the correct place — whether it’s a university campus, retail store, or event center. 🎓🏢
The magic of a virtual tour lies in smooth navigation.
Inside CloudPano, use hotspots (clickable arrows) to link your scenes together, allowing users to “walk” through your space.
Here’s how:
💬 You can even add transitions, arrows, or text labels to help viewers orient themselves.
When users move through your tour, they should feel like they’re walking in real life — not teleporting randomly. 🧭
Before publishing, make your tour uniquely yours.
CloudPano allows you to customize branding and add interactive media elements:
💡 Branded tours build trust and make your organization look professional and tech-forward.
Once you’re happy with the design, your tour is ready for the world to see. 🌍
Now comes the exciting part — going live!
From your CloudPano dashboard:
CloudPano will automatically process and push your virtual tour to Google Maps and Street View.
Within minutes (or up to a few hours), your 360° imagery will appear live for anyone searching your business or location online.
💬 Your tour will be visible under your Google Business listing with a “See Inside” or “360° View” button.
Once live, it’s time to double-check everything:
✅ Are the scenes aligned correctly?
✅ Do the hotspots flow smoothly?
✅ Is your logo or title visible?
✅ Is the tour appearing under the right business location?
If you spot issues, simply make changes in CloudPano and re-publish — updates sync automatically to Google Maps.
💡 Tip: Include a cover image and a strong title like “Explore Our Campus in 360°” to boost engagement and click-through rates.*
One of the best parts about publishing to Google Maps is that you can track engagement metrics directly through your Google Business Profile.
You’ll see:
Use this data to refine your marketing strategy — and identify which visuals attract the most attention.
💬 For instance, if your library or dining hall gets the most clicks, feature it in future promotions!
Read: How to Use Google Maps and Street View to Grow Your Real Estate Side Hustle
CloudPano isn’t just a Google Street View uploader — it’s a complete virtual tour platform.
You can use your same 360° images to create:
💬 You own your tour content — CloudPano simply helps you publish it anywhere you want.
And with features like CloudPano Live (video chat inside the tour), you can host guided virtual open houses or property previews. 🎥✨
No! With CloudPano’s Google Street View integration, anyone can publish to Maps — no certification required.
Most tours appear within minutes to a few hours, depending on Google’s processing queue.
Yes — you can edit, replace, or remove scenes at any time in CloudPano, and changes automatically reflect on Google.
Absolutely! You can upload drone panoramas just like ground-based photos for a stunning aerial perspective.
As more people explore the world through digital lenses, 360° experiences are becoming the new normal.
From students exploring universities to travelers researching hotels, virtual tours are shaping decisions before people even visit.
With tools like CloudPano, you can turn any space into an immersive, accessible experience on the world’s most powerful map — Google Maps. 🌍
💬 Your audience is already on Google — all you have to do is meet them there.
Connecting your 360° camera and uploading to Google Maps used to be complex.
Now, with CloudPano, it’s simple, fast, and accessible to everyone.
Whether you’re showcasing a campus, a business, or a breathtaking real estate property — your story deserves to be seen in 360°.
✅ Capture.
✅ Upload.
✅ Publish.
✅ Go global. 🌎
Start sharing your world today — and let CloudPano be your gateway to Google Street View success. 🚀

Compact, ready to go anywhere
Interchangeable lens that’s upgradeable
Dual 1-inch sensors for improved clarity and low light performance
Dynamic range and 6K 360° capture
360° photo resolution at 21MP

8K 360° video recording for ultra-detailed visuals.
4K single-lens mode for traditional wide-angle shots.
Invisible selfie stick effect for drone-like perspectives.
2.5-inch touchscreen with Gorilla Glass protection.
Waterproof up to 33ft for underwater shooting.

360° photo resolution in 23MP
Slim design at 24 mm thick
Built-in image stabilization for smooth video capture.
Internal 19GB storage for photo and video storage.
Wireless connectivity for remote control and sharing.

60MP 360° still images for high-resolution photography.
5.7K 360° video recording at 30fps.
2.25-inch touchscreen for intuitive control.
USB Type-C port for fast charging and data transfer.
MicroSD card slot for expandable storage.
.png)
.png)

Try it free. No credit card required. Instant set-up.