How to Add Drone Footage to MLS Listings for Maximum Buyer Engagement

Cloudpano
August 18, 2025
•
5 min read
Share this post

🚀 How to Add Drone Footage to MLS Listings for Maximum Buyer Engagement

Why Drone Footage Is a Game-Changer for MLS Listings 🛩️

In today’s competitive real estate market, MLS listings with drone footage consistently outperform those without. Aerial video isn’t just eye candy—it’s a buyer magnet. High-quality drone tours:

  • 🏡 Showcase full property size, layout, and lot dimensions
  • 🌳 Highlight nearby amenities like parks, schools, and shopping
  • 🎬 Add cinematic impact that instantly grabs attention
  • 🤝 Build buyer trust with transparency

👉 According to recent studies, listings with drone footage get up to 68% more views and sell 32% faster.

Step 1: Preparing Drone Footage for MLS Upload

Before uploading, ensure your drone video meets MLS compliance standards:

  • File format: MP4 or MOV (most MLS-approved formats)
  • Length: Keep under 2 minutes for best engagement
  • Resolution: 1080p HD minimum (check MLS size caps)
  • Branding rules: Remove agent logos/contact info unless your MLS allows it
  • Orientation: Smooth pans, stabilized shots, and proper framing

💡 Pro Tip: Use editing software to trim unnecessary clips and add clean transitions—professional editing improves approval rates.

Step 2: How to Add Drone Footage to MLS Listings

Different MLS platforms handle video differently. Here are your main options:

1️⃣ Direct Upload into MLS Media Manager

Some MLS systems allow direct uploads, but they may compress video, reducing quality.

2️⃣ Linking via Virtual Tour Field (Recommended)

The smarter option is hosting your footage on CloudPano and adding the link in your MLS listing’s “Virtual Tour” field. Benefits:

  • No quality loss – full HD playback
  • Interactive 360° aerial panoramas supported
  • MLS-compliant links (no rejections)
  • Analytics to track buyer engagement

Read here: How to Add Virtual Tours to All Your Listings (MLS, Zillow, Realtor.com, etc.)

Step 3: Embedding Drone Tours with CloudPano 🥇

With CloudPano’s MLS export tools, adding drone tours is seamless:

  1. Upload your aerial video or 360° panorama to CloudPano
  2. Copy the MLS-compliant virtual tour link
  3. Paste it into your MLS listing form under “Virtual Tour”
  4. Preview your listing to confirm playback

🎯 Done! Now every buyer exploring MLS sees your property from above.

Bonus: Why CloudPano Is the Best Platform for MLS Drone Tours

Unlike Matterport, EyeSpy360, or Kuula, CloudPano gives faster uploads, flexible integrations, and MLS-ready formatting. Features include:

  • 📹 Full HD playback (no compression)
  • 🌐 360° drone panoramas + interior tours
  • 🖼️ Combine drone video with floor plans and property photos
  • 🔗 Shareable links for Zillow, Realtor.com, Redfin, and more
  • 🏷️ MLS-compliant exports (branding options available for non-MLS versions)
  • 📊 Lead capture forms & engagement analytics

Example: Before & After MLS Upgrade

  • Before: Static exterior photo, low buyer engagement
  • After: Interactive 360° drone tour embedded directly in MLS—buyers explore property size, yard, and neighborhood instantly

💡 The result? More clicks. More offers. Faster sales.

Final Tips for MLS Drone Upload Success 📌

  • Always confirm your MLS branding & video rules
  • Keep videos short, engaging, and focused on top features
  • Test the MLS listing after upload to ensure playback
  • Pair drone tours with floor plans and interior 360° tours for maximum impact

✅ Ready to Elevate Your MLS Listings?

If you want faster uploads, sharper aerial videos, and interactive features that boost buyer engagement, CloudPano is your go-to platform.

🚀 Start today:

‍

Share this post
Cloudpano

Choose The Right 360° Camera

Insta360 ONE RS 1-Inch 360 Edition

  • Compact, ready to go anywhere

  • Interchangeable lens that’s upgradeable

  • Dual 1-inch sensors for improved clarity and low light performance

  • Dynamic range and 6K 360° capture

  • 360° photo resolution at 21MP

Learn More

Insta360 X4

  • 8K 360° video recording for ultra-detailed visuals.

  • 4K single-lens mode for traditional wide-angle shots.

  • Invisible selfie stick effect for drone-like perspectives.

  • 2.5-inch touchscreen with Gorilla Glass protection.

  • Waterproof up to 33ft for underwater shooting.

Learn More

Ricoh Theta Z1

  • 360° photo resolution in 23MP

  • Slim design at 24 mm thick

  • Built-in image stabilization for smooth video capture.

  • Internal 19GB storage for photo and video storage.

  • Wireless connectivity for remote control and sharing.

Learn More

Ricoh Theta X

  • 60MP 360° still images for high-resolution photography.

  • 5.7K 360° video recording at 30fps.

  • 2.25-inch touchscreen for intuitive control.

  • USB Type-C port for fast charging and data transfer.

  • MicroSD card slot for expandable storage.

Learn More
Property Marketing
Allows potential buyers to explore properties in detail from anywhere, enhancing the real estate marketing process.
Automotive Spins
Create an interactive virtual showroom and engage affluent digital buyers with live 360º video calls, all through the CloudPano mobile app for a complete automotive sales solution.
Interactive Floor Plans
Create 2D and 3D floor plans with measurements in 4 minutes or less, all from your phone. Download the Floor Plan Scanner app and get your first scan free.

360 Virtual Tours With CloudPano.com. Get Started Today.

Try it free. No credit card required. Instant set-up.

Try it free
Latest posts

See our other posts

Interviews, tips, guides, industry best practices, and news.

Common Data Labeling Mistakes That Hurt Model Accuracy

Data labeling mistakes can significantly affect AI model accuracy, reliability, and real-world performance. This guide explores 10 common annotation errors, including inconsistent labeling guidelines, incorrect annotations, missing edge cases, class imbalance, and inadequate quality assurance. Learn practical strategies to improve annotation consistency, train reviewers, monitor labeling quality, and prevent costly model errors. Discover how professional data labeling services can help organizations build accurate, reliable datasets for computer vision, large language models, robotics, and other AI applications.
Read post

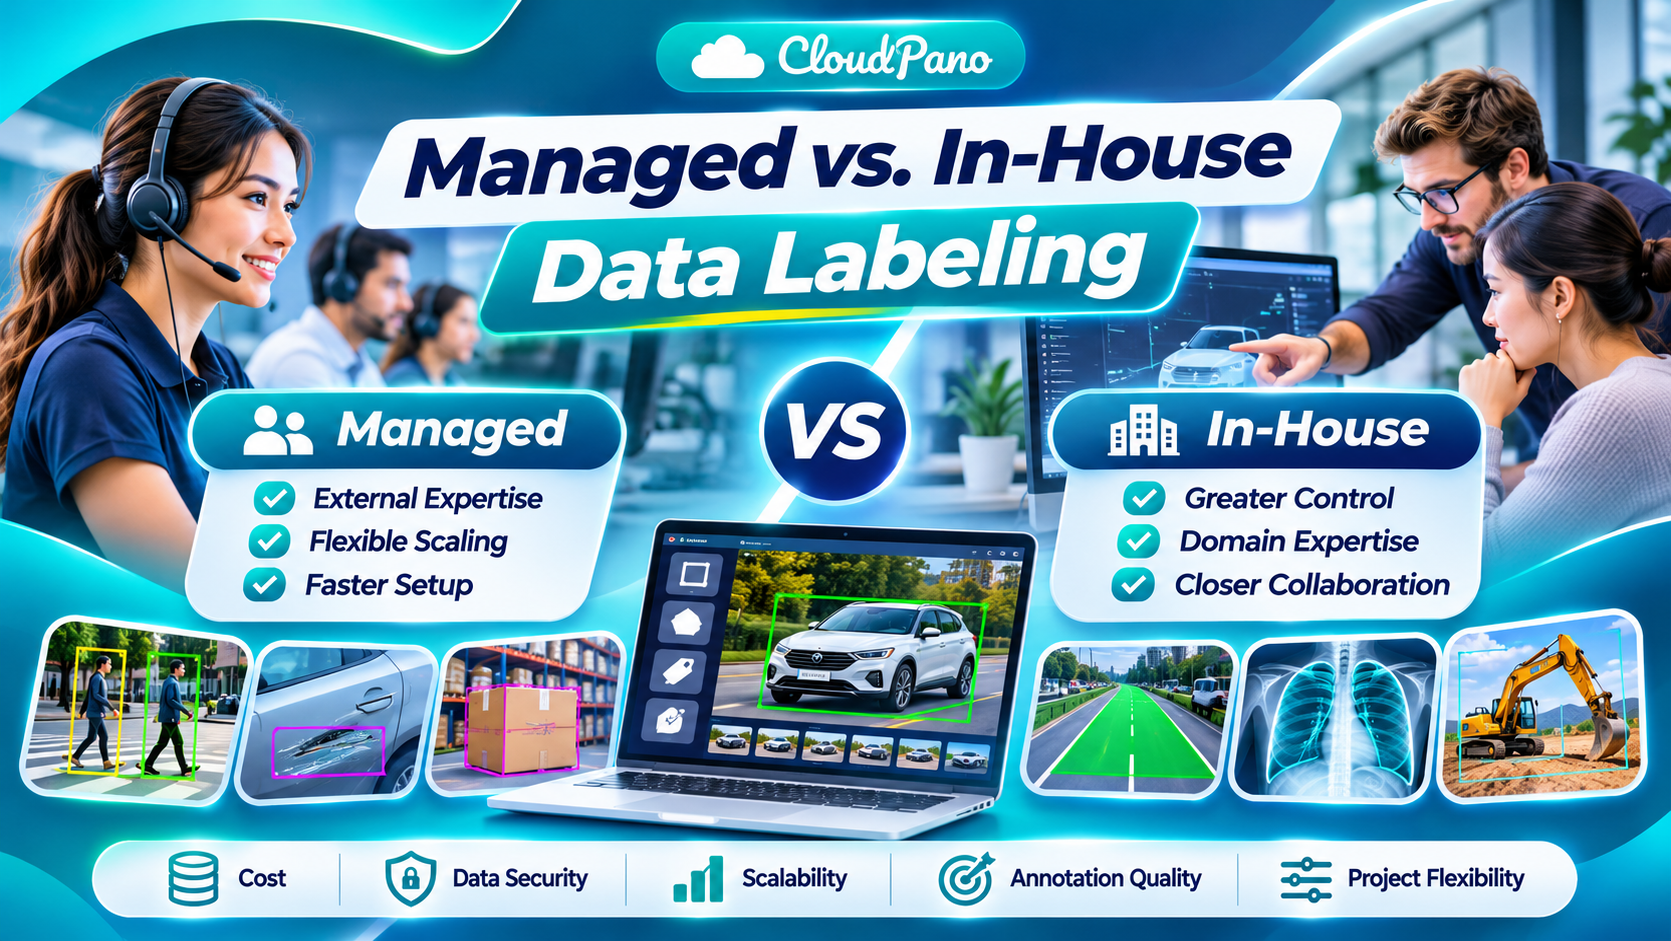
Managed vs. In-House Data Labeling

Choosing between managed and in-house data labeling is an important decision for AI development teams. This guide explores the key differences between managed vs in-house labeling, including costs, annotation quality, data security, scalability, and operational control. Discover the advantages and limitations of each approach, practical examples from computer vision and robotics, and how hybrid labeling workflows can combine external capacity with internal expertise. Learn how to select the right annotation strategy for your project's requirements, resources, and long-term AI goals.
Read post

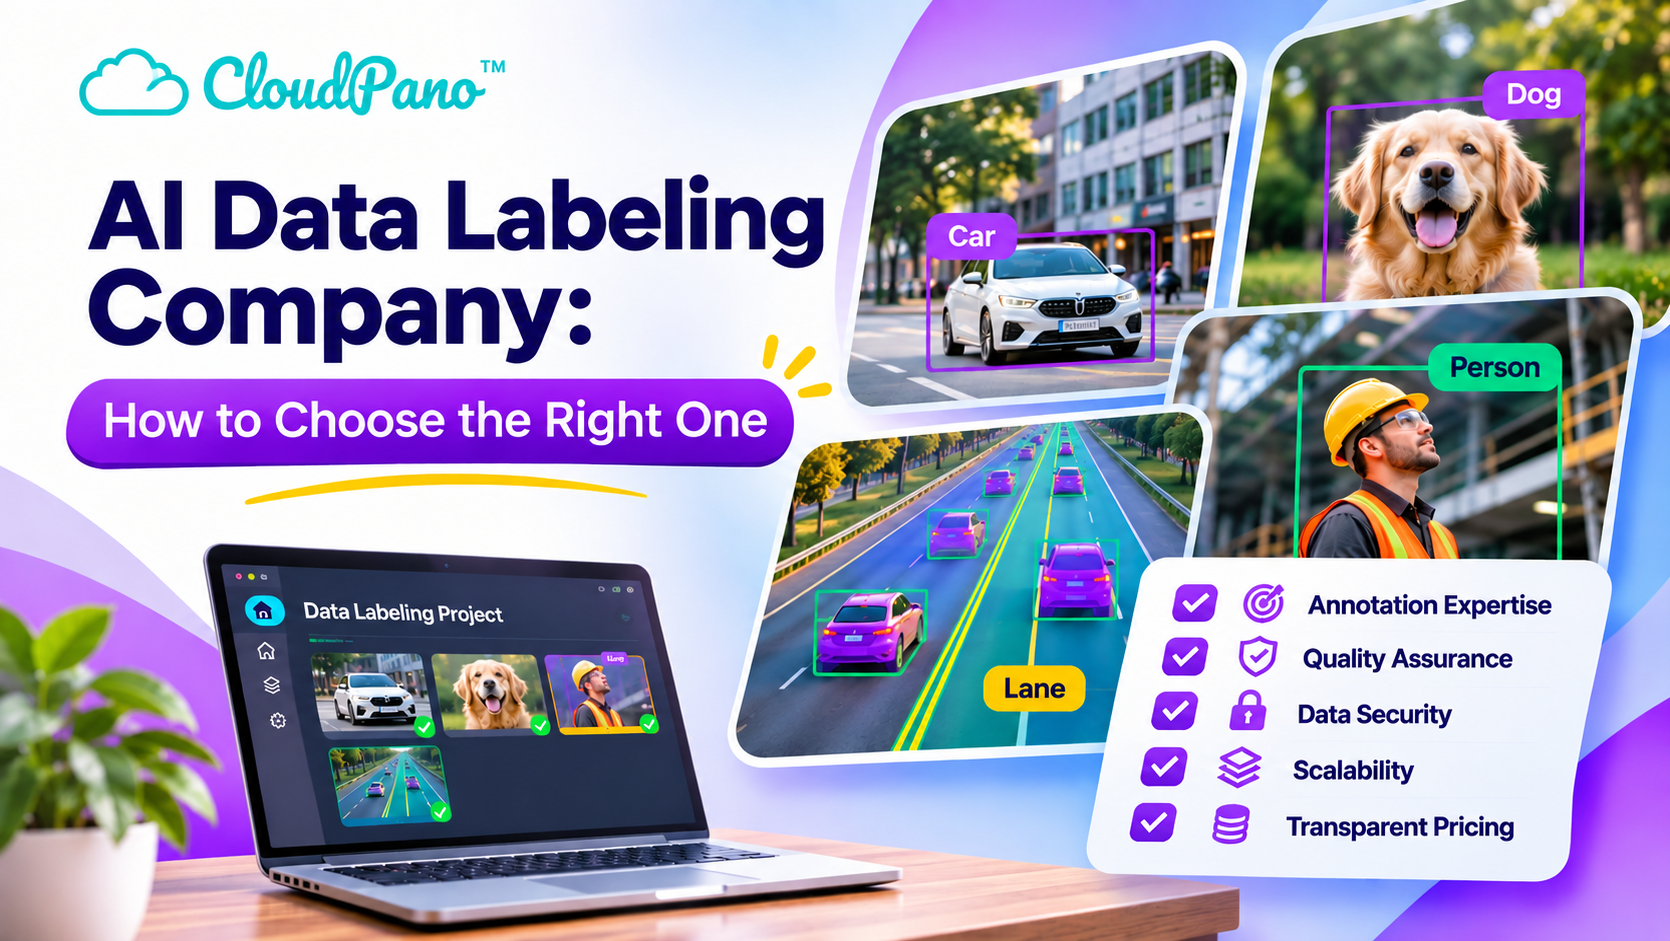
AI Data Labeling Company: How to Choose the Right One

Choosing the right AI data labeling company is essential for developing accurate and reliable artificial intelligence systems. This guide explains how to evaluate annotation providers based on data quality, industry expertise, security, scalability, pricing, and project management. Learn about different annotation services, common mistakes to avoid, and the importance of human review. Discover a practical five-step evaluation process to help you select a trustworthy labeling partner that meets your AI development requirements.
Read post